Can You Propagate Monstera in Soil? A Detailed Guide!
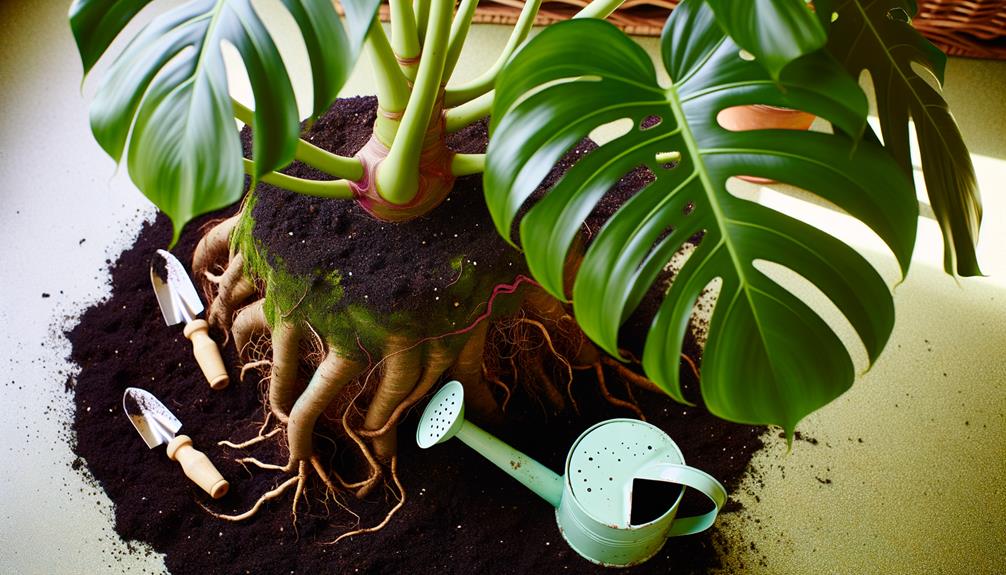
You can propagate Monstera in soil for robust growth and stable root development. Use a sharp, sterilized knife to make a clean cut on a healthy stem.
Apply rooting hormone to the cut end. Prepare a pot with high-quality potting mix and make certain it has drainage holes.
Insert the stem cutting and lightly pack the soil. Water thoroughly, but avoid waterlogging, to maintain soil moisture.
Position the pot in bright, indirect light and keep ambient temperature and humidity controlled. Keep avoiding common mistakes like overwatering and planting too deeply to make sure successful propagation.
Learn more to master this process.
Key Takeaways
- Yes, you can propagate Monstera in soil by using a high-quality potting mix.
- Ensure to use a sharp, sterilized knife to make a clean cut on a healthy stem.
- Applying rooting hormone to the cut end enhances root development.
- Plant the cutting in a pot with drainage holes to avoid waterlogging.
- Maintain soil moisture and provide indirect, bright light for optimal growth.
Benefits of Soil Propagation
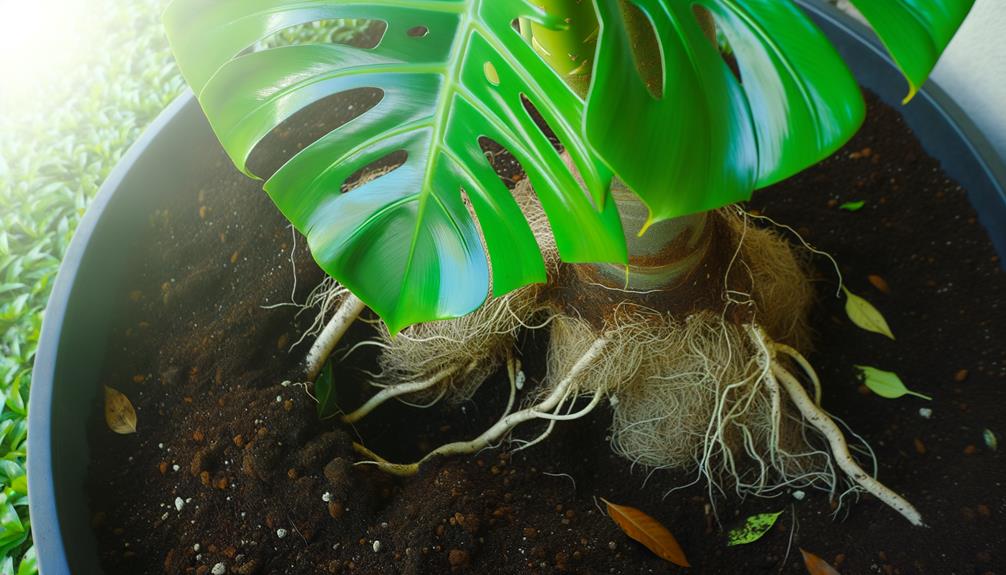
By propagating Monstera in soil, you’ll benefit from a more stable root development that enhances overall plant health and growth. Soil provides a complex matrix of nutrients, microorganisms, and aeration that water propagation can’t match.
When you plant Monstera cuttings in soil, the roots establish a symbiotic relationship with mycorrhizal fungi, which aids nutrient absorption. Additionally, soil propagation reduces the risk of root rot since the medium allows excess water to drain away.
The physical structure of soil anchors the roots, promoting robustness and stability. By ensuring consistent moisture and nutrient availability, soil supports sustained and vigorous growth, leading to a healthier Monstera.
Essential Tools and Materials
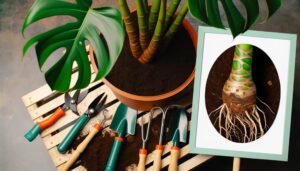
You’ll need a sharp, sterilized knife, a high-quality potting mix, rooting hormone, pots with drainage holes, and a watering can to successfully propagate Monstera in soil.
Begin by ensuring your knife is sterilized to prevent pathogens from infecting the cuttings.
Opt for a potting mix rich in organic matter, ensuring it provides aeration and moisture retention.
Rooting hormone will enhance root development by stimulating cell division at the cut site.
Choose pots with adequate drainage holes to prevent waterlogging, which can cause root rot.
Finally, a watering can with a fine spout will allow you to water the soil evenly without disturbing the cuttings.
Each tool and material plays a critical role in the propagation process.
Step-by-Step Guide
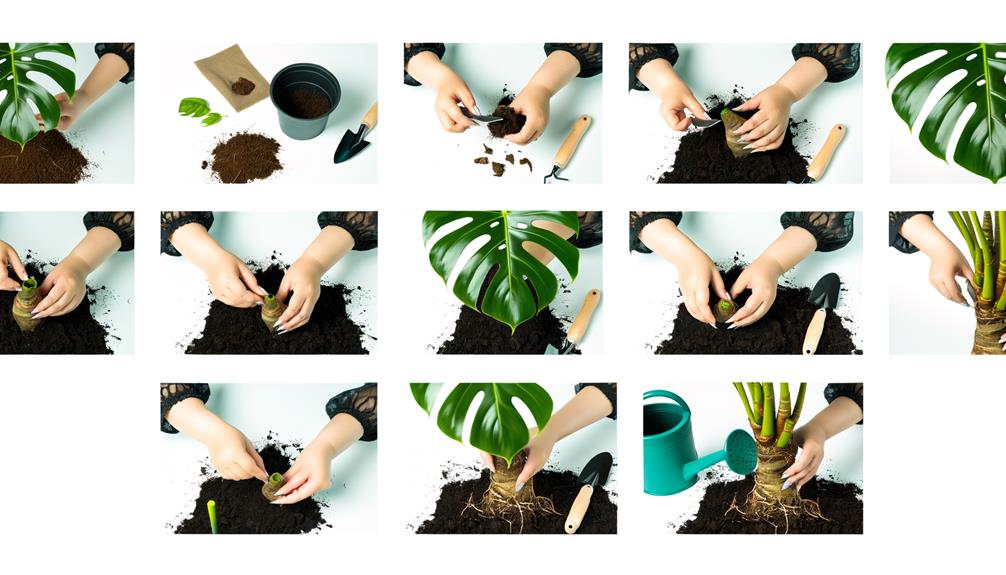
Once you have gathered all necessary tools and materials, start by selecting a healthy Monstera stem with at least one node and aerial root. Make a clean cut below the node using sterilized pruning shears.
Next, dip the cut end in rooting hormone powder to encourage root development. Prepare a pot with well-draining soil mix, creating a small hole in the center.
Insert the cut end of the stem into the hole, ensuring the node and aerial root are below the soil surface. Firmly press the soil around the stem to secure it.
| Step | Action | Tool/Material |
|---|---|---|
| 1 | Select healthy stem | Monstera plant |
| 2 | Make a clean cut | Pruning shears |
| 3 | Apply rooting hormone | Rooting hormone |
| 4 | Prepare pot with soil | Soil mix, pot |
| 5 | Insert stem and secure | Stem cutting, soil |
Water the soil thoroughly and place the pot in a bright, indirect light location.
Common Mistakes to Avoid
Neglecting to sterilize pruning shears can introduce pathogens that hinder root development and compromise the health of your Monstera cutting. Always disinfect your tools with isopropyl alcohol or a bleach solution.
Another common mistake is planting cuttings too deeply; make sure the node is barely submerged to encourage ideal rooting.
Overwatering can lead to root rot, so use a well-draining potting mix and let the soil dry out between waterings.
Inadequate light conditions also impede growth; place your cutting in bright, indirect light.
Finally, avoid using non-sterile soil, which may contain harmful microorganisms.
Aftercare Tips and Tricks
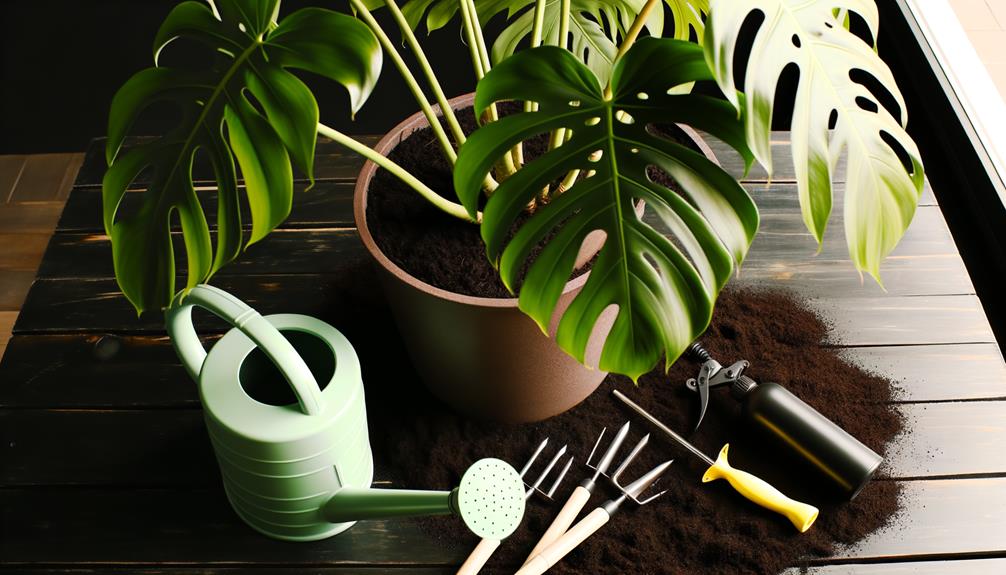
Proper aftercare is crucial for securing your Monstera cutting develops into a healthy and thriving plant.
Follow these steps meticulously:
- Irrigation Protocol: Maintain soil moisture without waterlogging. Use a hygrometer to monitor soil humidity, aiming for a balance where the substrate is consistently moist but not saturated.
- Nutrient Administration: Apply a balanced, water-soluble fertilizer (20-20-20 NPK) bi-monthly to support robust root and foliage development.
- Light Regulation: Position your Monstera in indirect, bright light. Exposure to direct sunlight can cause photoinhibition and scorch the leaves.
- Environmental Control: Secure ambient temperature remains between 65-80°F (18-27°C) and sustain relative humidity levels above 60% for optimal physiological processes.
Adhering to these guidelines will promote vigorous growth and overall plant well-being.
Monstera Propagation Water To Soil
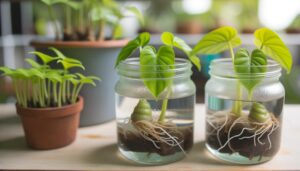
To successfully transition Monstera cuttings from water to soil, follow these steps:
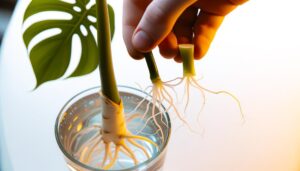
- Root Development: Ensure the cutting has well-developed roots, at least a few inches long, before transferring to soil.
- Prepare Soil: Use a well-draining potting mix, such as a mix designed for aroids or a combination of peat moss, perlite, and orchid bark.
- Choose a Pot: Select a pot with drainage holes to prevent waterlogging.
- Plant the Cutting: Fill the pot with soil and create a hole in the center. Gently place the cutting in the hole, ensuring the roots are covered with soil. Lightly pack the soil around the cutting to provide stability.
- Watering: Water the soil thoroughly after planting. Keep the soil consistently moist but not soggy to help the roots acclimate to the new environment.
- Humidity and Light: Place the pot in a location with bright, indirect light and maintain high humidity. You can use a humidity tray or mist the plant regularly.
- Monitoring: Monitor the cutting closely for the first few weeks. Keep the soil moist and ensure the plant is not exposed to direct sunlight or drafts.
By following these steps, your Monstera cutting should transition smoothly from water to soil and continue to grow healthily.
Conclusion
Ironically, while soil propagation for Monstera is deemed ‘simple,’ neglecting basic steps can lead to failure.
You’ve got your tools, followed the guide, and avoided common pitfalls, yet your plant’s growth might still stagnate.
It’s almost as if plants have a mind of their own, defying our scientific techniques!
So, meticulously monitor soil moisture and root health.
Remember, even with detailed instructions, nature has its quirks, making each propagation journey unexpectedly unique.


