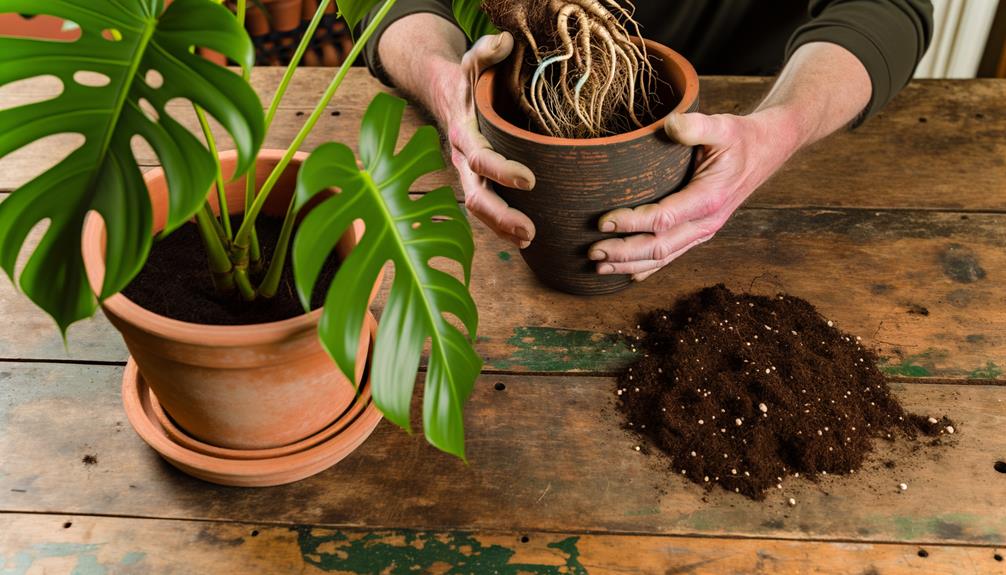
Monstera Adansonii When to Repot
You should repot your Monstera Adansonii when you notice roots growing out of the drainage holes, stunted growth, or yellowing leaves. Select a new pot that's 1-2 inches larger in diameter with good drainage.
Use a well-draining soil mix containing peat, perlite, and orchid bark. Spring or early summer is ideal for repotting, allowing the plant to recover during peak metabolic activity.
Gently remove the plant, trim damaged roots, and position it in the new pot. Water thoroughly and guarantee proper humidity and indirect sunlight.
For more intricate details on each step, continue exploring further.
Key Takeaways
- Repot Monstera Adansonii every 1-2 years or when roots outgrow the current pot.
- Check for roots emerging from drainage holes as a sign to repot.
- Observe for stunted growth or yellowing leaves indicating root-bound conditions.
- Repot in spring or early summer for optimal recovery and growth.
- Use a pot 1-2 inches larger with well-draining soil for repotting.
Signs It's Time to Repot
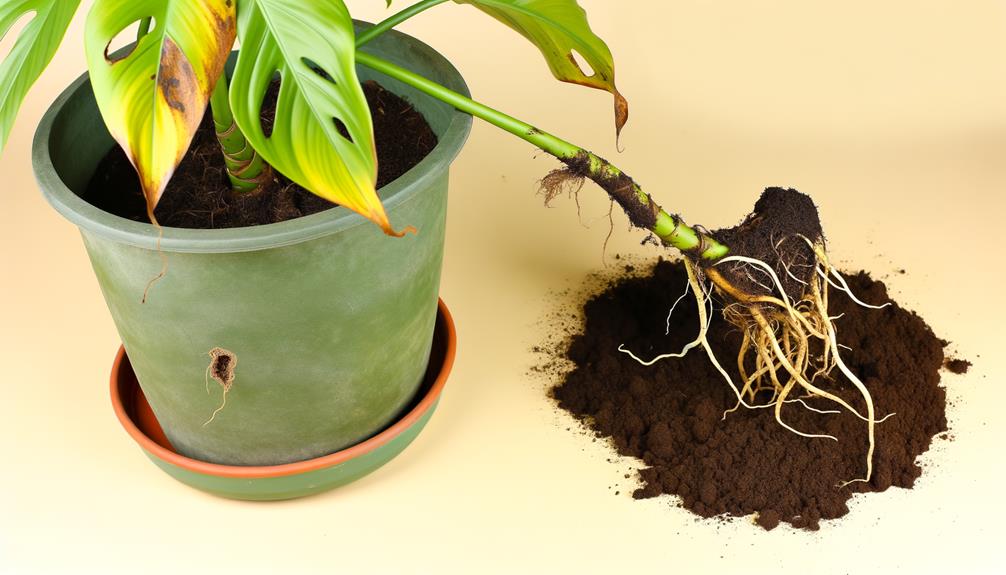
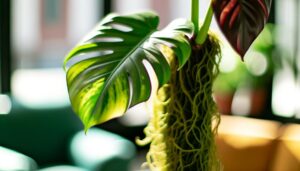
One clear sign that it's time to repot your Monstera Adansonii is when you observe roots growing out of the drainage holes. This indicates root-bound conditions, where the plant's roots have filled the pot to capacity.
Check for stunted growth and yellowing leaves, which are additional indicators of root congestion. Lift the plant gently to inspect the root ball; dense, circling roots confirm the need for repotting.
Use a well-draining potting mix containing peat moss, perlite, and orchid bark to promote healthy growth. Confirm the new pot is 2-3 inches larger in diameter than the current one.
Water thoroughly after repotting to help the roots settle. Monitor your plant closely in the weeks following to ensure a smooth shift.
Outgrowing the Current Pot
When your Monstera Adansonii has visibly outgrown its current pot, characterized by roots emerging from the drainage holes and slowed overall growth, it's crucial to repot into a slightly larger container to accommodate the expanding root system. Select a pot that's 2-4 inches larger in diameter than the current one. Guarantee proper drainage by using a pot with multiple drainage holes. Utilize a well-draining soil mix, ideally one rich in organic matter and perlite.
| Condition | Symptom | Solution |
|---|---|---|
| Roots Emerging | Roots visible at drainage holes | Repot into larger pot |
| Slowed Growth | Stunted leaf and stem growth | Enhance root space |
| Soil Dryness | Rapid drying of soil | Improve soil hydration capacity |
These steps secure your plant's health and vigorous growth.
Root Bound Indicators
A clear indicator that your Monstera Adansonii is root bound is the presence of densely packed roots that circle the inside of the pot, often causing the plant to struggle with nutrient uptake.
To check, gently tip the plant out of its pot. If you observe roots forming a tight mass or growing out of drainage holes, it's root bound. You might also notice the soil drying out more quickly than usual, indicating the roots are taking up most of the space.
Another sign is poor water absorption, where water runs straight through the pot. Addressing these root bound indicators by repotting can help your Monstera Adansonii thrive by providing additional space for root expansion and improved nutrient absorption.
Slow Growth Issues
With a keen eye on slow growth issues, it's important to recognize that Monstera Adansonii's stunted development often stems from inadequate pot size, insufficient nutrients, or improper watering practices.
To address these factors, follow these steps:
- Assess Root Space: Check the root system isn't cramped. A root-bound plant can't absorb water and nutrients efficiently.
- Nutrient Evaluation: Regularly check soil nutrient levels. A balanced, water-soluble fertilizer can correct deficiencies.
- Watering Techniques: Use a moisture meter to avoid over or under-watering. Consistency is key.
- Environmental Conditions: Maintain ideal humidity (60-70%) and temperature (65-75°F).
Soil Drying Too Quickly
If your Monstera Adansonii's soil is drying too quickly, it may indicate insufficient soil retention or pot size constraints. Opt for a well-draining potting mix that retains moisture without becoming waterlogged.
Confirm the pot is appropriately sized, as an overly small pot restricts root growth and exacerbates rapid soil drying.
Insufficient Soil Retention
Soil drying too quickly signals that the potting mix may lack sufficient water retention properties, potentially compromising your Monstera Adansonii's health. To address this, you should evaluate and amend the soil composition. Improve water retention by incorporating organic matter and moisture-retentive materials.
Here are four steps to enhance soil retention:
- Add compost: Organic compost improves water-holding capacity and provides essential nutrients.
- Use peat moss: Peat moss increases moisture retention but should be balanced with other components.
- Incorporate perlite: Perlite enhances aeration while retaining some moisture, vital for root health.
- Mix in coco coir: Coco coir holds water effectively and decomposes slowly, making it a sustainable option.
Pot Size Constraints
Evaluate whether your Monstera Adansonii's pot size is adequate. A pot that's too small can lead to soil drying out excessively quickly, impacting plant health. Assess the current pot's diameter, guaranteeing it provides sufficient root space. Roots crowding the pot's edges indicate a size upgrade is necessary.
Smaller pots have less soil volume, reducing moisture retention and leading to rapid drying. Monitor watering frequency. If you're watering more than twice a week, it's a sign the pot is too small. Opt for a container that's 2-3 inches larger in diameter for ideal root expansion and moisture balance.
Guarantee the new pot has proper drainage to prevent waterlogging, which can cause root rot. This measured approach promotes your plant's importance.
Visible Roots on Surface
When you notice visible roots on the surface of your Monstera Adansonii's pot, it's a clear sign of root overcrowding. Upgrade to a pot that's 2 inches larger in diameter to provide ample space for root expansion.
This will promote healthier growth conditions and prevent root-bound stress.
Root Overcrowding Signs
If you notice roots visibly emerging on the soil surface or through drainage holes, it's a clear indication that your Monstera Adansonii needs repotting due to root overcrowding. This condition can severely restrict the plant's ability to absorb water and nutrients, leading to stunted growth.
To address this, follow these steps:
- Inspect the roots: Gently remove the plant from its pot and examine the root system.
- Check for root bound signs: Look for roots circling the pot or massing at the bottom.
- Evaluate soil condition: Determine if the soil is compacted, which can inhibit root growth.
- Plan for repotting: Prepare a new pot with fresh soil to provide adequate space for root expansion.
Pot Size Upgrade
To secure your Monstera Adansonii thrives, upgrading to a larger pot becomes necessary when roots are visibly emerging on the soil surface. This indicates the plant has outgrown its current container, restricting further root expansion and nutrient absorption.
Select a pot that's approximately 2 inches larger in diameter than the previous one. Make sure it has drainage holes to prevent root rot. Gently remove the plant from its current pot, and loosen the root ball to promote new growth.
Position it in the new pot, fill with well-draining soil, and water thoroughly. This method ensures best root development and overall plant health, supported by evidence that adequate space promotes vigorous growth and prevents root-bound stress.
Healthier Growth Conditions
Visible roots on the surface of your Monstera Adansonii's soil indicate it's time to create healthier growth conditions by repotting the plant. This phenomenon is a clear sign of root crowding, which can impede nutrient uptake and water absorption.
To achieve the best growth, follow these steps:
- Choose a Pot: Select a container 1-2 inches larger in diameter than the current one to accommodate future growth.
- Fresh Soil: Use a well-draining, aroid-specific potting mix to provide necessary aeration and nutrients.
- Inspect Roots: Trim any damaged or excessively long roots to encourage new growth.
- Replant: Position the plant centrally, ensuring roots are spread out, and fill with soil, pressing gently for stability.
This method promotes vigorous growth and healthier foliage.
Seasonal Timing for Repotting
Repotting your Monstera Adansonii is best done in the spring or early summer when the plant is actively growing and can recover more quickly from the disruption. During this period, the plant's metabolic processes are at their peak, enabling efficient nutrient uptake and root development.
Aim to repot every 1-2 years, evaluating root-bound conditions or soil degradation. Prepare by selecting a well-draining soil mix, such as a blend of peat, perlite, and orchid bark, to mimic the plant's native tropical environment.
Gently remove the plant from its original pot, teasing out the roots if they're compacted. Position it in the new pot at the same soil level, ensuring stability. Water thoroughly to settle the soil and promote root establishment.
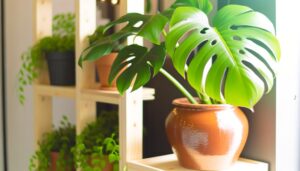
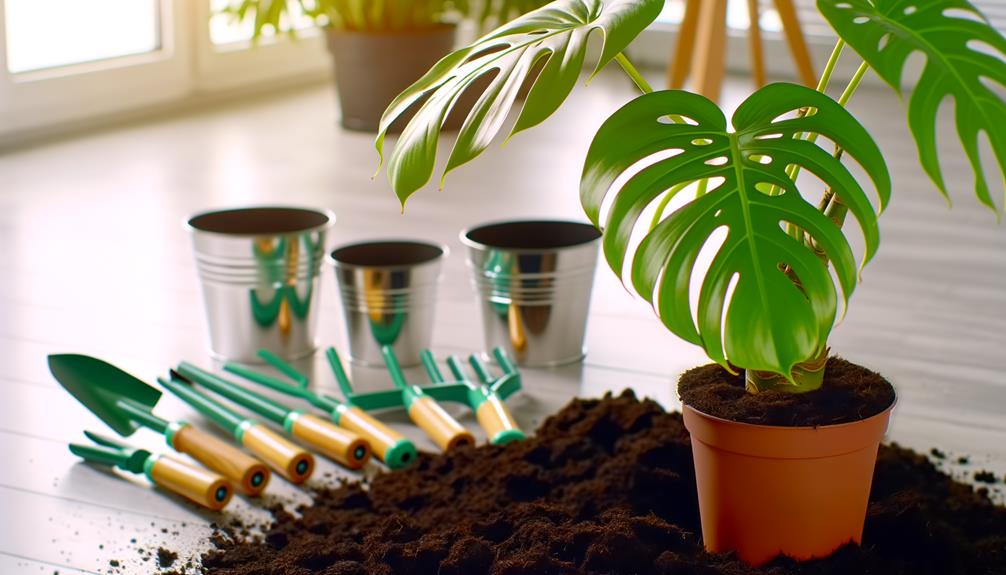
Choosing the Right Pot Size
When repotting your Monstera Adansonii, select a pot that's 1-2 inches larger in diameter than the current one to avoid root congestion.
Confirm the pot has adequate drainage holes to prevent waterlogging, which can lead to root rot.
Additionally, choose a pot that provides sufficient space for future growth, allowing the plant to thrive.
Pot Diameter Matters
Selecting the correct pot size for your Monstera Adansonii is crucial, as it guarantees sufficient root space and prevents issues like root rot or stunted growth. To ensure ideal conditions, follow these guidelines:
- Measure the root ball: Make sure the pot diameter is 2-4 inches larger than the root ball to promote healthy growth.
- Consider growth rate: Fast-growing plants need slightly larger pots to accommodate future expansion, avoiding frequent repotting.
- Assess current pot size: If roots encircle the pot or protrude from drainage holes, choose a pot with a diameter 20% larger.
- Evaluate material: Use breathable materials like terracotta, which regulate moisture and prevent waterlogging.
Drainage Hole Importance
Securing that your pot has sufficient drainage holes is vital to prevent waterlogged soil, which can result in root rot and subpar plant health. Opt for pots with multiple drainage holes to facilitate adequate water flow.
Research indicates that well-draining soil and proper drainage are crucial for Monstera Adansonii, as they replicate the plant's natural tropical habitat. When choosing a pot, make sure it has at least one hole per inch of diameter. For a 6-inch pot, that's a minimum of six holes. This setup allows excess water to escape efficiently, preventing stagnation.
Furthermore, use a saucer to catch runoff while avoiding water accumulation. This practice promotes healthy root aeration and peak plant growth.
Growth Space Requirements
Proper drainage guarantees healthy roots, but equally important is choosing the right pot size to accommodate Monstera Adansonii's growth needs.
Follow these evidence-based guidelines:
- Pot Diameter: Select a pot that's 2-3 inches larger in diameter than the current one. This secures sufficient space for root expansion without overwhelming the plant.
- Material: Opt for pots made of porous materials like terracotta to assist in moisture regulation.
- Depth: Make sure the pot is deep enough to support the root ball, typically 8-10 inches for young plants.
- Repotting Frequency: Repot every 1-2 years or when roots visibly outgrow their container.
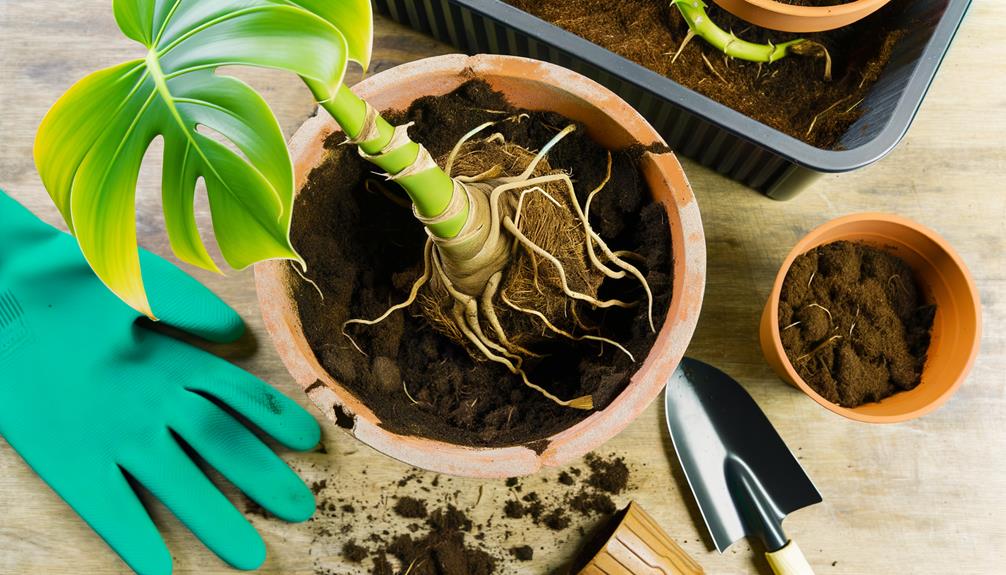
Preparing the New Pot
When preparing the new pot, make certain it has drainage holes to prevent waterlogging and root rot. Choose a pot that's 1-2 inches larger in diameter than the current one to provide adequate space for root expansion.
Use a high-quality potting mix, ideally one that's well-draining; a mix of peat moss, perlite, and orchid bark works well. Sterilize the pot with a diluted bleach solution (1 part bleach to 9 parts water) to eliminate any pathogens. Ensure the pot's material is appropriate for indoor plants; terracotta is breathable and helps regulate soil moisture.
Place a layer of gravel or broken pottery at the bottom to enhance drainage. Pre-moisten the potting mix before filling the pot halfway.
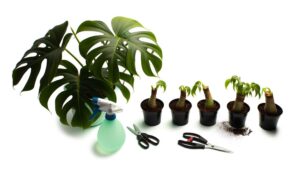
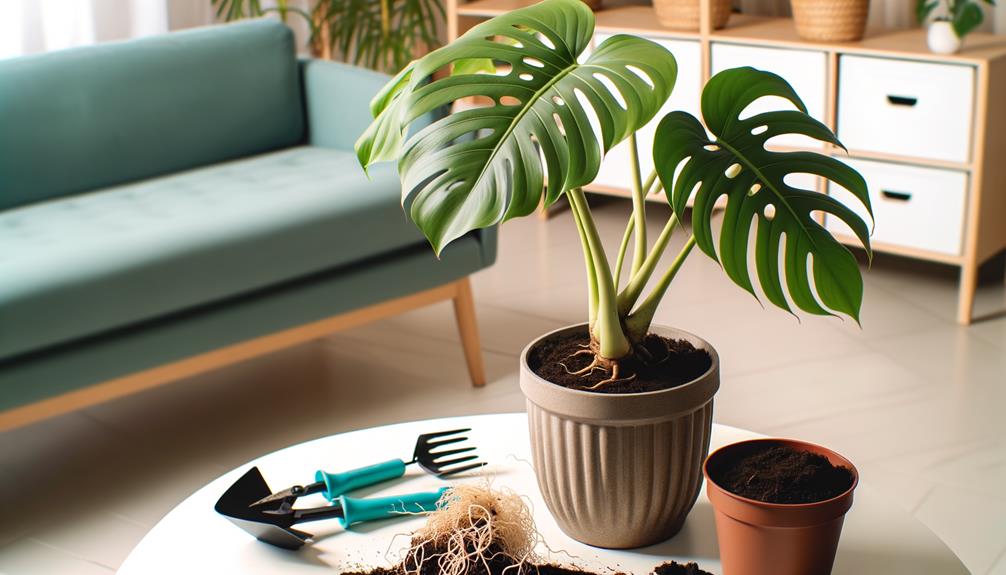
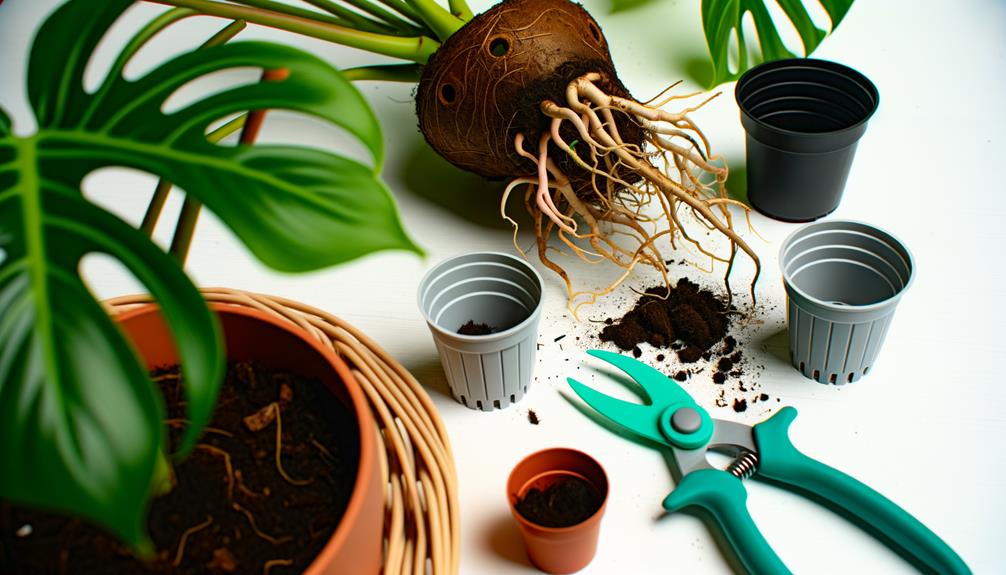
Repotting Step-by-Step
After preparing the new pot, gently remove the Monstera Adansonii from its current container by tipping it sideways and lightly tapping the bottom to loosen the root ball. Carefully inspect the roots for any signs of disease or rot.
Next, follow these steps:
- Trim Damaged Roots: Use sterilized scissors to cut away any brown or mushy roots.
- Position Plant: Place the plant in the center of the new pot, guaranteeing the root ball sits slightly below the rim.
- Add Soil: Fill around the root ball with fresh, well-draining potting mix, gently pressing to remove air pockets.
- Water Thoroughly: Water until it drains from the bottom, making sure moisture reaches the roots.
These steps guarantee successful repotting and promote healthy growth.
Post-Repotting Care

Guaranteeing best post-repotting care involves monitoring soil moisture levels, maintaining appropriate light conditions, and providing adequate humidity to support the Monstera Adansonii's recovery and growth.
Check soil moisture by inserting your finger an inch deep; water only when dry. Position the plant in indirect sunlight, as direct exposure can cause leaf burn. Aim for 60-70% humidity by using a humidifier or placing the pot on a pebble tray with water.
Avoid fertilizing for the first month to prevent root burn. Watch for signs of stress, such as wilting or yellowing leaves, and adjust care as needed.
These steps guarantee your Monstera Adansonii thrives post-repotting, leading to healthier growth and vibrant foliage.
Conclusion
You've now mastered the art of repotting your Monstera adansonii. When you notice the signs—roots peeking out, stunted growth, or rapidly drying soil—it's time to act.
Choose a pot that's just a bit larger, prep it well, and follow precise steps to guarantee a smooth change.
Post-repotting, shower your plant with care and watch it thrive.
By staying vigilant and responsive, you'll keep your Monstera healthy and flourishing, transforming your home into a lush sanctuary.