How to Propagate Mini Monstera? Simple Methods!
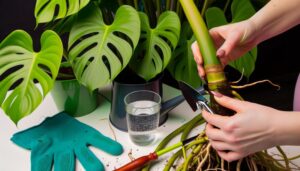
To propagate a Mini Monstera, first gather clean, sharp pruning shears and a sterilized container. Inspect your plant’s leaves and roots for health and vigor.
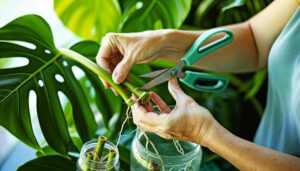
Identify a node, a slightly swollen point on the stem. With shears, make a clean cut below the node, guaranteeing the stem has at least two nodes and leaves.
Dip the cut end in rooting hormone and submerge one node in water or a well-draining potting mix. Monitor the cutting for new root growth and document changes.
Carefully transplant once roots develop and provide proper care. Explore further steps to ensure your cutting thrives.
Key Takeaways
- Use sharp, sterilized pruning shears to make a clean cut below a node.
- Dip the cut end in rooting hormone to encourage root growth.
- Place the cutting in water or a well-draining potting mix, ensuring at least one node is submerged.
- Provide indirect light and maintain high humidity for optimal root development.
- Regularly monitor and document growth, adjusting care practices as needed.
Choosing the Right Tools
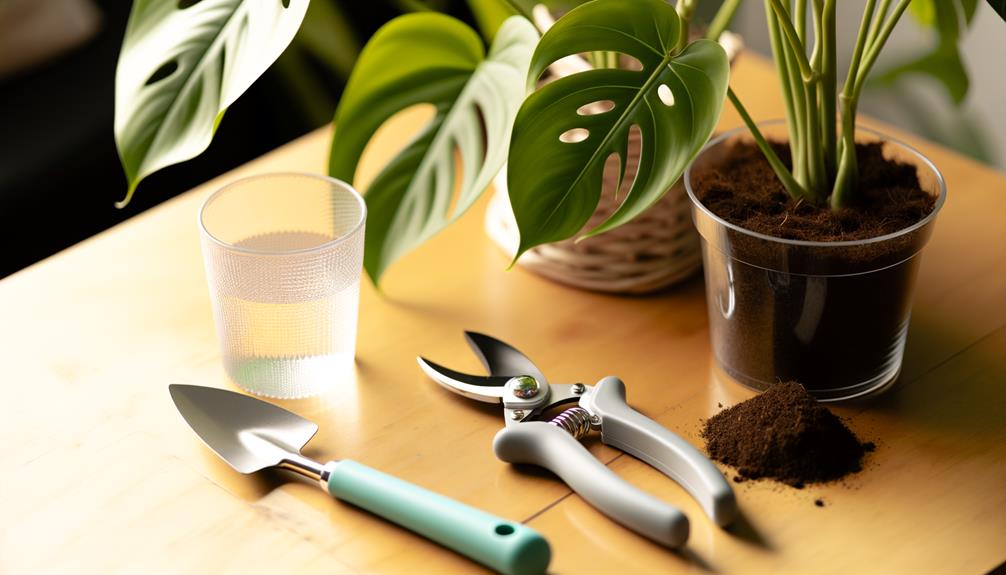
When selecting the appropriate tools for propagating Mini Monstera, you’ll need sharp pruning shears, a clean cutting board, and sterilized containers to secure a successful process.
Start by inspecting your pruning shears; make sure they’re sharp to create clean cuts, which reduce plant stress and infection risk.
Next, prepare a clean cutting board to provide a sterile surface for handling cuttings. This minimizes contamination and promotes healthy growth.
Sterilize your containers using a mild bleach solution (one part bleach to nine parts water) and rinse thoroughly. This step prevents fungal and bacterial infections in your cuttings.
Gather these tools before you start the propagation process to maintain an organized and efficient workflow, which is crucial for successful Mini Monstera propagation.
Selecting a Healthy Plant
To select a healthy Mini Monstera, start by examining the leaves for uniform color and absence of spots or discoloration.
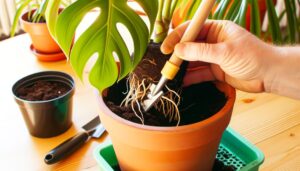
Next, gently lift the plant from its pot to inspect the root system, making sure the roots are white and firm, not brown or mushy.
These steps guarantee you’re choosing a robust plant for propagation.
Check Leaf Health
Examining the leaves for signs of disease or pest infestation confirms the chosen Mini Monstera specimen is healthy and viable for propagation.
First, inspect each leaf for discoloration, such as yellowing or browning, which indicates nutrient deficiencies or disease.
Next, look for holes or irregular edges, often caused by pests like spider mites or aphids. Use a magnifying glass to detect tiny pests or their eggs on the leaf’s underside.
Check for sticky residue, which may signify sap-sucking insects like scale. Ensure the leaves are firm and not wilting, as this reflects overall plant vigor.
Inspect Root System
Begin your root examination by gently lifting the Mini Monstera from its container to evaluate root health and identify any potential issues.
Thoroughly inspect the roots, searching for a strong, white or pale-colored system. Healthy roots should be sturdy and dispersed throughout the soil.
Avoid plants with brown, soft, or unpleasant-smelling roots, as these are signs of root decay. Also, be cautious of excessively intertwined or confined roots, which can hinder nutrient uptake.
If you come across minor root harm, utilize sterilized scissors to trim the affected areas. Wash the roots with fresh water to eliminate any debris and pests.
Following the examination, replant the foliage in new, well-draining soil to promote ideal growth conditions. This phase is essential for prosperous propagation.
Identifying the Nodes
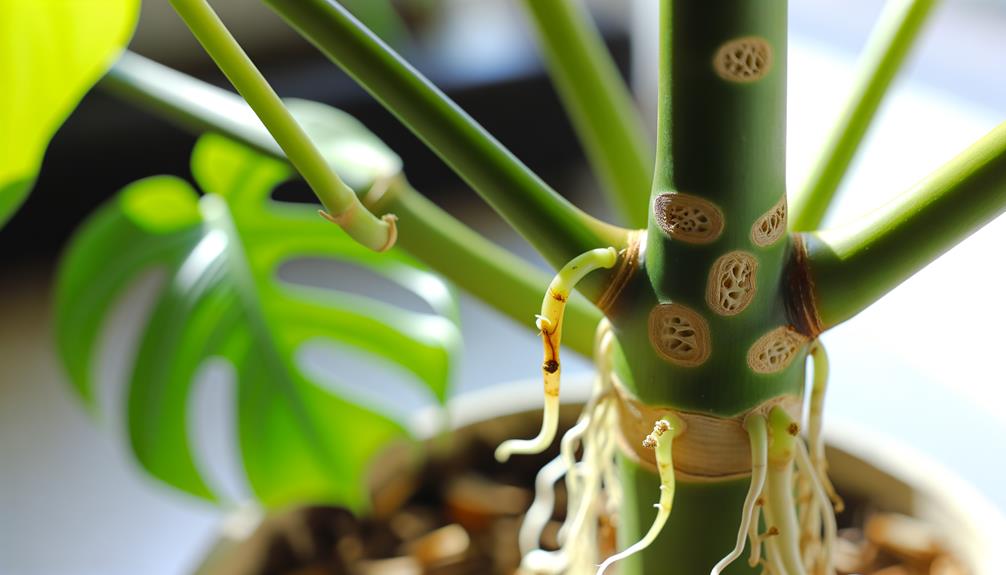
Identifying the nodes on your Mini Monstera is crucial, as these are the points from which new roots and leaves will emerge during propagation.
First, examine the stem closely. Nodes are typically slightly swollen, with a small bump or leaf scar. They’re often located just below where a leaf or petiole attaches to the stem.
Here’s a handy table to help you pinpoint nodes:
| Observation Point | Description |
|---|---|
| Leaf Attachment | Node directly below a leaf |
| Swollen Area | Slightly thicker stem section |
| Bumps or Scars | Visible small bump or scar |
| Root Primordia | Tiny root buds near the node |
| Internodal Distance | Space between two nodes |
Carefully locate these nodes to guarantee successful propagation.
Cutting the Stem
To achieve superior propagation results, make a clean cut just below a node with sterilized pruning shears. Ensure your shears are sharp to minimize tissue damage.
Identify a healthy stem with at least two nodes and a few leaves. Position your shears about a quarter-inch below the selected node. Apply firm, steady pressure to create a swift cut. Avoid crushing or tearing the stem, as this can lead to infection.
Examine the cut surface; it should be smooth and free of jagged edges. Immediately after cutting, place the stem in a clean, dry area. This step primes the cutting for peak root development, enhancing your propagation success.
Handle the cutting with care to prevent any damage.
Preparing the Cuttings
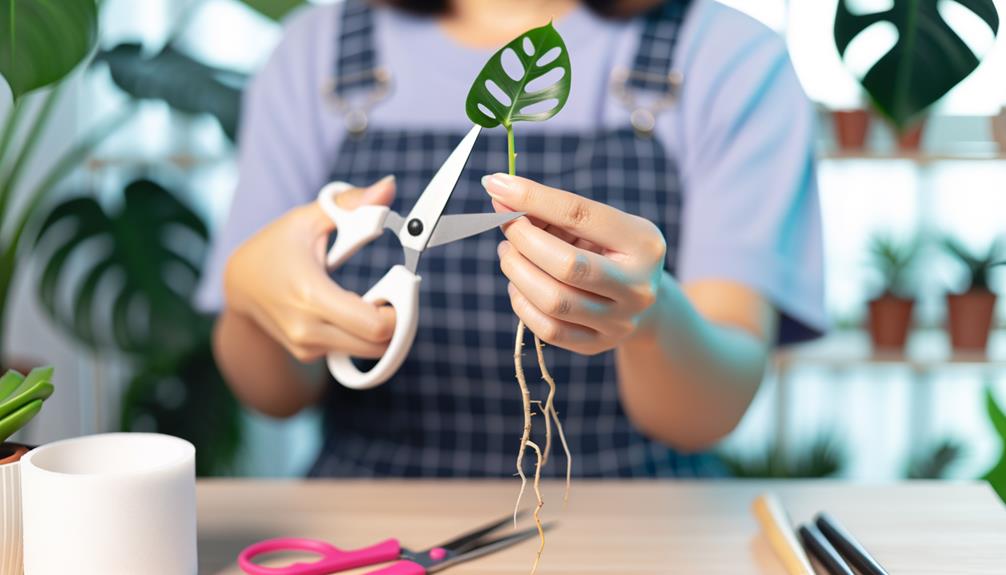
After making the cut, immediately dip the cut end of the stem into a rooting hormone to stimulate faster root growth and protect against infection. Make sure you coat the cut end thoroughly.
Next, prepare a clean, sharp knife or scissors to trim any excess leaves from the lower part of the stem. This step minimizes water loss and prevents decay when the cutting is placed in a growing medium.
Observe the nodes along the stem; these are crucial for root development. Make sure at least one node is submerged, as roots will emerge from these points.
Rooting in Water
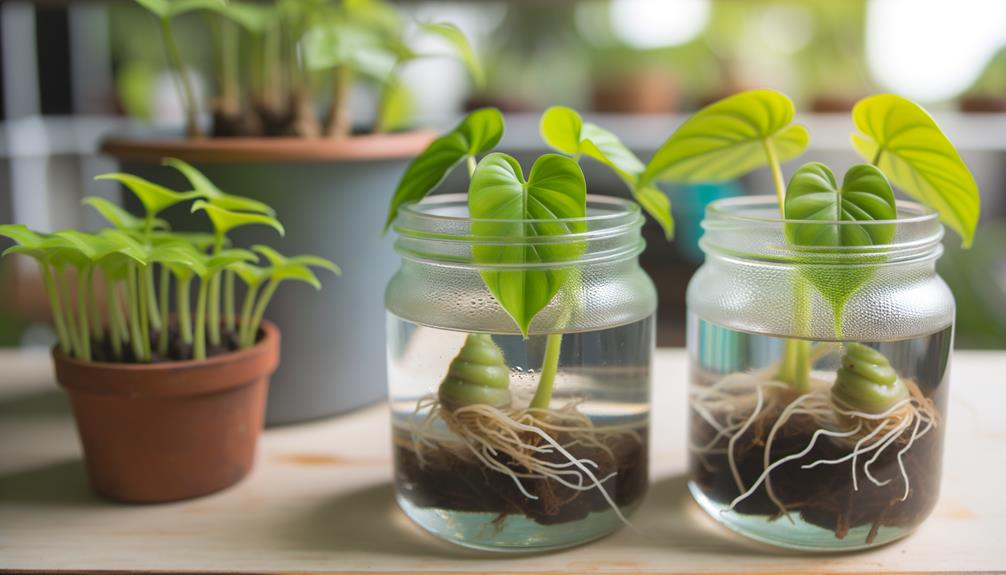
To root your Mini Monstera cuttings in water, start by selecting healthy cuttings with at least one node.
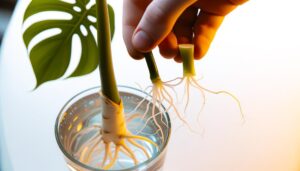
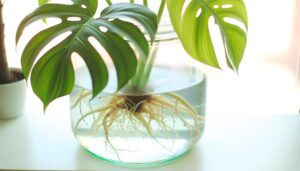
Place the cuttings in a clear container filled with water, ensuring the nodes are submerged.
Change the water regularly every few days to prevent bacterial growth and promote rooting.
Selecting Healthy Cuttings
When selecting healthy cuttings for rooting in water, make sure each cutting has at least one node and a few leaves to increase the chances of successful propagation.
Examine the parent Mini Monstera for vibrant, deep green leaves and firm stems. Use sterilized pruning shears to make a clean cut just below a node. Make sure the node is intact, as it’s essential for root development. Remove any leaves near the base to prevent rot in water.
Place the cutting in a clear container, ensuring the node is submerged while leaves remain above water. Monitor the cutting’s condition daily, keeping an eye out for discoloration or wilting, which indicates a need for reevaluation of your propagation technique.
Changing Water Regularly
Regularly changing the water every 5-7 days is crucial to prevent bacterial growth and ensure the cuttings receive sufficient oxygen for root development. Begin by gently removing the cuttings from the container.
Inspect the water for any cloudiness or debris, indicating bacterial presence. Rinse the container thoroughly with mild soap and warm water, making sure all residues are eliminated. Refill the container with fresh, room-temperature water.
Carefully place the cuttings back into the clean water, ensuring the nodes are submerged but the leaves remain above the waterline. Monitor the water level daily, topping up as needed to keep the nodes submerged.
This routine helps create an ideal environment for healthy root formation, promoting a successful propagation process.
Rooting in Soil

Start by choosing a well-draining potting mix to guarantee the mini monstera roots have ample oxygen and avoid waterlogging. Fill a small pot with the mix, making sure it has drainage holes. Insert the cutting into the soil, making certain the node where roots will develop is buried. Firmly press the soil around the cutting to stabilize it.
Water the soil lightly to settle it around the cutting. Position the pot in a spot with indirect sunlight, maintaining a consistent temperature around 70°F (21°C). To maintain high humidity, which promotes root growth, you can cover the pot with a plastic bag.
- Potting Mix: Use a mix with perlite or orchid bark.
- Watering: Keep soil moist but not soggy.
- Humidity: Use a humidity dome or plastic bag.
Monitoring Growth
You should consistently track leaf development by documenting the size, shape, and color of new growth.
Measure root progress by gently inspecting the root system and noting any changes in length or density.
This systematic monitoring helps you guarantee peak health and identify any potential issues early on.
Track Leaf Development
Consistently measure the size and count of each new leaf to accurately monitor your Mini Monstera’s growth trajectory. Utilize a ruler for precise measurement, noting both width and length of each emerging leaf.
Record these observations in a dedicated journal, ensuring data integrity over time. Tracking leaf development provides critical insights into the plant’s health and environmental suitability.
- Leaf Count: Document the total number of leaves weekly to gauge growth rate.
- Leaf Size: Measure the dimensions of each new leaf, comparing them to previous ones for consistency.
- Color and Texture: Log any changes in leaf pigmentation and surface texture to detect potential issues early.
Measure Root Progress
To accurately monitor root growth, gently remove the Mini Monstera from its container and examine the root system for new white root tips and overall spread. Look for bright white tips, indicating active growth. Check the root spread: healthy roots should extend outward, not circling the container.
If roots appear brown or mushy, they may be decaying, requiring immediate action. After your examination, replant the Mini Monstera carefully to avoid damaging the roots. Use a fresh, well-draining potting mix to promote further development.
Record your observations in a growth log, noting changes and improvements. Regular monitoring every two weeks will help you track progress and address any issues promptly. This method guarantees robust and healthy root development.
Transplanting the Cuttings
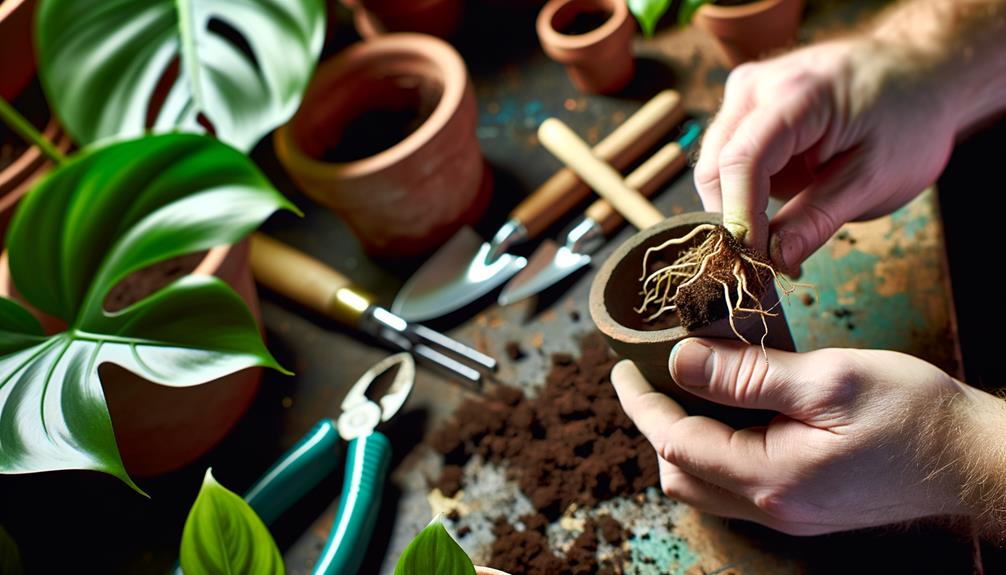
When the roots of your mini monstera cuttings are at least an inch long, it’s time to transplant them into soil for further growth.
Begin by selecting a small pot with drainage holes, filling it with a well-draining potting mix. Gently place the cutting into the soil, ensuring the roots are fully covered, but not compressed.
To enhance success, consider the following tips:
- Watering: Lightly water the soil to settle it around the roots, avoiding over-saturation.
- Placement: Position the pot in a location with bright, indirect light to mimic their natural environment.
- Monitoring: Watch for signs of new growth, indicating successful transplantation.
Caring for New Plants
Sustain your new mini monstera plants thrive by keeping a consistent watering schedule and monitoring soil moisture levels closely. Guarantee the soil stays evenly moist but not waterlogged. Use a well-draining potting mix to prevent root rot.
Observe leaf color and texture for signs of health; vibrant green indicates proper hydration and nutrient uptake.
Provide indirect sunlight, avoiding direct exposure, which can scorch leaves. Sustain a humidity level of 60-70% to mimic their natural tropical environment. Mist leaves regularly or use a humidifier.
Fertilize monthly during the growing season with a balanced, water-soluble fertilizer to promote vigorous growth. Prune any yellow or damaged leaves to encourage new, healthy foliage. Your attentive care guarantees robust mini monstera development.
Troubleshooting Common Issues
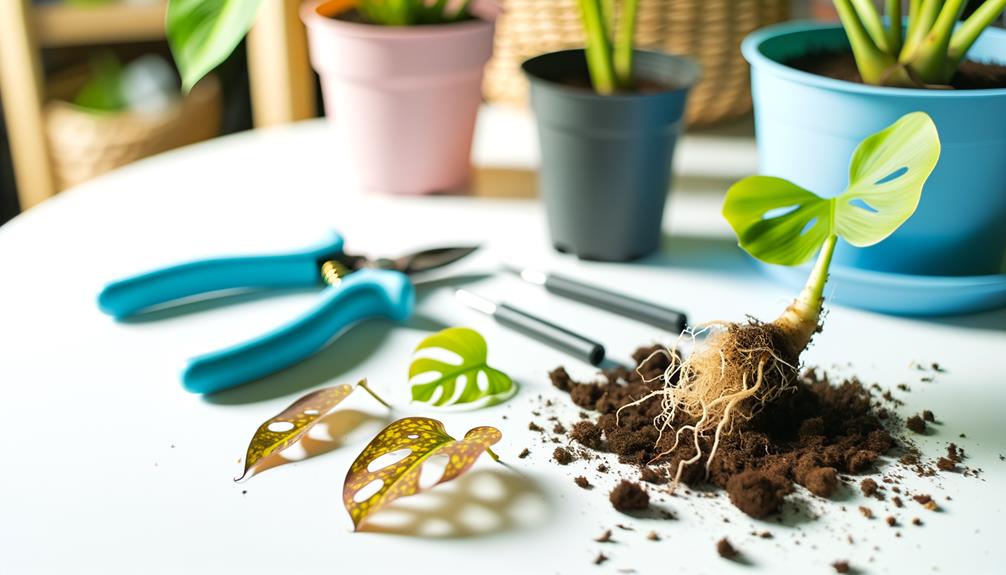
Despite meticulous care, you might encounter issues with your mini monstera such as yellowing leaves, root rot, or pest infestations. Addressing these problems requires careful observation and timely intervention.
- Yellowing Leaves: This often indicates overwatering or poor drainage. Verify soil moisture levels are appropriate and enhance drainage by mixing in perlite.
- Root Rot: Typically results from excessive watering. Remove the plant from its pot, trim affected roots with sterilized scissors, and repot in fresh, well-draining soil.
- Pest Infestations: Common pests include spider mites and aphids. Inspect leaves regularly and use insecticidal soap or neem oil to treat infestations.
Conclusion
Congratulations, you’ve set out on a journey akin to a botanist nurturing a delicate orchid. By carefully choosing tools, identifying nodes, and preparing your cuttings, you’ve set the stage for successful propagation.
Monitor your cuttings like a scientist observing a rare specimen, ensuring best growth conditions. When transplanting, treat your new plants with the care of a gardener cultivating a prized rose.
With patience and attention, your mini Monstera will flourish, adding a touch of the exotic to your home.


