How to Propagate a Monstera
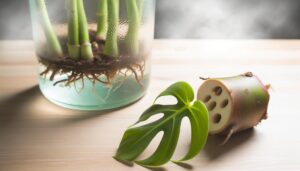
To propagate a Monstera, you'll need a sharp, sterile cutting tool and a clean container with fresh water. Choose a healthy stem with mature leaves and well-developed aerial roots.
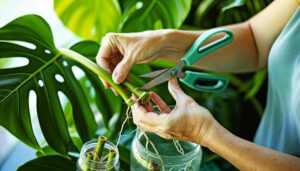
Make a clean, diagonal cut below a node using sterilized shears. Strip the lower leaves but keep at least one for photosynthesis.
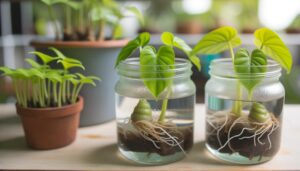
Submerge the node in room-temperature water and place it in indirect sunlight. Change the water every 5-7 days and monitor root development, which typically occurs within 2-4 weeks.
For further insights on transplanting to soil and nurturing your new plant, continue below.
Key Takeaways
- Select a healthy stem with well-developed aerial roots and vibrant, mature leaves.
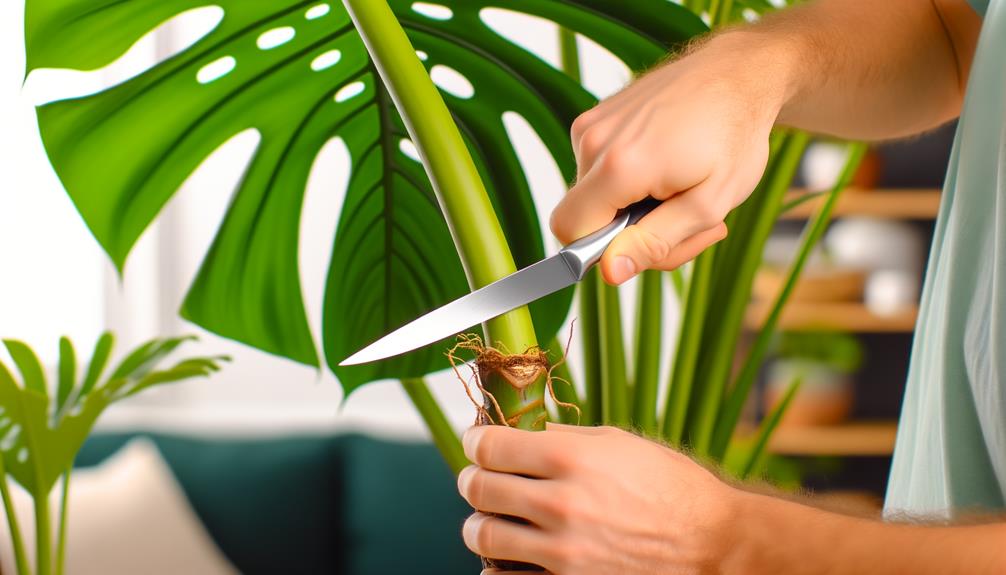
- Use a sterilized cutting tool to make a clean, diagonal cut below a node.
- Remove lower leaves to expose the node, leaving at least one leaf for photosynthesis.
- Submerge the node in fresh, non-chlorinated water and place in indirect sunlight.
- Change the water every 5-7 days and monitor root growth over 2-4 weeks.
Gather Your Materials
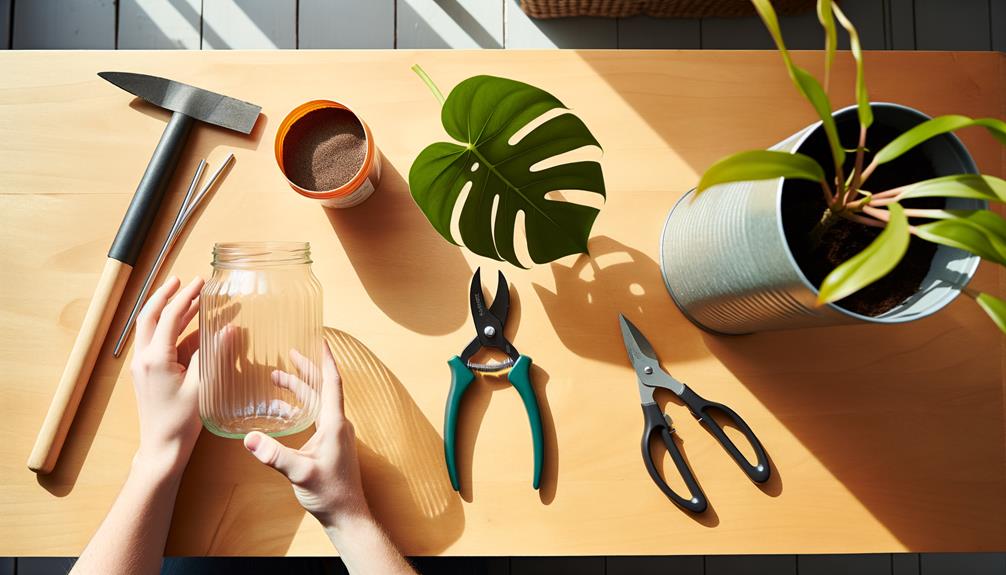
To propagate a Monstera, you'll need a sharp, sterile cutting tool, a clean container, fresh water, and optionally, rooting hormone. First, make sure your cutting tool is disinfected to prevent infection. Use rubbing alcohol or a diluted bleach solution for sterilization.
Next, choose a container that's clean and large enough to hold the cuttings without crowding. Fill it with fresh, non-chlorinated water to support root development. Optionally, you can use rooting hormone to accelerate root growth. Dip the cut end of the stem in the hormone before placing it in the water.
These materials are essential for successful propagation, guaranteeing the cuttings remain healthy and capable of developing into new plants.
Select a Healthy Stem
When choosing a healthy stem for propagation, make sure it has well-developed aerial roots, which are essential for water absorption and stability.
Concentrate on stems with mature leaves, as they indicate a strong and flourishing plant.
Avoid stems with any signs of disease or damage to maximize your chances of successful propagation.
Look for Aerial Roots
Identifying a healthy stem with prominent aerial roots is crucial for successfully propagating your Monstera.
Aerial roots are those thick, brownish roots that emerge from the stem above the soil. They assist the plant in anchoring and absorbing moisture from the air. Select a stem that has at least one or two of these roots, as they'll greatly enhance the cutting's ability to develop into a new plant.
Check that the aerial roots are firm and not shriveled or decayed. You'll also want to make sure the stem itself is free from disease, showing no signs of discoloration or softness.
Choose Mature Leaves
After confirming the stem has healthy aerial roots, focus on selecting mature leaves that are fully developed and free from any signs of disease or damage. Mature leaves, typically larger with deep splits, indicate that the plant is vigorous and capable of thriving. Inspect each leaf for discoloration, spots, or pests. Healthy leaves should be a vibrant green without any yellowing or browning edges.
When you choose a stem, make sure it has at least one or two nodes, as these are vital for root development. Nodes are the points where leaves and roots grow. By selecting a stem with mature leaves and healthy nodes, you increase the likelihood of successful propagation, leading to a robust new plant.
Make the Cut
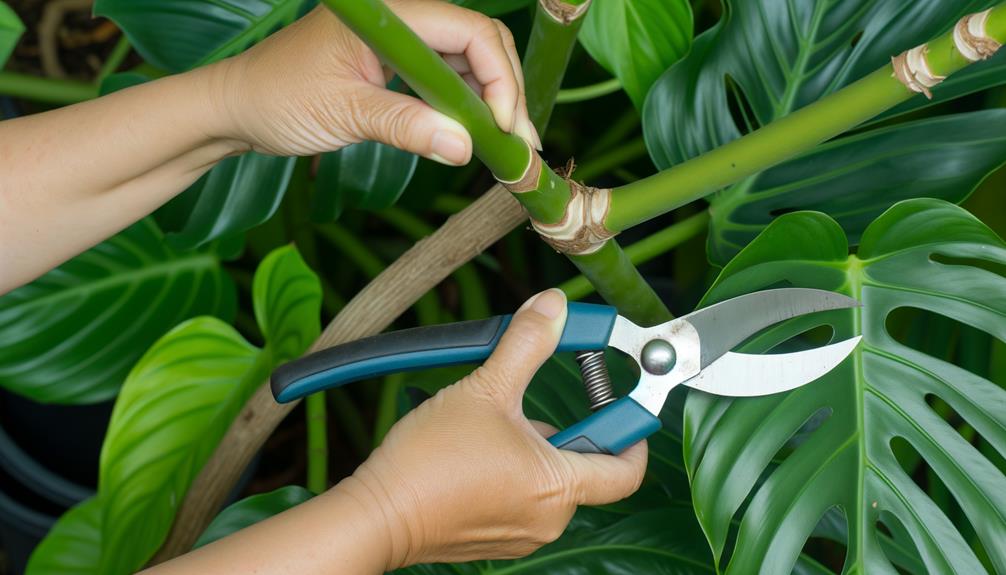
Choose a healthy stem with at least one node and a few leaves to guarantee successful propagation.
Position your sterilized shears about half an inch below the node. This node is essential, as it contains the necessary cells for root development.
Make a clean, diagonal cut to maximize the surface area for water absorption and reduce the risk of rot. Ensure the cut is smooth and precise; jagged edges can invite disease. Avoid damaging the node or the surrounding tissue.
After cutting, inspect the stem for any signs of pests or disease. The cut piece should be fresh, with no discoloration or wilting.
Proper technique here sets the stage for a thriving new Monstera plant.
Prepare the Cutting
With your cutting in hand, carefully strip away the lower leaves to expose the node, ensuring the site is clean and primed for rooting. This process reduces energy loss and directs nutrients to the node, enhancing root development.
Make sure to leave at least one leaf at the top to facilitate photosynthesis. Use sterilized scissors to make a clean cut; this minimizes infection risk.
Examine the node closely—it should be green and healthy, free from any discoloration or damage. If the stem is too long, trim it to about four to six inches.
Rooting in Water
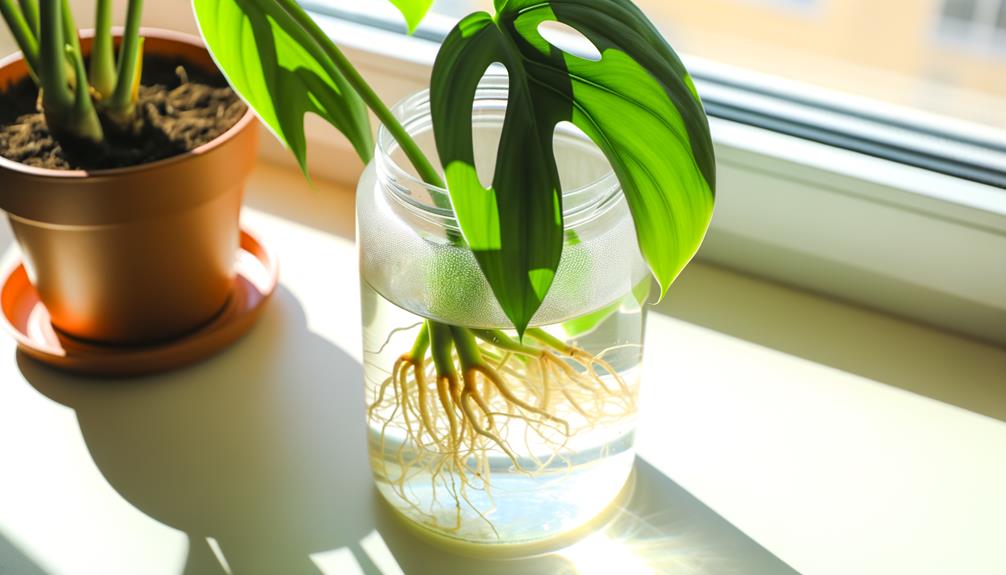
Place the prepared cutting into a clear container filled with room-temperature water, making sure the node is fully submerged to facilitate root development. Monitor the water level regularly to keep the node immersed, as this is vital for root formation. Change the water every 5-7 days to prevent bacterial growth, which can impede the rooting process.
Light:
Position the container in indirect sunlight to allow photosynthesis without causing leaf burn.
Temperature:
Maintain a stable environment between 65-75°F (18-24°C) to promote root growth.
Observation:
Look for root development within 2-4 weeks; roots should be at least an inch long before considering further steps.
This method guarantees healthy root systems, preparing your Monstera for a successful progression.
Transplanting to Soil
After observing that the roots have grown at least an inch long, gently transfer the Monstera cutting from water to a well-draining potting mix to guarantee continued healthy growth.
Choose a pot with drainage holes to prevent water accumulation. Prepare a mixture of equal parts peat moss, perlite, and orchid bark. Carefully remove the cutting from the water, being cautious not to damage the delicate roots.
Place the cutting into the prepared potting mix, burying the roots and ensuring the node is just above the soil surface. Lightly press the soil around the cutting to stabilize it.
Water thoroughly until excess water drains out, ensuring the soil is evenly moist, but not waterlogged.
Care for New Plant
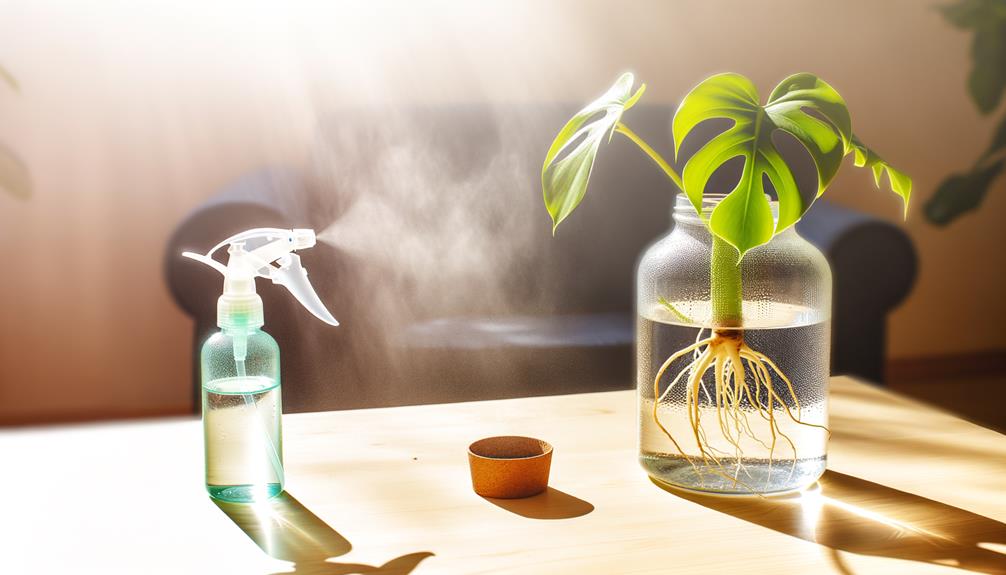
Promoting optimal growth for your newly potted Monstera involves providing the right balance of light, water, and nutrients.
Place your Monstera in a spot with bright, indirect sunlight to prevent leaf burn.
Water it thoroughly when the top inch of soil feels dry, maintaining consistent moisture without waterlogging.
Feed your plant every 4-6 weeks with a balanced, water-soluble fertilizer to encourage robust growth.
- Light: Bright, indirect sunlight is essential to avoid leaf scorch.
- Water: Maintain soil moisture by watering when the top inch is dry.
- Nutrients: Use a balanced, water-soluble fertilizer every 4-6 weeks.
These steps will ensure your Monstera thrives, displaying vigorous growth and healthy foliage. Remember, each factor plays a crucial role in the plant's overall health.
Conclusion
Think of propagating your monstera like guiding a ship through uncharted waters. You've charted your course, from gathering supplies to making the cut.
As your cutting roots in water, it's like dropping anchor in a safe harbor. Transplanting to soil marks the vessel's arrival at a new shore, ready to thrive.
With diligent care, your monstera will flourish, much like a ship's crew tends to their vessel to guarantee a bountiful voyage.
Happy growing!

