How to Propagate a Monstera Plant? Easy Techniques!
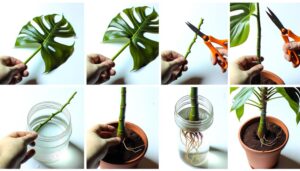
To propagate a Monstera plant, select a healthy stem with at least one node and aerial roots. Use sterilized pruning shears to make a clean cut below the node.
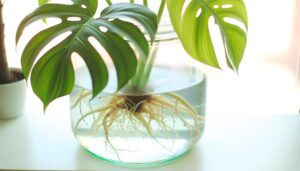
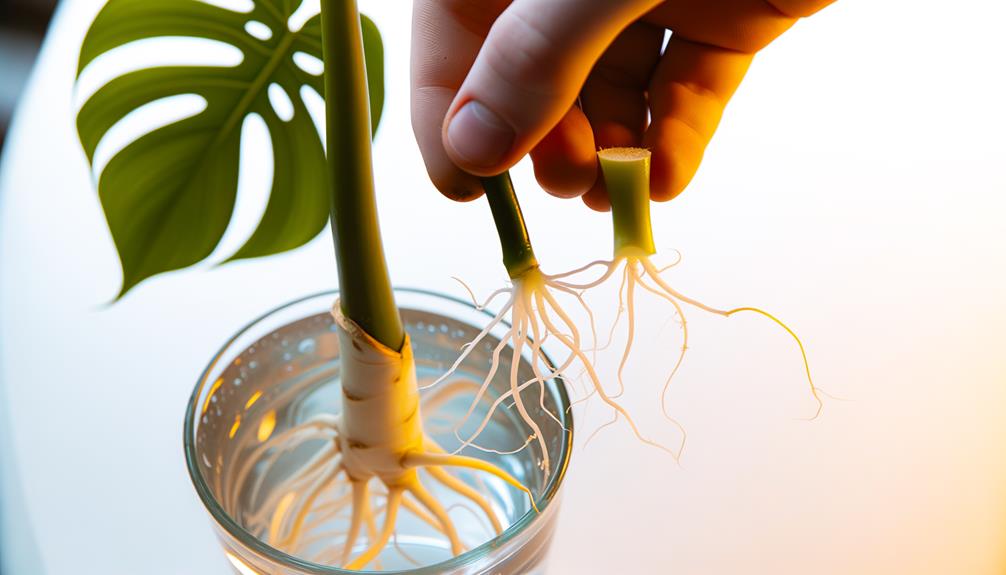
Place the cutting in room temperature water or a well-draining soil mix. If in water, change it every few days and ensure indirect sunlight.
In soil, plant two inches deep and keep the soil consistently moist. After roots develop, transplant the cutting into a pot with drainage holes and a mix of peat moss, perlite, and orchid bark.
With precise care in light, humidity, and watering, you’ll foster its growth further.
Key Takeaways
- Select a healthy Monstera stem with at least one node and aerial roots.
- Use sterilized sharp pruning shears to make a clean cut just below the node.
- Place the cutting in room temperature water and change it every few days.
- For soil propagation, plant the cutting in well-draining potting mix and keep the soil moist.
- Ensure the cutting receives indirect sunlight and maintain humidity levels of 60-80%.
Choosing the Right Cutting
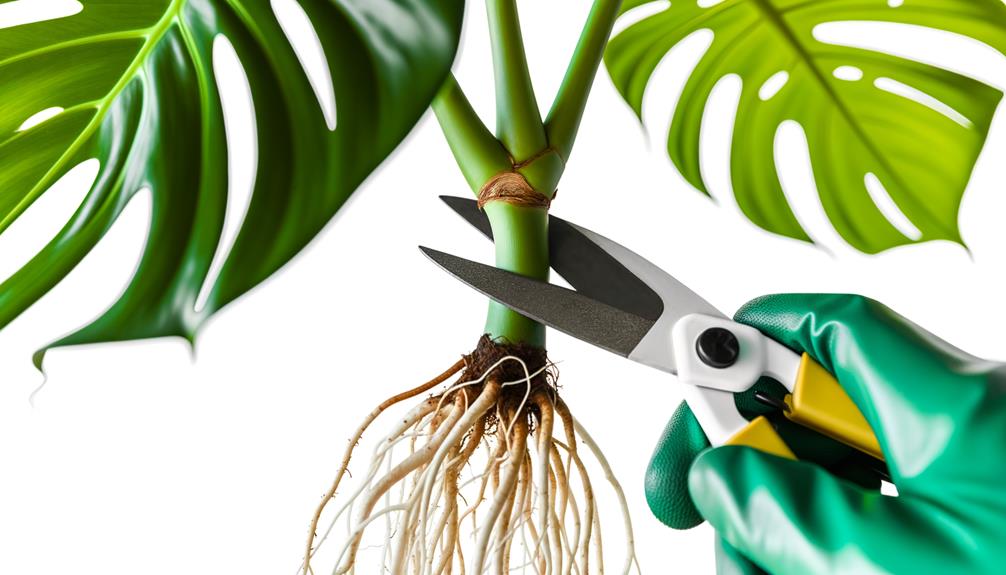
Always start by selecting a healthy, mature Monstera stem with at least one node and a few aerial roots. The node is essential because it contains the plant’s growth cells, which will develop into roots and leaves.
Look for a stem that shows no signs of disease or damage. Check for firm, green stems and avoid any that are yellowing or mushy. Verify the aerial roots are plump and firm, as they’ll help the cutting establish itself more quickly.
Don’t choose a cutting with fewer than one node, as it won’t have the necessary growth points. By carefully selecting a vibrant, healthy stem, you’re setting the foundation for successful propagation and robust plant growth.
Preparing Your Tools
Before you start, gather all necessary supplies, including a sharp pair of pruning shears, a clean container, and rooting hormone.
Confirm your cutting tools are sterilized with rubbing alcohol to prevent infection. Having clean, sharp tools will make precise cuts and promote healthy propagation.
Gather Necessary Supplies
To successfully propagate a Monstera plant, you’ll need to gather a clean pair of sharp pruning shears, a glass container, fresh water, and rooting hormone. Make sure your pruning shears are sharp; this helps create a clean cut, minimizing damage to the plant.
The glass container should be clear, so you can monitor root growth and water clarity. Fill it with fresh, non-chlorinated water to provide an ideal environment for root development. Rooting hormone, although optional, greatly enhances the success rate of cuttings by promoting faster root growth.
Each of these tools plays an important role in ensuring your propagation process is efficient and successful. With these supplies assembled, you’re well-prepared to commence the next steps in Monstera propagation.
Sterilize Cutting Tools
Securing your pruning shears are properly sterilized is a critical step to prevent the spread of disease and contamination during the propagation process.
Start by cleaning your shears with warm, soapy water to remove any dirt or organic matter. Rinse them thoroughly.
Next, prepare a sterilizing solution by mixing one part bleach with nine parts water. Soak the shears in this solution for at least five minutes.
Alternatively, you can use 70% isopropyl alcohol for a quicker sterilization—simply wipe the blades with an alcohol-soaked cloth.
After sterilizing, rinse the shears with clean water and dry them completely with a clean towel.
Properly sterilized tools secure healthy, successful Monstera cuttings and propagation.
Making the Cut
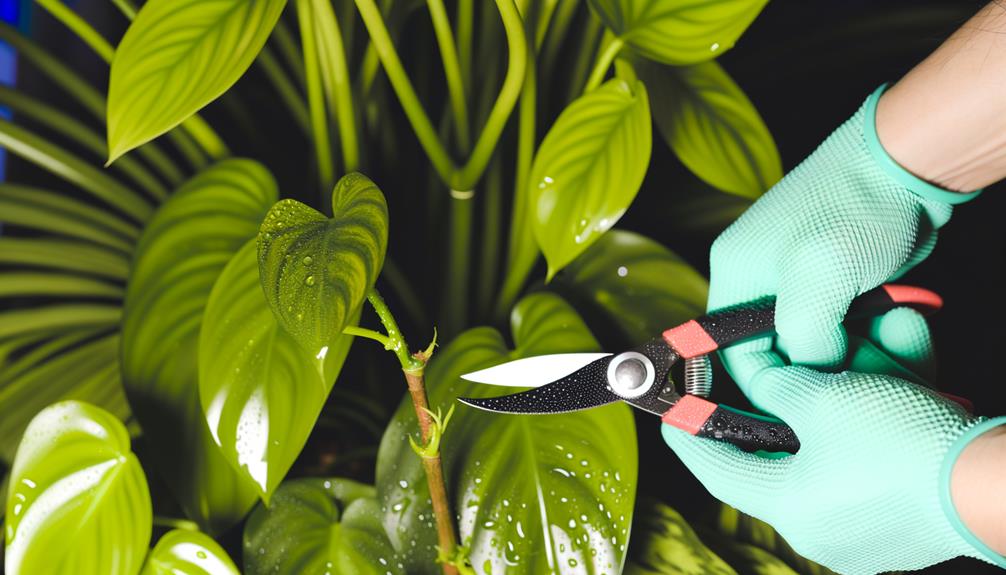
When making the cut, choose a healthy node, as this is essential for successful propagation.
Use sterilized, sharp scissors to make a clean cut just below the node to minimize damage.
Hold the cutting under running water immediately to prevent sap loss and prepare it for rooting.
Choosing Healthy Nodes
Select nodes that exhibit strong aerial roots and at least one healthy leaf to secure successful propagation. These characteristics guarantee your Monstera cutting has the necessary resources to thrive.
Examine the plant carefully to identify the most viable nodes.
Here’s a step-by-step guide:
- Inspect Nodes: Look for nodes with robust aerial roots; they appear as small, brownish bumps or roots sprouting from the stem.
- Healthy Leaves: Choose nodes with leaves that are vibrant, free of pests, and not yellowing or damaged.
- Node Spacing: Confirm the node is spaced appropriately from other nodes to facilitate clean cutting.
- Avoid Weak Nodes: Skip nodes that show signs of disease, rot, or inadequate root development.
Choosing the right nodes is crucial for successful Monstera propagation.
Proper Cutting Techniques
To make a precise cut, position your sterilized pruning shears just below the chosen node, making sure you include at least one healthy aerial root. This will maximize the cutting’s potential for successful propagation.
Hold the stem firmly but gently to prevent damage. Make a clean, angled cut to increase the surface area for rooting. Avoid crushing or tearing the stem as this can introduce pathogens and hinder root development.
After making the cut, immediately place the cutting in water or a damp paper towel to prevent drying out. Keep the cutting hydrated until you’re ready to plant it.
Proper cutting techniques are important for promoting healthy growth and reducing the risk of disease. Handle your tools and plant with care for best results.
Rooting in Water
For successful rooting in water, you need to cut a healthy Monstera stem just below a node, ensuring the cutting includes at least one leaf and a few aerial roots.
Once you have your cutting:
- Place it in a clear glass container filled with room temperature water, making sure the node is submerged.
- Change the water every few days to maintain oxygen levels and prevent bacterial growth.
- Position the container in indirect sunlight to foster root development without scorching the cutting.
- Monitor root growth over the next few weeks. Roots should appear within two to four weeks.
Keep a close eye on the water quality and root health, as clean water and stable conditions are essential for successful propagation.
Rooting in Soil
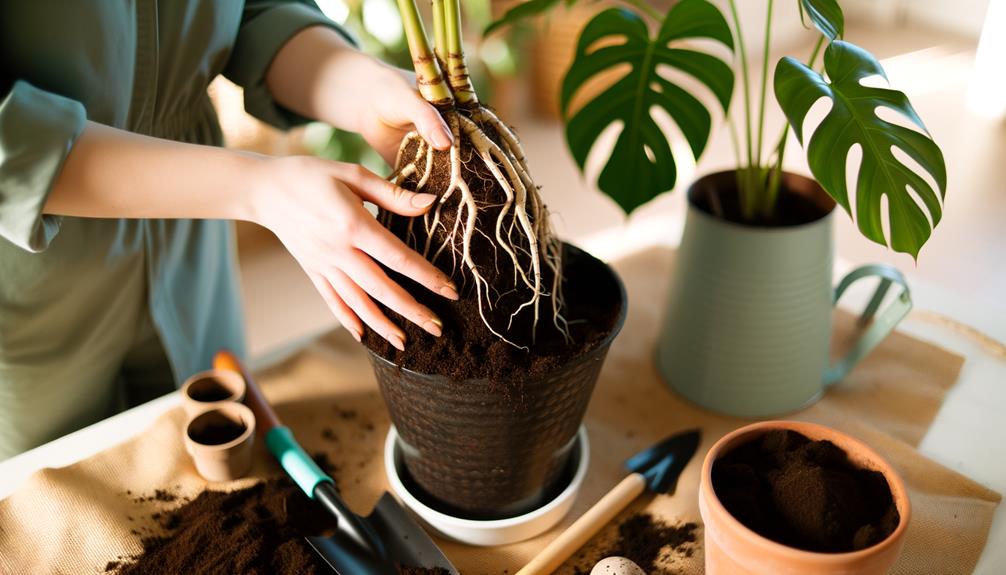
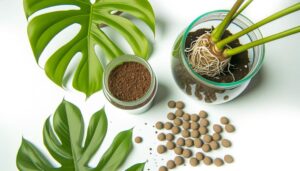
When rooting a Monstera cutting in soil, make certain you use a well-draining potting mix that retains moisture without becoming waterlogged. Begin by selecting a pot with drainage holes to prevent root rot. Plant the cutting about 2 inches deep, making sure at least one node is buried. Water thoroughly until excess drains out.
Monitor for root development by gently tugging the cutting after 4 weeks. If resistance is felt, roots have likely formed. Maintain soil moisture by checking regularly, but avoid overwatering.
Here’s a quick reference table:
| Step | Description |
|---|---|
| Pot Selection | Use one with drainage holes |
| Depth of Planting | Bury cutting 2 inches deep |
| Initial Watering | Water until excess drains out |
| Root Check | Tug gently after 4 weeks |
| Maintenance | Keep soil moist, avoid overwatering |
This method guarantees a healthy start for your Monstera.
Providing Proper Light
Providing your Monstera with bright, indirect sunlight is crucial for its optimal growth and vibrant foliage. Direct sunlight can scorch the leaves, while insufficient light can hinder growth.
Here’s how to offer the best lighting:
- Placement: Position your Monstera near an east or south-facing window with sheer curtains to scatter the light.
- Artificial Lighting: Utilize full-spectrum grow lights if natural light is inadequate, maintaining them 12-18 inches above the plant.
- Light Duration: Make sure your Monstera receives 10-12 hours of light daily for consistent growth.
- Rotation: Turn the plant every few weeks to guarantee all sides receive equal light exposure, encouraging uniform growth.
Following these guidelines will help your Monstera flourish.
Maintaining Humidity
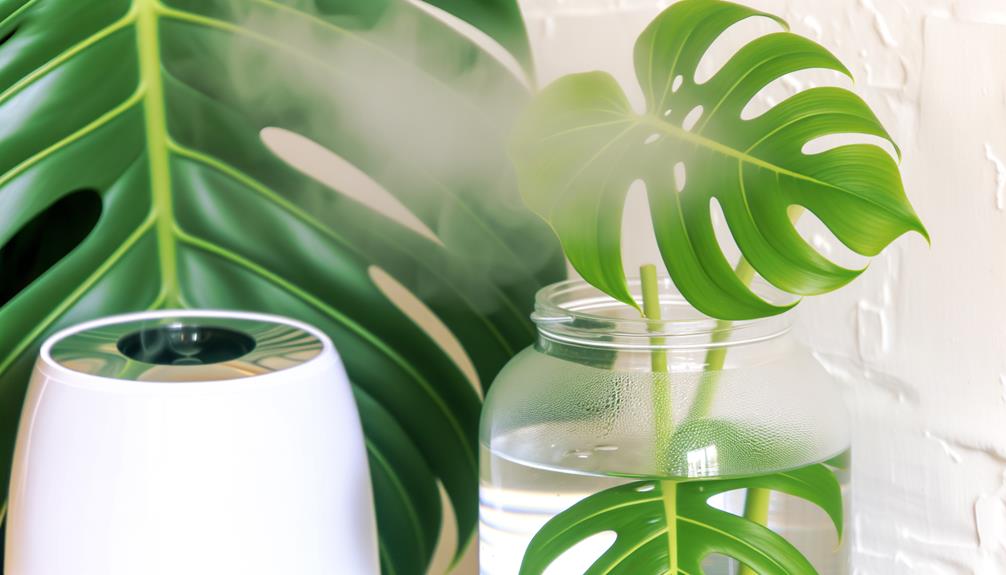
Maintaining sufficient moisture levels is vital for a Monstera plant’s health and lush foliage. Aim for a moisture level of 60-80%. Use a hygrometer to monitor the ambient humidity accurately.
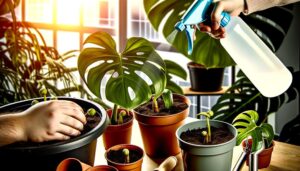
If levels drop, you can increase moisture by misting the leaves with distilled water, placing a humidifier nearby, or setting the pot on a tray filled with water and pebbles. Make sure the water doesn’t touch the pot’s base to prevent root rot.
Grouping your Monstera with other plants can also create a microenvironment with higher moisture. Avoid placing your plant near air vents or drafts, as these can reduce moisture levels significantly.
Regularly check and adjust to keep the moisture within the best range.
Transplanting Your Cutting
Once you’ve secured your Monstera’s humidity is best, it’s time to transplant your cutting into a well-draining potting mix.
Follow these steps to guarantee a successful transplant:
- Select the Right Pot: Choose a pot with drainage holes to prevent waterlogging.
- Prepare the Potting Mix: Use a mix of peat moss, perlite, and orchid bark to secure proper aeration and drainage.
- Plant the Cutting: Place the cutting in the pot, securing the node is buried at least an inch deep.
- Water Thoroughly: Water the mix until it’s evenly moist but not soggy.
Caring for Your New Plant
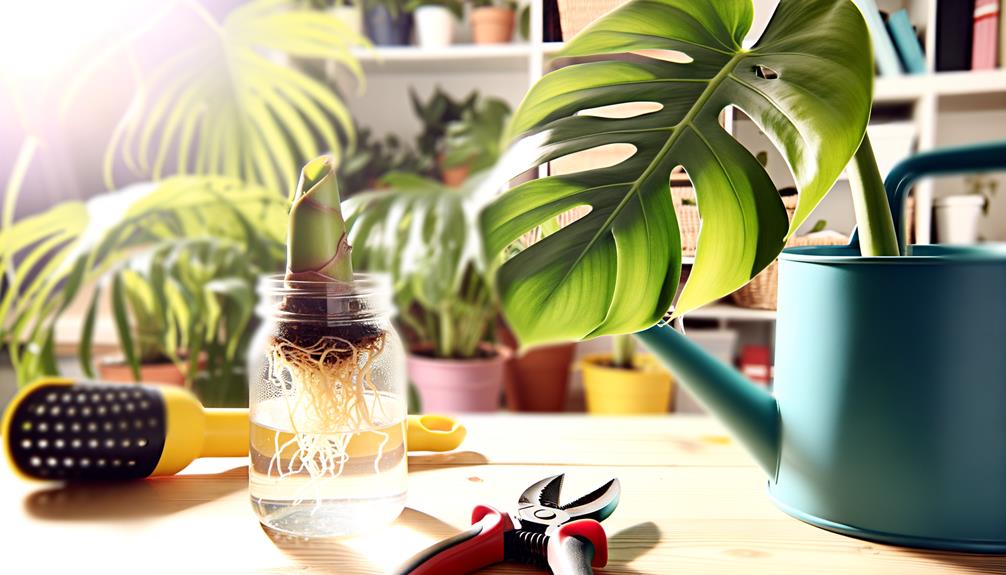
To nurture your newly transplanted Monstera, prioritize providing it with consistent moisture and indirect sunlight. Water the plant when the top inch of soil is dry, ensuring the pot has drainage holes to prevent waterlogging.
Place the Monstera in a location with bright, filtered light; avoid direct sunlight as it can scorch the leaves. Maintain a humidity level of 60-80% by misting the leaves or using a humidifier.
Fertilize your Monstera monthly during the growing season with a balanced, water-soluble fertilizer. Regularly check for pests like spider mites and treat infestations promptly with insecticidal soap.
Prune any yellow or damaged leaves to encourage healthy growth. By following these care instructions, your Monstera will thrive and grow robustly.
Conclusion
You’ve successfully propagated your Monstera plant, turning a single leaf into a thriving new companion. With the right cutting, proper tools, and careful nurturing, you’ve effectively breathed life into a new botanical wonder.
Remember, your Monstera, like a well-tuned instrument, requires consistent care—ample light, humidity, and gentle handling during transplanting. By maintaining this dedication, your new plant will flourish, adding a touch of nature’s elegance to your home.
Enjoy the fruits of your labor!

