How to Propagate Large Monstera? Step-by-Step Guide!
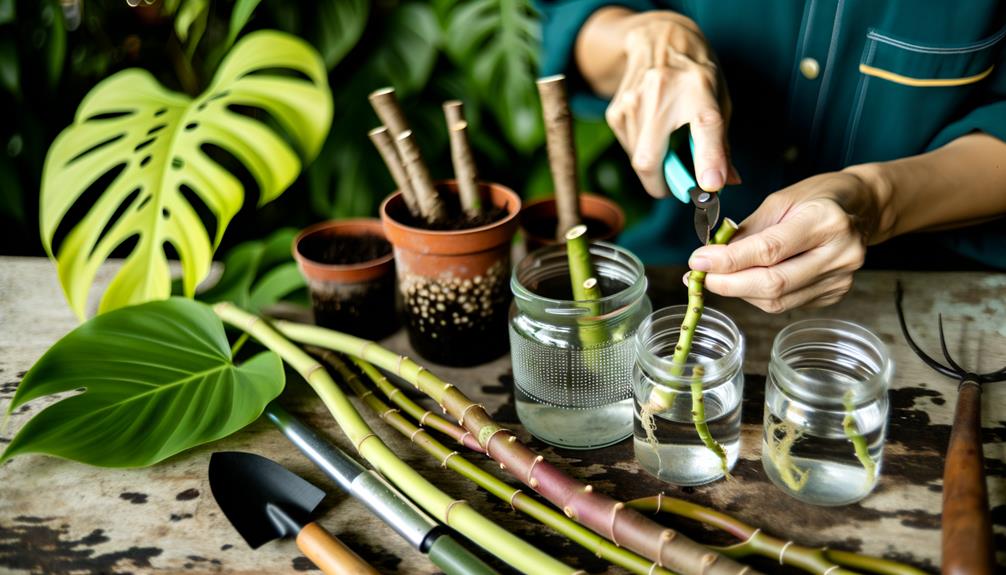
To propagate a large Monstera, start by sterilizing pruning shears and selecting a healthy stem with aerial roots and leaves. Spring or early summer works best due to longer daylight and higher humidity.
Make a clean cut below a node, and dip the cutting in rooting hormone to encourage root development. Place the cutting in well-draining soil, ensuring consistent moisture and indirect sunlight.
Maintain humidity around the plant and monitor water levels. Check for root and leaf growth over the following weeks.
By following these steps, you can effectively propagate your Monstera and see impressive results. Let’s get started!
Key Takeaways
- Use sterilized pruning shears to cut healthy stems with aerial roots and leaves during spring or early summer.
- Apply rooting hormone to the cut end to enhance root formation and development.
- Place cuttings in well-draining soil, ensuring they receive bright, indirect sunlight.
- Maintain high humidity and stable temperatures to support root development.
- Monitor growth, adjusting watering and care routines based on leaf and root health.
Choosing the Right Tools
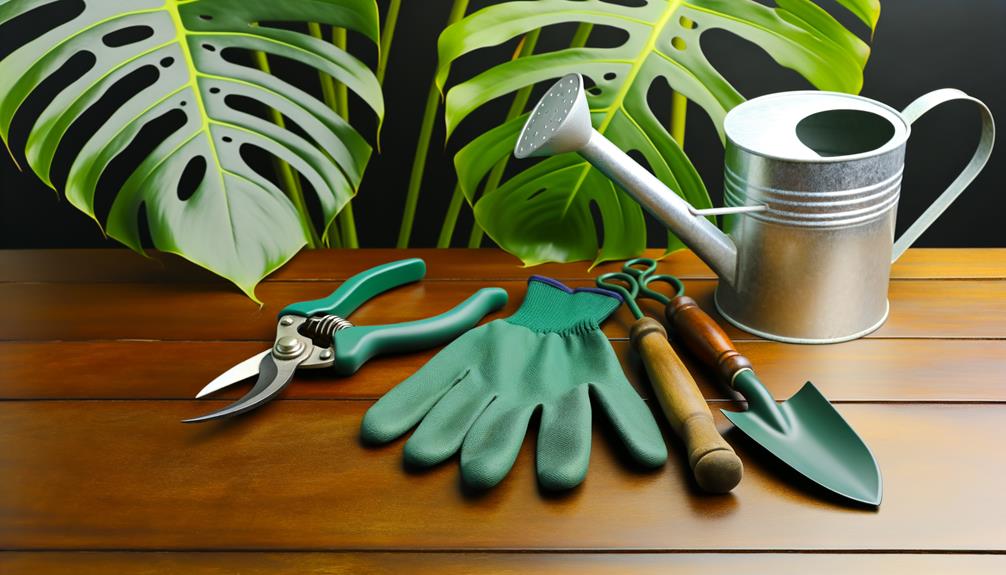
To successfully propagate a large Monstera, you’ll need a pair of sharp, sterilized pruning shears, a clean cutting board, and a rooting hormone to guarantee healthy root development.
Start by ensuring your pruning shears are sharp to make clean cuts, minimizing harm to plant tissues. Sterilize them using rubbing alcohol to prevent introducing pathogens. Use a clean cutting board to avoid contaminating the cuttings.
Applying rooting hormone stimulates adventitious root formation by providing auxins, essential phytohormones that promote root cell differentiation. When you’ve selected your tools, you create an ideal environment for the Monstera’s cuttings to thrive.
Each step in tool preparation greatly impacts the success rate of propagation, ensuring robust and healthy new growth.
Identifying Healthy Stems
Look for stems that exhibit strong growth, characterized by lively green color and a firm texture, guaranteeing they’re free from disease or pest damage. Healthy stems are essential for successful propagation as they contain ideal nutrients and robust cellular structures.
Inspect stems meticulously:
- Color: Confirm stems are a lively green, indicating chlorophyll presence and effective photosynthesis.
- Texture: Feel for firmness, signifying sturdy vascular tissues capable of nutrient and water transport.
- Health: Check for absence of lesions, spots, or pest infestations, which can compromise plant vitality.
Timing for Best Results
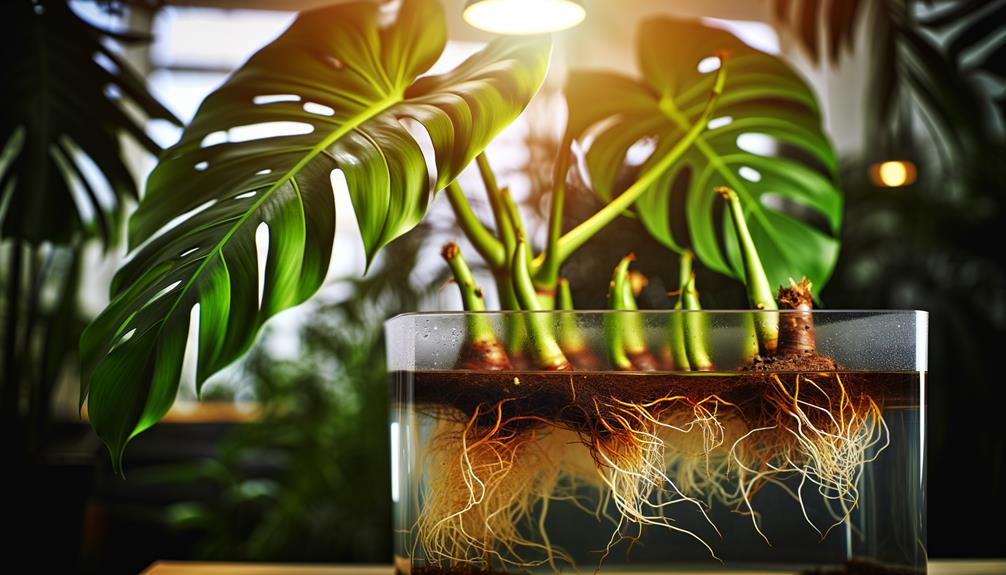
For best propagation results, choose the spring or early summer when the plant’s growth rate is highest.
Guarantee the cutting has at least one node and a healthy leaf for effective photosynthesis.
Monitor the root development, which typically takes 4-6 weeks in ideal conditions.
Ideal Season Selection
Spring and early summer offer the best growing conditions for propagating large Monstera due to increased daylight hours and warmer temperatures that stimulate vigorous root development and overall plant health. During these seasons, the plant’s metabolic processes are at their peak, which enhances nutrient uptake and cellular division.
To ensure optimal timing:
- Increased Photosynthesis: Longer daylight hours boost photosynthetic activity, providing more energy for root growth.
- Warmer Soil Temperatures: Soil warmth accelerates root initiation and elongation.
- Humidity Levels: Elevated humidity during these months promotes moisture retention in cuttings, reducing dehydration risk.
Optimal Cutting Conditions
To achieve the finest results when propagating large Monstera, it is important to follow a few key steps. Start by taking cuttings during the morning when the plant’s moisture levels are at their peak. This ensures that the cuttings remain hydrated and viable. It is also crucial to confirm that your Monstera is healthy and free from pests.
Next, use sterilized pruning shears to make clean cuts just below a node, where the plant’s meristematic cells are most active. Select cuttings with at least one aerial root and a leaf for prime photosynthesis. Immediately place the cuttings in clean water to prevent desiccation.
Maintain a consistent temperature of 20-25°C (68-77°F) to support cellular functions. Avoid exposing the cuttings to direct sunlight, as this can cause stress and reduce rooting success. By following these steps, you maximize your chances of successful propagation.
Root Development Timeline
Root development typically begins within two to four weeks, depending on the environmental conditions and the initial health of the Monstera cutting.
For peak root growth, make sure:
- Humidity: Maintain a high humidity environment, ideally between 60%-80%.
- Temperature: Keep the temperature stable, around 70°F-75°F (21°C-24°C).
- Light: Provide bright, indirect light to avoid leaf scorch and promote photosynthesis.
Monitor the cutting’s progress by observing the nodal regions where roots emerge. Healthy cuttings will exhibit white, fuzzy root initials, which elongate over subsequent weeks.
Regularly check moisture levels, as both waterlogged and overly dry conditions can hinder root formation.
Making the Cut
When making the cut on your Monstera, choose a healthy section with at least one node and an aerial root for best propagation success. Nodes are essential as they contain meristematic tissue capable of generating new roots and shoots.
Use a sterilized, sharp knife or pruning shears to make a clean cut just below the node. This reduces the risk of infection and promotes faster healing. Position your cut at a 45-degree angle to increase the surface area for rooting.
Ensure the aerial root is intact; it aids in water and nutrient absorption during the propagation process. Handling the cutting gently helps preserve tissue integrity, which is important for optimal growth and development in the propagation phase.
Using Rooting Hormone
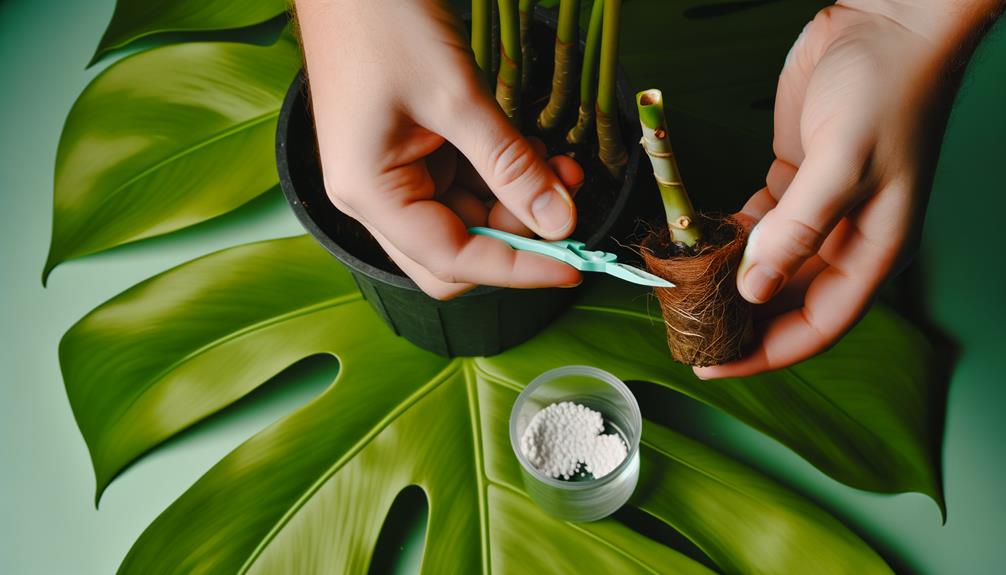
Have you considered applying rooting hormone to your Monstera cutting to enhance root development and increase the likelihood of successful propagation?
Rooting hormone contains auxins, which are plant growth regulators that stimulate root initiation and growth.
To use it effectively, follow these steps:
- Dipping the Cutting: Dip the cut end of your Monstera into the rooting hormone powder or gel, ensuring even coverage.
- Removing Excess: Gently tap the cutting to remove any excess hormone, preventing potential root burn.
- Encouraging Root Formation: Place the treated cutting in water or a propagation medium to encourage root formation.
These steps will provide the necessary conditions for your Monstera cutting to develop a robust root system, promoting healthier and quicker growth.
Preparing the Soil
To maximize your Monstera’s growth, begin by using a well-draining soil mix abundant in organic matter.
You’ll need to maintain best soil moisture, which means keeping the soil consistently moist but not waterlogged.
This balance is essential as it supports root respiration and prevents fungal infections.
Soil Composition Essentials
For ideal growth, make certain the soil for your Monstera is well-draining, rich in organic matter, and slightly acidic with a pH of 5.5 to 7. To achieve this, blend various components to create an optimal environment for root development and nutrient uptake.
Here’s what you need:
- Peat moss: Enhances water retention and provides a mildly acidic medium.
- Perlite or pumice: Guarantees excellent drainage and aeration, preventing root rot.
- Compost or aged manure: Provides essential nutrients and organic matter to support vigorous growth.
Mix these components thoroughly to form a balanced soil mixture.
The peat moss will help maintain the necessary moisture levels, while perlite or pumice will prevent compaction, ensuring roots receive sufficient oxygen. This combination promotes healthy Monstera propagation.
Optimal Soil Moisture
Maintaining ideal soil moisture is essential for Monstera propagation, as it directly influences root health and growth efficiency.
You should aim for soil that is consistently moist but not waterlogged. Overwatering can lead to root rot, while underwatering can cause dehydration and stunted growth.
Here’s a guideline to help you:
| Soil Condition | Action Required |
|---|---|
| Overly Wet | Reduce watering frequency |
| Consistently Moist | Maintain current schedule |
| Dry | Increase watering frequency |
Ensure you use a well-draining soil mix containing perlite, peat moss, and orchid bark. Regularly check soil moisture by inserting your finger about an inch deep. The topsoil should feel slightly damp but not soggy. Adjust your watering practices accordingly to maintain the best soil moisture level.
Planting the Cutting
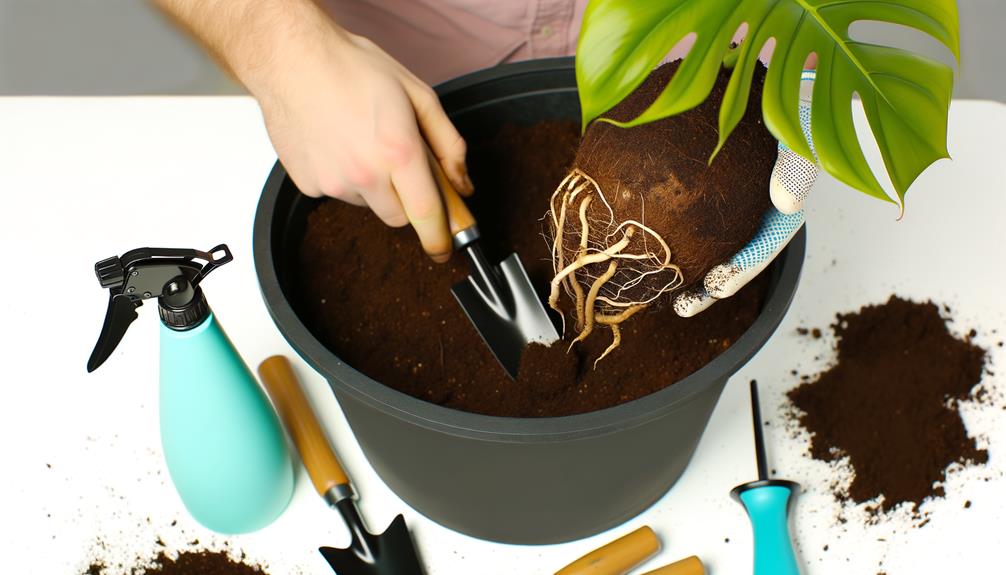
Begin planting the Monstera cutting by selecting a well-draining potting mix rich in organic matter. This promotes oxygenation of the roots and prevents waterlogging, which can lead to root rot. Fill a container with the potting mix, making sure it has drainage holes.
Next, insert the cutting, making certain the node is buried while aerial roots are gently positioned.
- Firm the soil around the cutting to eliminate air pockets.
- Water thoroughly until excess drains from the bottom.
- Ensure stability by lightly pressing the soil around the base.
The cutting’s node will develop adventitious roots, a critical process driven by auxins. This hormonal activity stimulates root formation, enhancing nutrient and water uptake. Monitor for new growth, indicating successful propagation.
Providing Proper Lighting
Proper lighting is necessary for Monstera cuttings, as it drives photosynthesis, enabling the plant to generate the energy required for robust root and foliage development.
Position your Monstera cuttings in an area with bright, indirect sunlight. Direct sunlight can scorch the leaves, while inadequate light will stunt growth. Utilize grow lights if natural light is insufficient.
Aim for a light intensity of around 10,000 lux, mimicking the plant’s natural habitat under the forest canopy. Monitor leaf color and adjust lighting as needed to maintain ideal conditions.
| Lighting Conditions | Resulting Plant Response |
|---|---|
| Bright indirect light | Healthy, vigorous growth |
| Low light | Slowed growth, leggy stems |
| Direct sunlight | Scorched leaves |
| Fluorescent grow lights | Consistent growth indoors |
| Insufficient light only | Stunted root and leaf development |
Maintaining Humidity
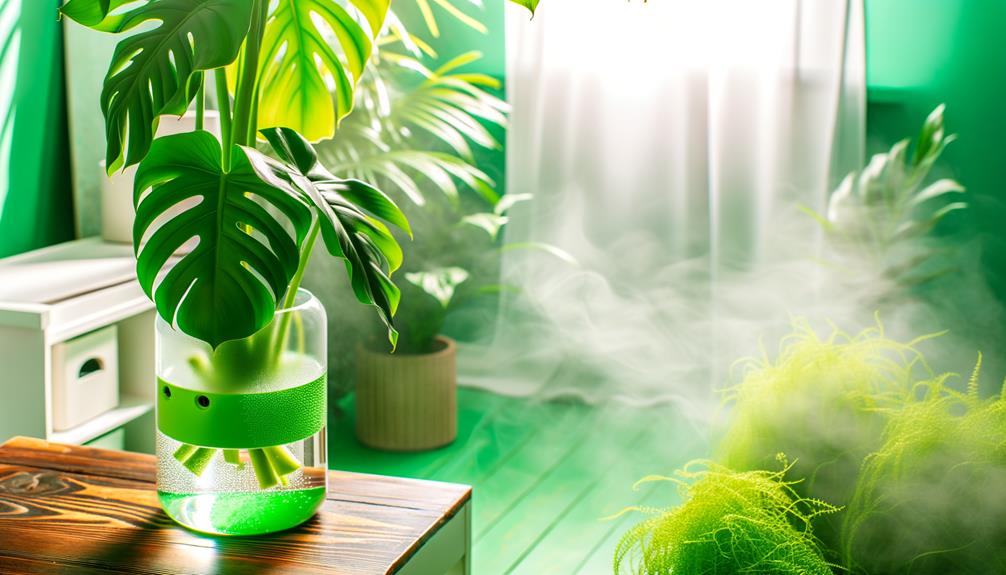
To maximize growth for your Monstera, maintain humidity levels between 60-80% to mimic its natural tropical environment. Use a hygrometer to monitor moisture levels and employ humidifiers or pebble trays to counteract dry indoor air.
Regular misting can also help sustain the necessary humidity for healthy aerial root and leaf development.
Ideal Moisture Levels
Maintaining best humidity levels is important for the healthy propagation of large Monstera plants. You should aim for 60-70% humidity to mimic their native tropical environment. High humidity aids in robust root development and leaf unfurling. Key physiological processes such as transpiration are optimized within this range.
To ensure ideal moisture levels:
- Use a hygrometer: Regularly monitor ambient humidity.
- Mist the leaves: Spraying the foliage can temporarily boost humidity.
- Create a microenvironment: Place a tray with water and pebbles beneath the plant to increase localized humidity.
These methods help maintain consistent moisture levels, optimal for the propagation and overall health of your Monstera.
Humidity Tools Guide
When you’re aiming to sustain ideal humidity levels for your Monstera, employing tools like hygrometers, humidifiers, and pebble trays is crucial for creating a favorable growing environment.
The Monstera thrives in humidity levels between 60-80%, promoting peak transpiration and nutrient uptake. A hygrometer helps you accurately monitor the humidity.
| Tool | Purpose | Benefits |
|---|---|---|
| Hygrometer | Measures ambient humidity | Guarantees accurate humidity control |
| Humidifier | Increases moisture in the air | Prevents leaf browning and curling |
| Pebble Tray | Provides localized humidity around plants | Enhances root and aerial root health |
Using these tools, you can maintain the right environment, ensuring your Monstera remains luxuriant and robust.
Preventing Dry Air
Ensuring your Monstera’s environment remains sufficiently humid involves several strategies to counteract dry air, such as using humidifiers and grouping plants together.
Monstera deliciosa thrives in 60-80% humidity, essential for ideal stomatal function and transpiration.
Utilize these methods to maintain perfect humidity levels:
- Humidifiers: Place a humidifier near your Monstera to release a continuous mist, ensuring consistent atmospheric moisture.
- Pebble Trays: Fill a tray with water and pebbles, placing it under the plant pot to create localized humidity through evaporation.
- Plant Grouping: Cluster multiple plants to create a microclimate, naturally increasing ambient humidity through collective transpiration.
Watering Guidelines
To maximize the health of your Monstera during propagation, you should water it when the top inch of soil feels dry to the touch, making sure the roots remain moist but not waterlogged. This balance prevents root rot and promotes peak nutrient uptake. Utilize a moisture meter if you’re uncertain.
Employ tepid water to avoid shocking the roots. Water should be applied evenly, allowing excess to drain thoroughly from the pot’s base. Guarantee your container has adequate drainage holes to prevent water stagnation.
Monstera roots require oxygen, and waterlogged conditions can lead to anoxic (oxygen-deficient) environments detrimental to root health.
Regularly check soil moisture and adjust your watering frequency based on ambient humidity and temperature, as both can impact soil drying rates.
Monitoring Growth
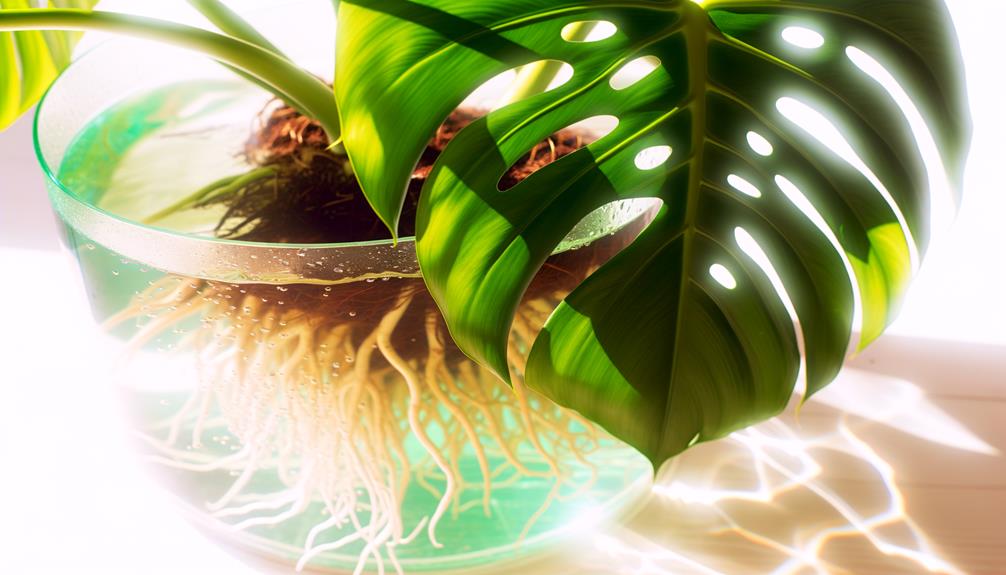
Consistently monitor your Monstera’s growth by measuring new leaf development and checking for signs of healthy root expansion. Regular observation guarantees ideal conditions for your plant’s physiological processes.
Monitor:
- Leaf Morphology: Examine the fenestration and coloration of new leaves, indicating photosynthesis efficiency.
- Root Health: Inspect roots for white, firm structures, signifying nutrient uptake and water absorption.
- Stem Integrity: Assess the turgidity of stems, confirming strong vascular function.
To measure growth, use a ruler to record leaf size weekly. Track root health by gently examining the root ball during repotting. Healthy roots should be white and firm.
Document these observations to create a growth pattern profile, helping you adjust care routines and ensure your Monstera thrives.
Troubleshooting Issues
While monitoring growth provides valuable insights, recognizing and addressing issues promptly is essential for maintaining your Monstera’s health.
If you notice yellowing leaves, it could indicate overwatering or root rot. Check the root system for soggy, blackened roots; trim affected areas and repot in well-draining soil.
Brown leaf tips often signify low humidity or underwatering. Increase humidity by misting or using a humidifier and maintain consistent watering.
Should you encounter leggy growth, inadequate light is likely the cause. Move your Monstera to a brighter location, but avoid direct sunlight to prevent leaf burn.
Can You Propagate Monstera In Winter
Yes, you can propagate Monstera in winter, but it’s generally not ideal. Monstera plants are less active during the winter months due to lower light levels and cooler temperatures, which can slow down the rooting process.
If you do decide to propagate in winter, consider the following tips to increase your chances of success:
- Use a Heat Mat: Place the cuttings on a heat mat to provide consistent warmth, which can help encourage root development.
- Bright, Indirect Light: Provide as much bright, indirect light as possible. Consider using a grow light if natural light is insufficient.
- Maintain Humidity: Keep the humidity high around the cuttings. You can use a humidity dome or mist the cuttings regularly.
- Watering: Keep the growing medium slightly moist but not waterlogged to prevent rot.
- Patience: Be prepared for a slower rooting process compared to propagation done in the growing season.
While propagation is more challenging in winter, it can still be successful with extra care and attention.
Conclusion
Propagating large Monstera isn’t just rewarding; it’s scientifically fascinating.
Consider this: Monstera cuttings can develop roots up to 3 inches long within just 4 weeks when maintained at ideal humidity levels around 70%.
By choosing the right tools, timing your cuts, and using rooting hormone, you’re ensuring a robust propagation process.
Keep humidity high and water consistently to see your new Monstera thrive.
Monitor growth and address any issues promptly for the best results.

