How to Propagate Monstera in Perlite? Easy Propagation Tips!
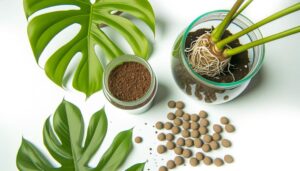
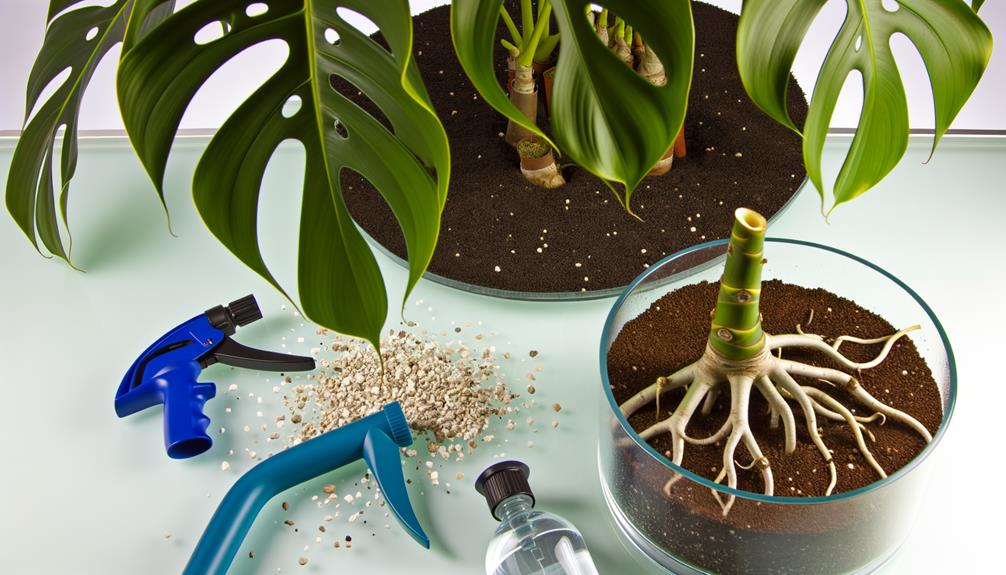
To propagate Monstera in perlite, start by sterilizing a container with drainage. Select coarse perlite, rinse it with room temperature water, and fill the container.
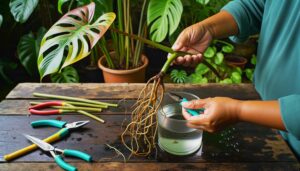
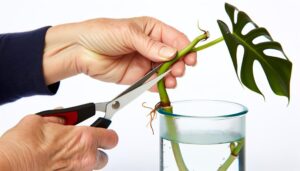
Cut a healthy Monstera below a node using sterilized shears. Insert the cutting so the node is fully immersed in the moistened perlite.
Use distilled or rainwater to guarantee proper moisture levels. Cover the container with plastic to maintain high humidity and place it in a well-lit area.
Regularly monitor for root development, which should be white or light tan. Once roots develop, you’ll be ready for the next steps in ensuring successful growth.
Key Takeaways
- Use sterilized shears to cut a healthy Monstera stem below a node.
- Rinse high-quality perlite, fill the sterilized container, and moisten it with distilled water.
- Insert the Monstera cutting with a node fully immersed in the moistened perlite.
- Ensure proper lighting and maintain humidity with a plastic cover for optimal growth.
- Regularly monitor for healthy white or light tan roots and check for signs of rot.
Gather Your Supplies
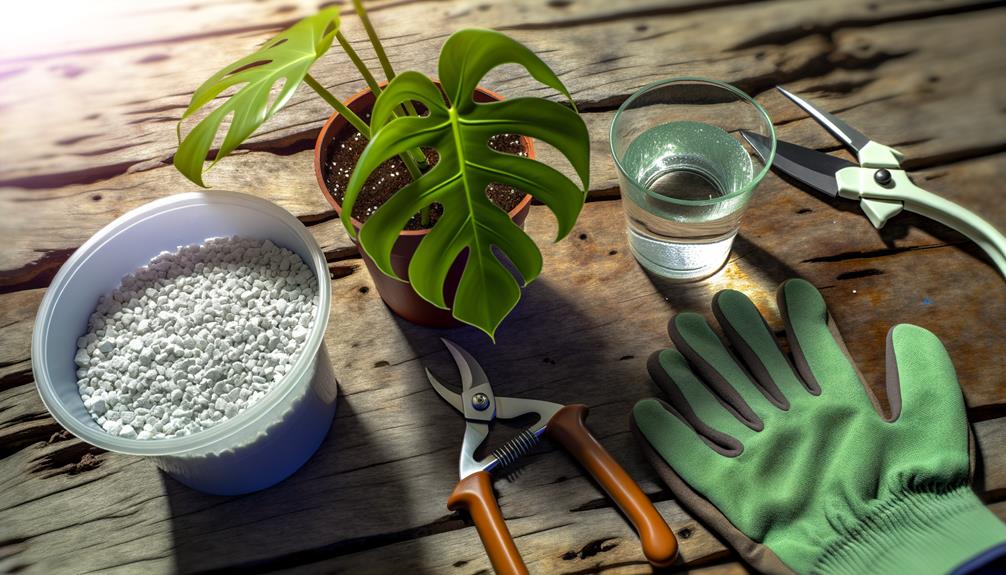
To start propagating Monstera in perlite, you’ll need to gather essential supplies including a healthy Monstera cutting, perlite, a container, and water.
First, choose a container with adequate drainage to prevent waterlogging. Sterilize it to avoid any contamination.
Next, select coarse perlite, as it provides excellent aeration and moisture retention. Rinse the perlite thoroughly to remove any dust or impurities. Place the rinsed perlite into the container, filling it about halfway.
Prepare water that’s at room temperature to facilitate ideal conditions for root growth. By assembling these materials carefully, you create a conducive environment for your Monstera cutting to develop robust roots, setting the stage for successful propagation.
This method promotes both healthy growth and minimized risk of rot.
Choose a Healthy Cutting
Choosing a healthy cutting is crucial for successful Monstera propagation, so identify a stem with at least one node and an aerial root to guarantee optimal growth potential. The node is a crucial part, as it contains the necessary cells for root and shoot development. Make sure the cutting is free of pests and diseases, displaying lively green leaves and sturdy stems.
| Criteria | Optimal Characteristics |
|---|---|
| Node Presence | At least one node |
| Aerial Root | Visible and in good condition |
| Leaf Condition | Lively green, free from yellowing or spots |
| Stem Firmness | Sturdy and not mushy |
| Pest Free | No visible pests or signs of disease |
Cut Below a Node
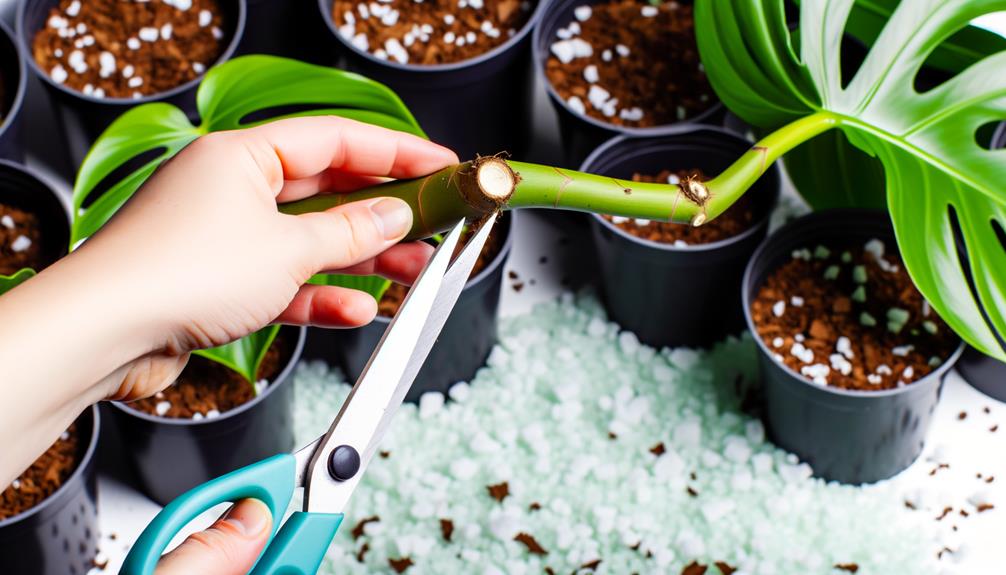
When propagating Monstera, locate the node, which is a small, knobby area where leaves and roots emerge.
Make a precise, clean cut just below this node using sterilized pruning shears to minimize disease risk.
This guarantees ideal conditions for root development in the perlite medium.
Identify Node Location
Locating the node is crucial, as you’ll need to cut just below it to guarantee successful propagation of your Monstera. Nodes are the points on the stem where leaves, roots, and aerial roots develop.
Follow these steps to identify them:
- Observe the stem: Look for slight bulges or rings where leaves attach.
- Check for aerial roots: Nodes often have small roots growing out, indicating active growth areas.
- Locate leaf scars: Where old leaves have fallen off, the node remains as a distinct mark.
Make sure you pinpoint an active, healthy node for propagation. This secures that the cutting has the necessary cellular structures to develop roots and new growth.
With correct identification, your Monstera’s chances of thriving in perlite rise significantly.
Ensure Clean Cut
To guarantee a clean slice, use sterilized, sharp pruning shears to trim just below the identified node, minimizing the risk of infection and promoting ideal root development. Confirm your tools are cleaned with rubbing alcohol or a bleach solution to eliminate any pathogens.
Position your shears at a 45-degree angle for the most efficient slice. This angle maximizes the surface area for root growth while minimizing damage to the plant tissue. After cutting, inspect the wound for any uneven edges and trim if necessary to secure smoothness.
| Step | Action | Purpose |
|---|---|---|
| 1 | Sterilize pruning shears | Prevent infection |
| 2 | Identify node | Determine cutting location |
| 3 | Position shears at 45-degree angle | Optimize root growth surface area |
| 4 | Make a clean slice below node | Promote healthy root development |
| 5 | Inspect and smooth any uneven edges | Ensure clean wound for better healing |
Prepare the Perlite
To prepare the perlite, first select high-quality perlite to guarantee ideal aeration and drainage for the Monstera cuttings. Rinse the perlite thoroughly to remove any dust particles that can hinder root development.
After rinsing, drain the perlite well and fill your propagation container to create a sterile, well-draining environment for the cuttings.
Choose Quality Perlite
Selecting high-quality perlite is crucial for successful Monstera propagation, as it maximizes aeration and moisture retention for root development. Opt for horticultural-grade perlite, which is free from impurities and has a consistent particle size. This kind guarantees ideal air pockets for root oxygenation and water drainage.
When purchasing perlite, look for the following:
- Particle Size: Choose medium to large particles, around 1/8 to 1/4 inch, to facilitate sufficient airflow and prevent compaction.
- Purity: Verify the perlite is free from additives, which can disrupt root growth and water absorption.
- Packaging: Select perlite that’s stored in a sealed, moisture-proof bag to prevent contamination and preserve its effectiveness.
Rinse and Drain
After selecting quality perlite, thoroughly rinsing and draining it guarantees that any remaining dust or impurities are eliminated, offering a clean medium for Monstera cuttings.
Start by placing the perlite in a fine mesh strainer or colander. Run water over the perlite, gently agitating it with your hands to make sure all particles are washed. Continue rinsing until the water runs clear, which indicates the removal of excess dust and unwanted residues.
Drain the perlite completely to avoid waterlogging, which could hinder root development. Ensuring perlite is clean and well-drained enhances aeration and moisture control, critical for successful propagation.
This meticulous preparation step promotes an ideal growth environment for your Monstera cuttings.
Fill Propagation Container
Begin by making sure your propagation container has sufficient drainage holes to prevent water from accumulating at the bottom. This is essential for maintaining ideal moisture levels and preventing root rot.
Once you’ve verified the drainage, fill the container with pre-rinsed perlite. Perlite is a volcanic glass that enhances aeration and drainage, perfect for Monstera propagation.
Here’s a step-by-step guide:
- Fill the container halfway with perlite. This creates a stable base for your Monstera cutting.
- Gently tap the container. This helps the perlite settle evenly, reducing air pockets.
- Add more perlite until it reaches just below the rim. This guarantees your cutting will have ample support and space to root effectively.
Fill Your Container
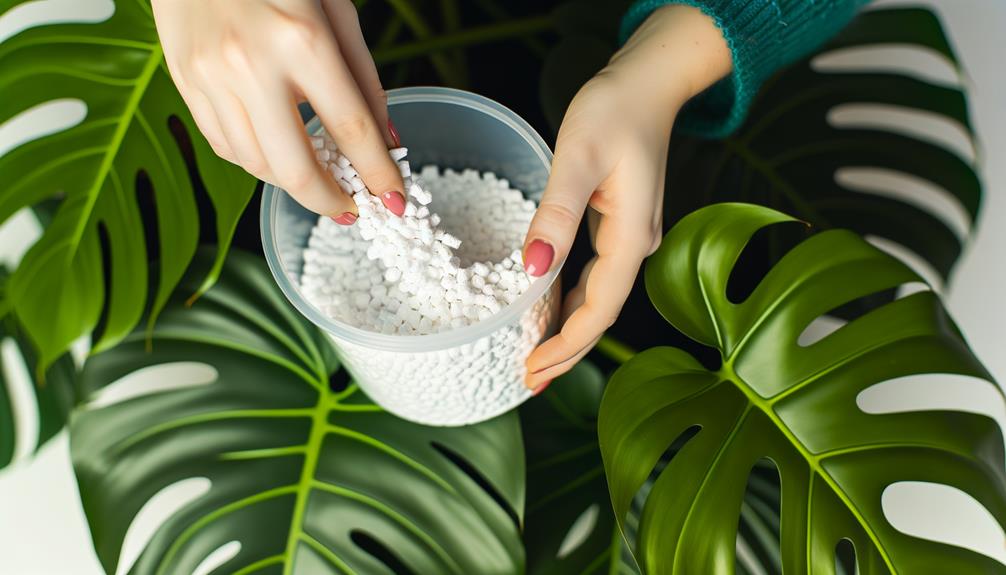
Make certain you fill your receptacle with high-quality perlite, which offers excellent aeration and drainage for your Monstera cuttings. Perlite, a volcanic glass, is expanded by heat, creating a lightweight, porous medium. This arrangement secures roots receive ample oxygen, vital for cellular respiration and nutrient absorption.
Use a sanitary container with drainage holes to prevent water stagnation, which can cause root rot. Fill the container up to about 80% capacity, allowing room for the cuttings and water retention.
Gently shake or tap the container to settle the perlite, eliminating large air pockets that could impede root growth. Guarantee an even distribution, as this encourages uniform moisture levels and root development.
Now you’re prepared for the next steps.
Moisten the Perlite
Thoroughly moisten the perlite by gently pouring water over it until it’s evenly damp but not waterlogged, ensuring ideal conditions for root development. The perlite should feel moist to the touch but shouldn’t release excess water when squeezed. This balance is essential to prevent root rot and promote healthy growth.
To achieve optimal moisture levels:
- Use distilled or rainwater: This avoids chlorine and fluoride, which can harm young roots.
- Check for drainage: Guarantee your container has drainage holes to avoid water accumulation.
- Monitor moisture: Regularly check the perlite’s moisture, adding small amounts of water if it starts to dry out.
Insert the Cutting
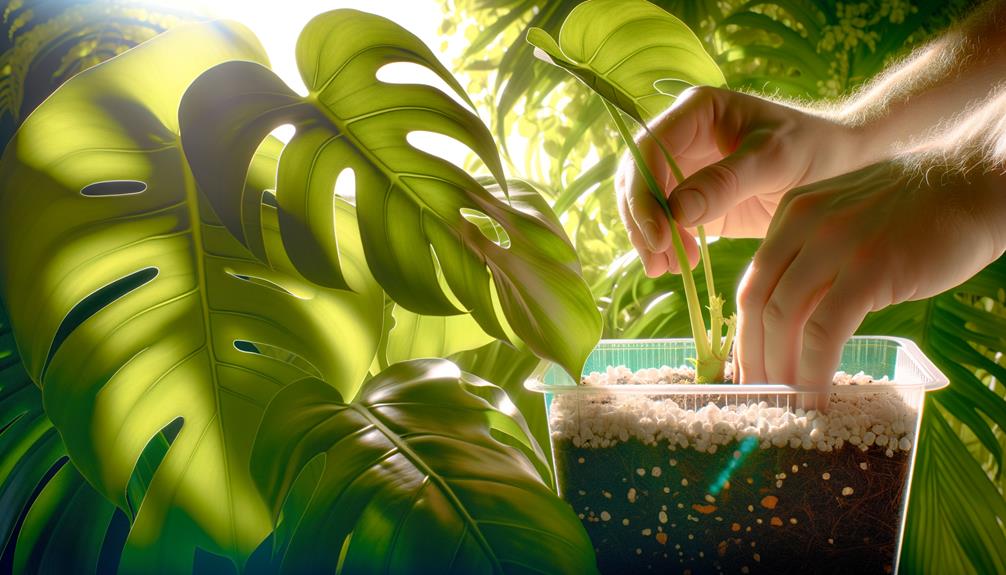
Carefully place the Monstera cutting into the moistened perlite, ensuring that at least one node is fully immersed to promote root growth. Position the cutting so that the node, which contains the necessary meristematic tissue, remains in consistent contact with the perlite. This contact is vital for stimulating root initiation and subsequent development.
Use gentle pressure to stabilize the cutting, avoiding damage to the delicate tissues. Ensuring the node is sufficiently immersed helps maintain moisture and facilitates nutrient uptake. Monitor the placement, checking that the cutting remains upright and secure.
This method provides an ideal environment for the Monstera to develop a robust root system. By following these steps meticulously, you’ll enhance the cutting’s chances of successful propagation.
Provide Proper Lighting
Securing your Monstera cutting receives sufficient, indirect light is crucial for promoting healthy growth and preventing etiolation. Position your cutting near a window that offers bright, filtered light. Direct sunlight can scorch the leaves, while dim light hinders growth and root development.
Follow these guidelines for prime lighting:
- Brightness: Aim for 2000-3000 lux, which replicates the dappled light of a forest floor.
- Duration: Guarantee the cutting gets about 12-14 hours of light daily, using grow lights if natural light is inadequate.
- Distance: Position the cutting about 3 feet from a south-facing window or use sheer curtains to soften direct sunlight.
Maintain Humidity
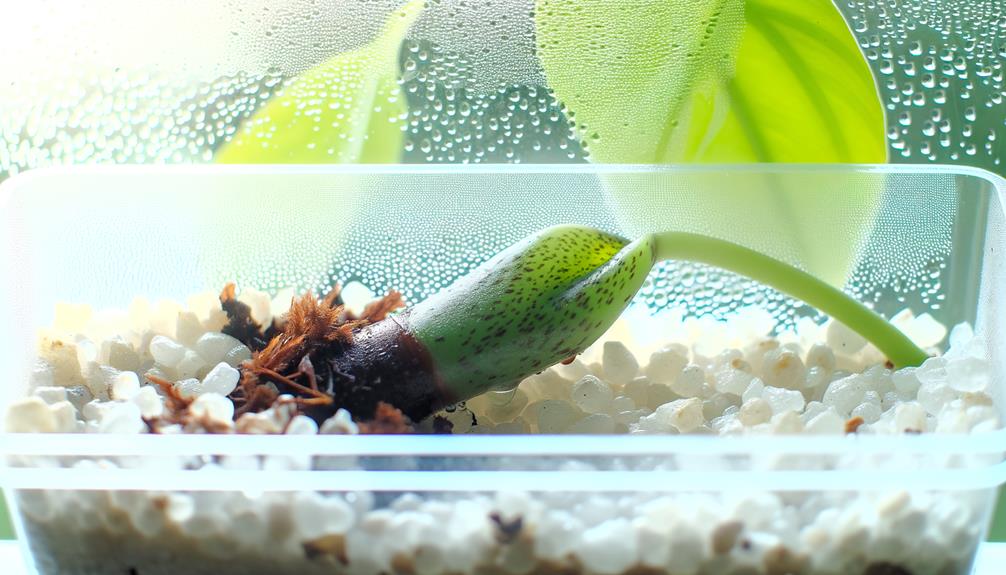
To keep ideal humidity for your Monstera cuttings, use a clear plastic cover to create a mini-greenhouse effect. This will help trap moisture and maintain a humid environment.
Regularly monitor moisture levels to maintain the perlite remains damp but not soggy, preventing root rot while encouraging healthy growth.
Use Clear Plastic Cover
A clear plastic cover will help maintain ideal humidity levels, essential for the successful propagation of Monstera in perlite. You’ll want to create a mini greenhouse effect to keep the air moist and warm around the cutting. This can be achieved by placing a clear plastic bag or dome over the container.
Here are some practical tips:
- Ensure ventilation: Poke small holes in the plastic to allow for air circulation, preventing mold.
- Monitor temperature: Keep the environment around 70-75°F (21-24°C) for best growth.
- Avoid direct sunlight: Place the covered container in bright, indirect light to prevent overheating.
Using a clear plastic cover effectively creates a controlled microenvironment that promotes root development and overall plant health.
Monitor Moisture Levels
Maintaining ideal moisture levels is crucial for guaranteeing your Monstera cuttings thrive during the propagation process in perlite. You’ll need to regularly assess the perlite’s moisture content to keep it consistently moist but not waterlogged.
Insert a finger about an inch into the perlite; if it feels dry, mist it lightly. Utilize a hygrometer to monitor the ambient humidity; aim for levels between 60-80%. Employing a clear plastic cover can create a microenvironment, retaining humidity.
However, be cautious of excessive condensation, which may stimulate fungal growth. Ensure proper ventilation by occasionally removing the cover.
Monitor Root Growth
Carefully observe the developing roots to guarantee they remain healthy and robust during the propagation process. Regularly check for signs of rot, discoloration, or stunted growth.
Use a clear container to easily monitor root development without disturbing the perlite. Healthy roots should appear white or light tan and feel firm to the touch.
- Signs of healthy roots: White/light tan color, firm texture
- Indicators of problems: Brown/black discoloration, mushy texture
- Optimal root length: About 2-3 inches before further action
Transplanting to Soil
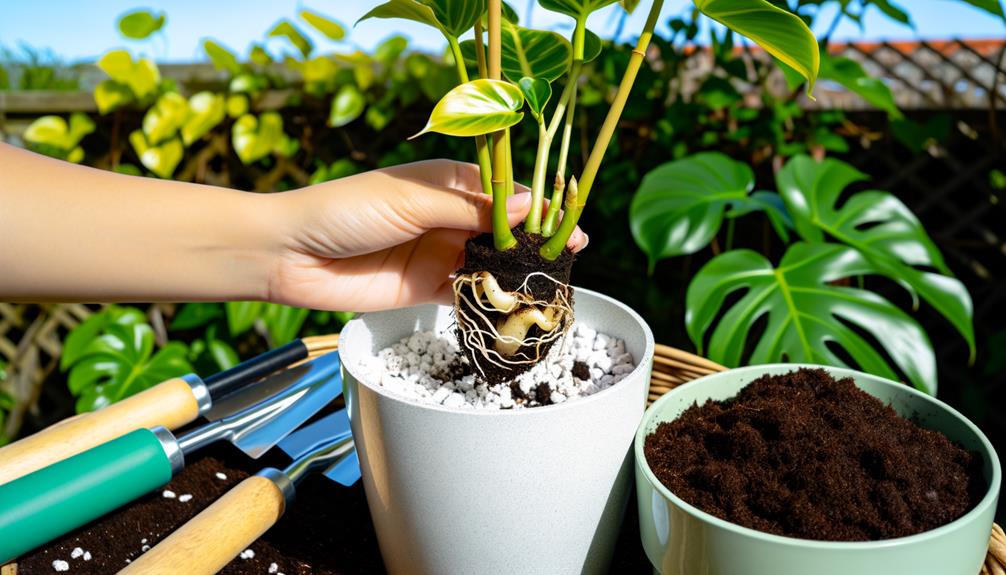
When the roots reach approximately 2-3 inches in length, it’s time to transplant your Monstera from perlite to soil to secure continued growth and stability.
Begin by selecting a pot with drainage holes to prevent waterlogging. Use well-draining potting soil, ideally containing peat, pine bark, and perlite.
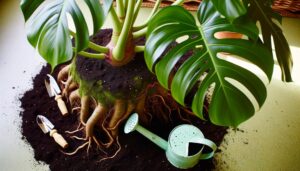
Gently remove the Monstera cutting from the perlite, taking care not to damage the delicate roots. Place the cutting in the pot, making sure the root system is evenly spread. Fill the pot with soil, lightly pressing down to secure the cutting.
Water the plant thoroughly, allowing excess water to drain. This secures the soil settles around the roots, providing essential nutrients and anchorage for future growth.
Care After Transplant
After transplanting your Monstera into soil, it’s crucial to monitor its watering needs closely to prevent overwatering and promote healthy root development. Confirm the soil is well-draining and only water when the top inch feels dry. This helps avoid root rot, a common issue when moisture levels are too high.
Additionally, consider the following care tips:
- Light: Position your Monstera in indirect, bright light to encourage vigorous growth. Avoid direct sunlight, which can scorch the leaves.
- Humidity: Maintain a humidity level of around 60%. You can use a humidifier or place a tray of water near the plant.
- Feeding: Fertilize monthly during the growing season with a balanced, water-soluble fertilizer to provide essential nutrients.
Proper care will guarantee your Monstera thrives after transplanting.
Conclusion
You’ve now turned your Monstera propagation dreams into reality. With roots sprawling like a network of veins, your cutting is ready to make the leap to soil.
Keep the soil moist but not waterlogged, ensuring your plant thrives. Just like a mother cradles her child, nurture your Monstera with care, and it’ll reward you with stunning, fenestrated leaves.
Your journey of propagation doesn’t end here; it’s just the beginning of a thriving Monstera family.

