How to Propagate Monstera Minima? Step-by-Step Guide!
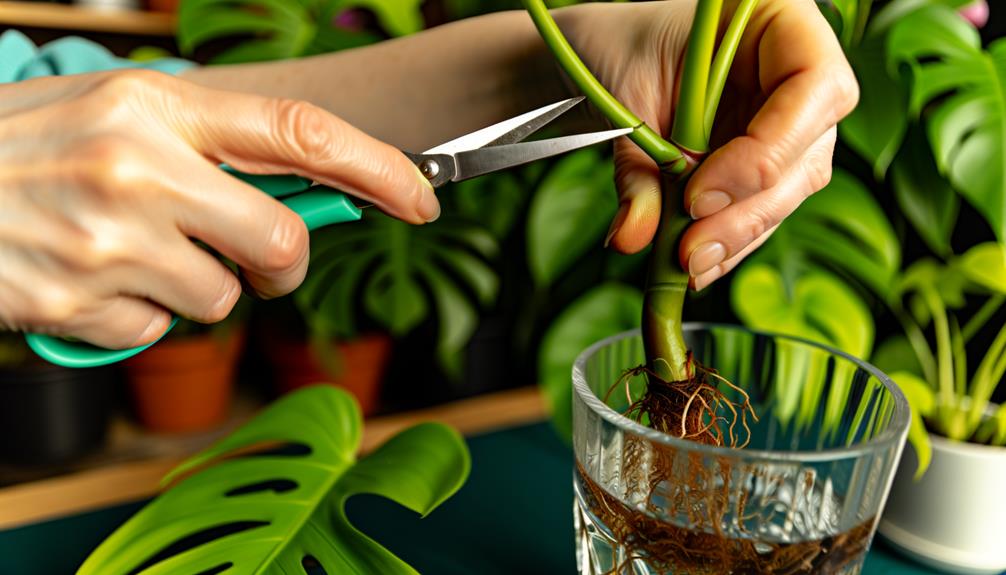
To propagate Monstera Minima, choose a healthy stem with at least one node and vibrant leaves. Sterilize pruning shears with rubbing alcohol.
Make a clean cut below the node, ensuring to avoid tissue damage. Allow the cutting to callus, then root it in chlorine-free water or well-draining soil.
Place it in bright, indirect light and change the water periodically to prevent bacterial growth. Maintain consistent moisture and use a humidity dome for the initial stages.
Healthy root development will show white, firm roots. Through these steps, you’ll encourage robust growth and a thriving plant.
Discover more techniques and tips for successful growth.
Key Takeaways
- Select a healthy stem with at least one node and vibrant leaves.
- Use sterilized, sharp pruning shears to make clean cuts.
- Allow cut ends to callus before placing in water or soil.
- Place in bright, indirect light and maintain consistent moisture.
- Ensure roots are white, firm, and 2-3 inches long before transplanting.
Selecting Healthy Cuttings
Why is it significant to choose cuttings from a strong and disease-free parent plant when propagating Monstera Minima?
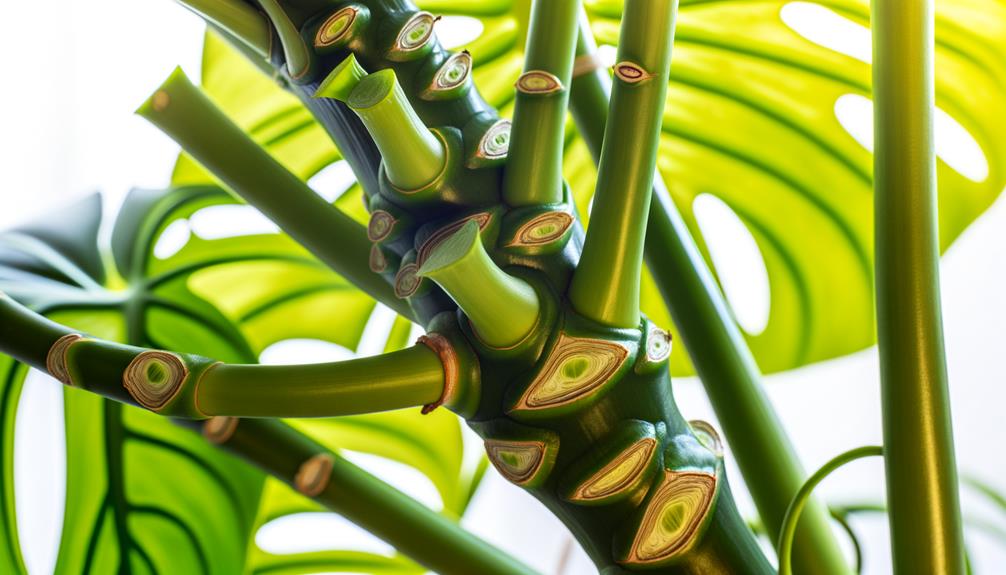
Selecting cuttings from a healthy parent ensures the new plant inherits robust genetic traits and best growth potential. Always inspect the parent plant for signs of strength, like lush, green foliage and rapid growth. Avoid plants showing discoloration, wilting, or pest infestations, as these can transfer pathogens to the cuttings.
Choose a stem with at least one node and a few healthy leaves. Nodes are essential as they contain meristematic tissue, which is crucial for root and shoot development.
Preparing Your Tools
Consistently maintain the sterility and sharpness of your tools to prevent the spread of disease and facilitate clean cuts when propagating Monstera Minima.
Begin by thoroughly cleaning your pruning shears, scissors, or knife with rubbing alcohol or a bleach solution. This sterilization process eliminates potential pathogens that could harm your plant.
Ensure your tools are sharp. Dull blades can crush the plant tissue, increasing vulnerability to infection. Use a sharpening stone or tool-specific sharpener to achieve a precise edge.
Gather these essential tools:
- Pruning shears: For precise, clean cuts.
- Rubbing alcohol or bleach: For sterilizing tools.
- Sharpening stone: To maintain sharpness.
- Gloves: To protect your hands while handling the plant.
Taking the Cutting
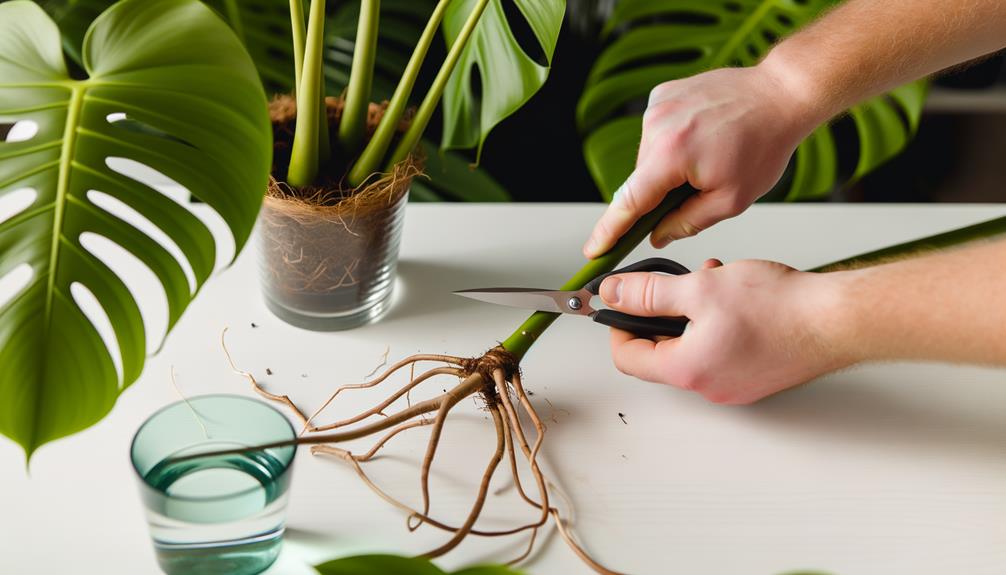
Carefully select a healthy stem with at least one node and a few leaves, ensuring it’s free from any signs of disease or pests. Use sterilized pruning shears to make a clean cut just below the node. This node is vital, as it contains cells necessary for root development. Avoid cutting too close to the node to prevent damage.
After taking the cutting, remove any leaves near the base to focus energy on root formation. Handle the cutting gently to avoid bruising or crushing the stem. Place the cutting in a clean, dry location for a few hours to allow the cut end to callus, reducing the risk of infection when it’s time to root.
Rooting in Water
To begin rooting your Monstera Minima cutting in water, submerge the cut end into a clear container filled with room-temperature, chlorine-free water, ensuring the node remains fully immersed.
Place the container in a location with bright, indirect light to stimulate root growth. Replace the water every few days to prevent bacterial buildup and maintain oxygen levels. After several weeks, you should observe root development.
- Monitor root growth: Look for white, healthy roots emerging from the node.
- Maintain water quality: Use filtered or distilled water to avoid contaminants.
- Temperature consistency: Keep the water at a stable, warm temperature around 70-75°F (21-24°C).
Check for algae: Clean the container if algae starts to grow, as it can suffocate roots.
Rooting in Soil
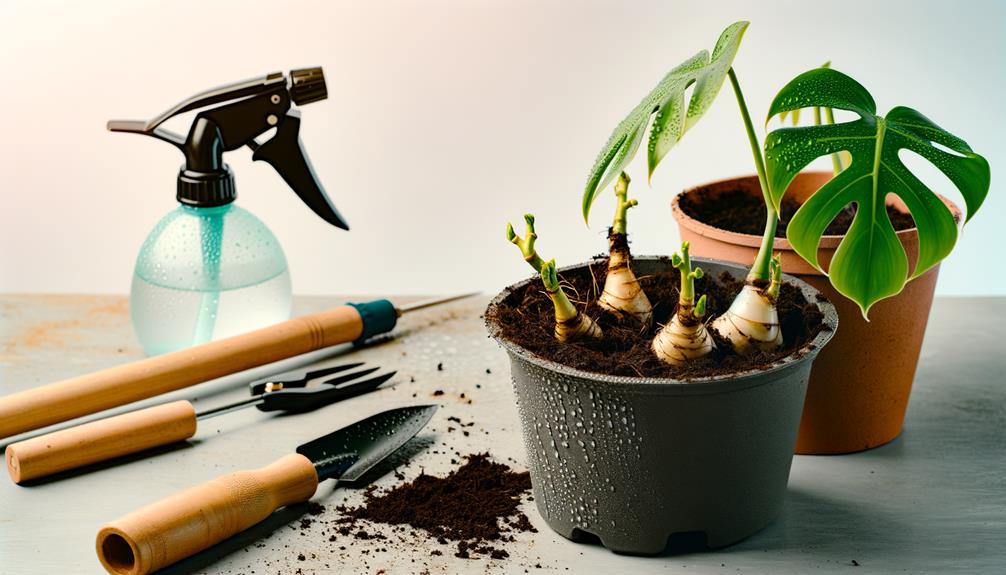
When rooting your Monstera Minima in soil, make sure the cutting’s node is placed in a well-draining potting mix to promote healthy root development. Select a pot with drainage holes to prevent water accumulation, which can lead to root rot.
Create a small hole in the soil, insert the cutting, and gently firm the soil around it to secure the node. Maintain consistent moisture without waterlogging the soil; misting can help. Position the pot in indirect sunlight to provide best light levels for photosynthesis.
Monitor the cutting for new growth, which indicates successful rooting. Employ a humidity dome or plastic bag to maintain high humidity, essential for initial root formation and overall plant vigor.
Transplanting the Cutting
After the cutting has developed a robust root system, transplant it into a larger pot with fresh, nutrient-rich soil to support continued growth. Choose a pot with drainage holes to prevent waterlogging. Gently remove the cutting from its initial container, being careful not to damage the delicate roots.
- Pot Selection: Opt for a container that’s one size larger than the original.
- Soil Composition: Use a well-draining mix, such as a blend of peat, perlite, and pine bark.
- Planting Depth: Position the cutting so its roots are fully covered, and the stem is securely anchored.
- Watering: Water thoroughly right after transplanting to help the soil settle and eliminate air pockets.
Ensure the new environment promotes healthy root system expansion and overall plant health.
Providing Adequate Light
Promote your Monstera Minima receives bright, indirect light to encourage peak growth. You should aim for around 10-12 hours of light exposure daily, simulating its natural tropical habitat.
Avoid direct sunlight, which can cause leaf scorching and hinder propagation success.
Optimal Light Conditions
Providing sufficient light for Monstera Minima is essential, as this tropical plant thrives best in bright, indirect sunlight to mimic its natural rainforest habitat. Position your Monstera Minima near a north or east-facing window to guarantee it receives ample light without direct sun exposure, which can cause leaf burn. If natural light is inadequate, consider using a grow light with a balanced spectrum.
Monitor the plant for signs of light stress, such as yellowing leaves or leggy growth.
- Optimal Light Intensity: Aim for 200-400 foot-candles.
- Avoid Direct Sunlight: Shield the plant from harsh midday rays.
- Supplemental Lighting: Use full-spectrum grow lights if necessary.
- Regular Rotation: Rotate the plant weekly for even light distribution.
Light Duration Needs
For optimal growth, Monstera Minima requires 12-16 hours of light each day to replicate its natural environmental conditions. Make sure you provide bright, indirect light, as direct sunlight can scorch the leaves.
Use a timer to automate lighting schedules, particularly if depending on artificial grow lights. LED grow lights are energy-efficient and offer the full spectrum of light essential for photosynthesis. Place the lights about 12-18 inches above the plant to prevent heat stress.
Consider rotating the plant regularly to guarantee uniform light exposure and prevent spindly growth. Keep a close eye on the plant; if leaves appear pale or spindly, it may suggest insufficient light, necessitating adjustments.
Sufficient light duration is crucial for robust growth and healthy propagation.
Watering and Humidity
Maintaining ideal watering and humidity levels is essential for the healthy propagation of Monstera Minima. You should keep the soil consistently moist but avoid waterlogging. Use distilled or rainwater to prevent mineral buildup. Aim for a relative humidity of 60-70% to mimic its native tropical environment.
- Watering Frequency: Water every 5-7 days, ensuring the top inch of soil dries out between waterings.
- Humidity Control: Use a humidifier or place a tray of water near the plant to elevate humidity levels.
- Water Quality: Avoid tap water with chlorine; opt for filtered or rainwater.
- Misting: Lightly mist the plant’s leaves every few days to boost humidity and prevent dehydration.
These practices will foster robust root development and vibrant growth.
Monitoring Growth
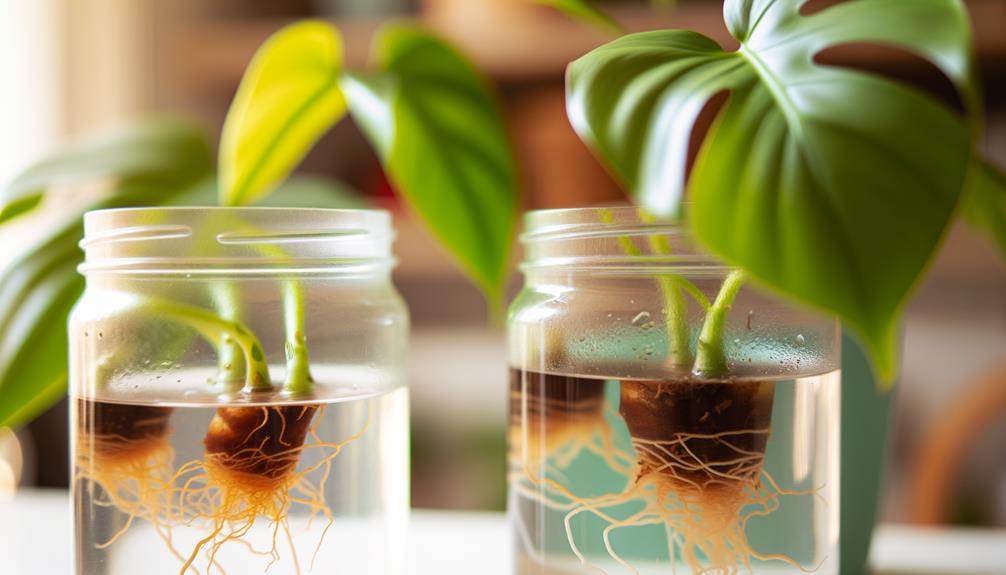
To monitor your Monstera Minima’s growth, regularly check the root development by gently lifting the plant to observe if roots are strong and branching.
Observe leaf emergence as new leaves indicate healthy propagation and proper nutrient uptake.
Assess stem health by inspecting for firmness and any signs of discoloration or disease, ensuring best plant health.
Check Root Development
Regularly examine the root system for signs of healthy growth, such as white, firm roots and new root tips, to guarantee your Monstera Minima is developing properly. Use a sterilized tool to gently lift the cutting from its medium.
Look for these indicators:
- White, Firm Roots: This indicates active, healthy root development.
- New Root Tips: Emerging tips indicate ongoing root growth.
- Absence of Rot: Confirm roots aren’t brown or mushy, which could indicate rot.
- Root Length: Roots should be at least 2-3 inches long before transplanting.
Observe Leaf Emergence
Monitoring the emergence of new leaves guarantees that your Monstera Minima is thriving and allows you to quickly address any potential issues. Observe the color, texture, and size of the unfolding leaves to maintain ideal conditions. Young leaves should be vibrant green and free from spots or discoloration. Track their growth rate, as slow development can indicate insufficient light or nutrients.
| Observation | Expected Outcome | Action Required |
|---|---|---|
| Leaf Color | Lively Green | None |
| Leaf Texture | Smooth and Unmarked | None |
| Leaf Size | Proportional to Plant Size | None |
| Growth Rate | Steady and Consistent | None |
| Discoloration | Absent | Investigate Causes |
Use this table as a reference to maintain your Monstera Minima’s healthy leaf emergence.
Assess Stem Health
Inspecting the stems of your Monstera Minima involves evaluating their strength, color, and overall structural integrity to achieve maximum growth. You need to make sure that the stems are strong and free from any signs of disease or decay. Healthy stems are essential for nutrient transport and overall plant vigor.
- Strength: Gently squeeze the stems; they should be sturdy, not mushy.
- Color: Look for vibrant green shades; avoid stems with brown or black discoloration.
- Structural integrity: Check for any physical damage or abnormal growth patterns.
- Nodes: Identify nodes, as they’re important for successful propagation and root development.
Regular monitoring will help you catch issues early, securing your Monstera Minima thrives.
Conclusion
Congratulations, you’ve now mastered the art of propagating Monstera minima! By following these steps, you’re cultivating a lush, vibrant plant.
Remember, patience is key like a sculptor chipping away at marble, each cut and care decision shapes a thriving masterpiece.
Keep providing bright, indirect light, maintain humidity, and monitor growth closely.
Your dedication will soon reward you with a flourishing Monstera minima, showcasing the fruits of your meticulous propagation efforts.
Happy growing!


