How to Propagate Monstera Siltepecana
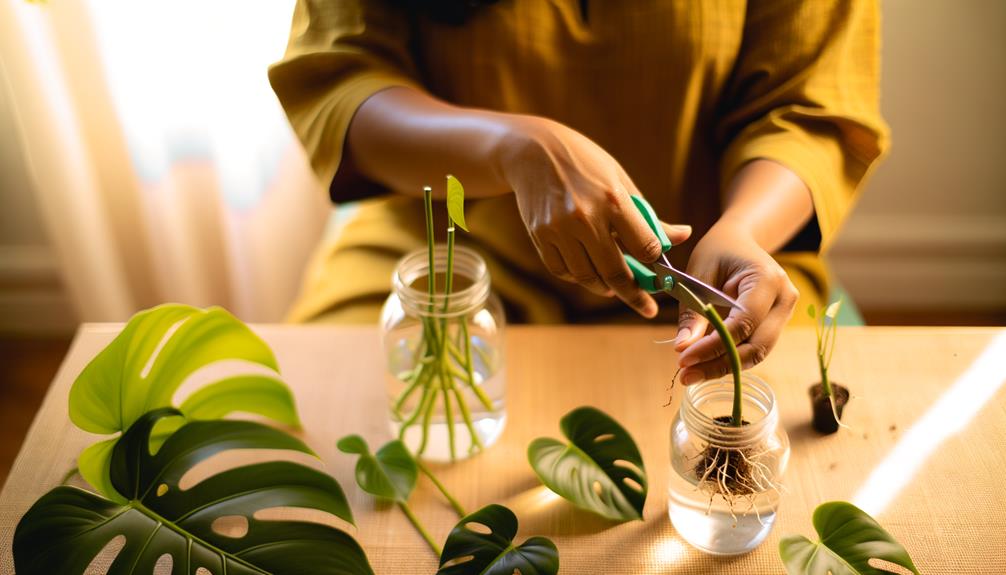
To propagate Monstera Siltepecana, start by sterilizing your pruning shears. Select a healthy 4-6 inch stem cutting with 2-3 nodes, and make a clean cut just below a node.
Dip the cut end in rooting hormone. For water propagation, place the cutting in a clear container with room temperature water, changing the water every 3-4 days.
Roots should emerge in 2-4 weeks. To transfer to soil, plant in well-draining mix containing peat moss, perlite, and orchid bark.
Maintain humidity levels between 60-80% using a humidity dome or humidifier, and guarantee indirect sunlight. There's more to master in perfecting your process.
Key Takeaways
- Use sterilized pruning shears to cut a healthy 4-6 inch stem with 2-3 nodes.
- Submerge the cutting in lukewarm water and apply rooting hormone to the cut end.
- Place the cutting in a transparent container with room temperature water, changing the water every 3-4 days.
- Once roots develop in 2-4 weeks, transfer the cutting to a pot with well-draining soil.
- Ensure the cutting receives indirect sunlight and maintain humidity levels between 60-80%.
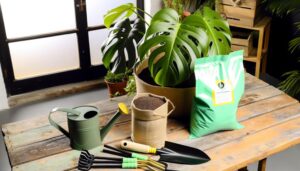
Gather Your Materials
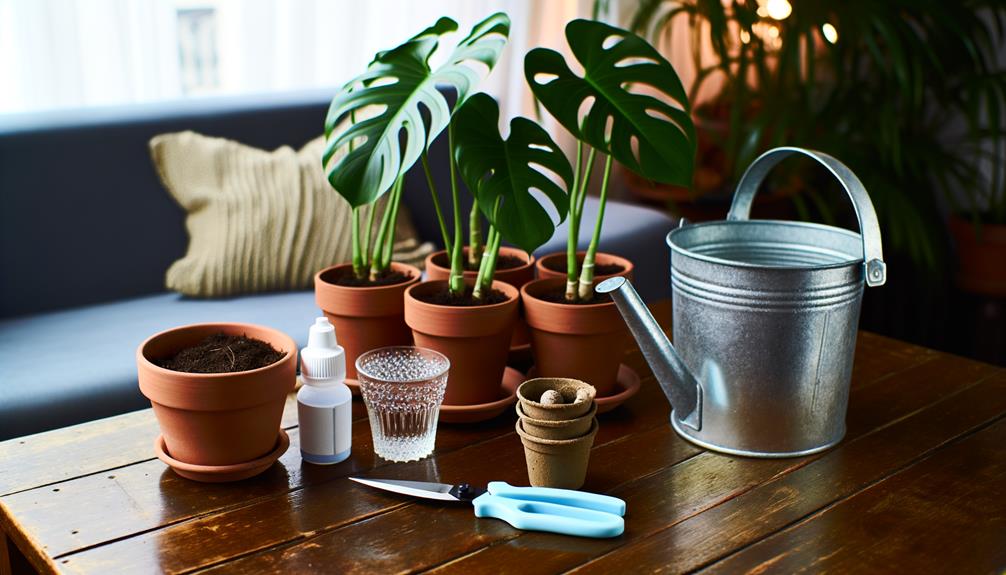
Before you start propagating Monstera Siltepecana, you'll need to gather several essential materials to secure a successful process.
First, obtain a pair of sterilized pruning shears to secure clean cuts, reducing the risk of infection.
Next, prepare a container filled with water or well-draining potting mix, depending on your chosen propagation method.
You'll also need rooting hormone, which promotes root development and enhances success rates.
Additionally, have a clear plastic bag or humidity dome ready to maintain high humidity levels, crucial for root formation.
Finally, make sure you have access to indirect sunlight, as direct sunlight can scorch the cuttings.
With these materials prepared, you're ready for the next steps in propagating Monstera Siltepecana.
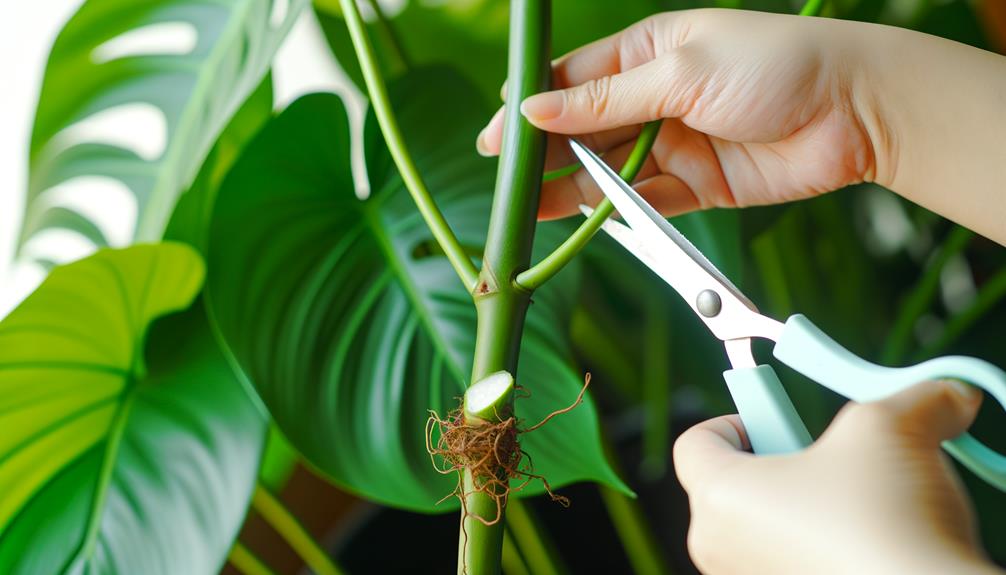
Choose the Right Cutting
To guarantee successful spread, carefully select a healthy stem cutting with at least two to three nodes and a few leaves. Nodes are the critical points where roots can develop, so make sure they're present.
Examine the stem for any signs of disease or damage; avoid cuttings with discoloration or soft spots. Choose a section with mature, well-formed leaves, as these will support photosynthesis and energy production for root development.
The ideal cutting should be about 4-6 inches in length. Use sterilized pruning shears to make a clean cut just below a node. This precision minimizes infection risk and promotes prime healing and rooting.
Prepare the Cutting
After selecting a healthy stem cutting, submerge the cut end in lukewarm water for a few minutes to remove any sap and reduce the risk of infection. This step is essential for maintaining the cutting's health.
Once done, use a sterilized knife or pruning shears to make a clean cut just below a node, ensuring you've included at least one aerial root. Remove any leaves near the base to prevent rot and facilitate rooting.
To further prepare the cutting:
- Sterilize tools: Use rubbing alcohol or a bleach solution to disinfect your cutting tools.
- Angle the cut: Make an angled cut to increase the surface area for root growth.
- Hormone application: Dip the cut end in rooting hormone to encourage faster root development.
These steps maximize your cutting's chances of successful propagation.
Rooting in Water
Ensure the cutting is placed in a clean, transparent container filled with room temperature, chlorine-free water to facilitate ideal root development. Place the container in a location with indirect sunlight to avoid algae growth and promote photosynthesis. Change the water every 3-4 days to prevent bacterial buildup and maintain oxygenation.
| Parameter | Recommended Value | Notes |
|---|---|---|
| Water temperature | Room temperature (20-25°C) | Avoid extremes to prevent shock |
| Light exposure | Indirect sunlight | Direct sunlight can cause leaf burn |
| Water type | Chlorine-free | Use filtered or distilled water |
| Water change | Every 3-4 days | Keeps water fresh and oxygenated |
| Rooting duration | 2-4 weeks | Look for roots 2-3 inches long |
Monitor for root growth and maintain clear water.
Transferring to Soil
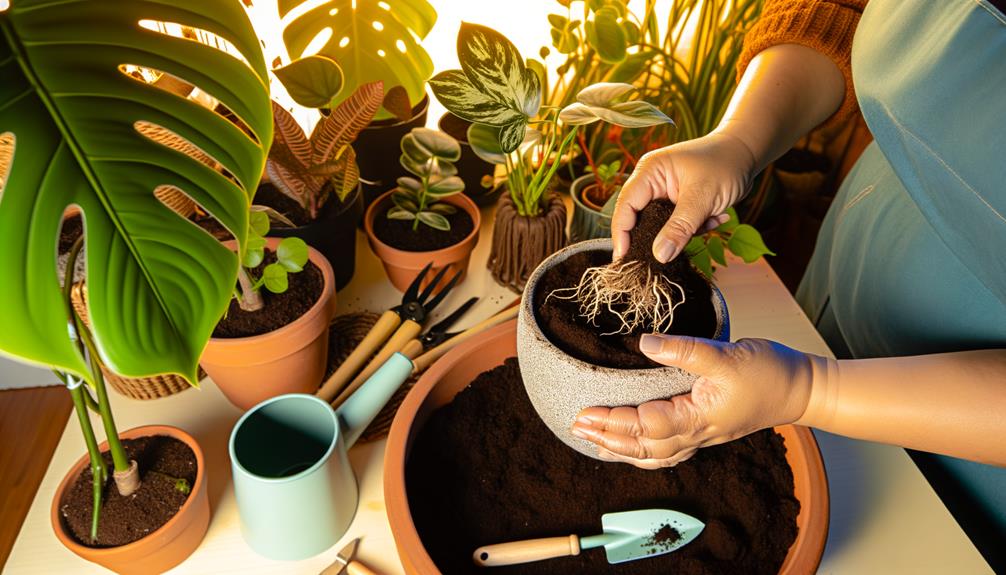
To successfully transfer your Monstera Siltepecana to soil, you'll need to start by preparing a pot with adequate drainage.
Choose a well-draining soil mix, rich in organic matter, that mimics its natural habitat.
Gently plant the rooted cutting, ensuring the roots are covered, and water thoroughly to settle the soil.
Preparing the Pot
Selecting a well-draining potting mix and an appropriately sized container is crucial for the successful transplantation of Monstera Siltepecana into soil. Start by choosing a pot with drainage holes to prevent waterlogging, which can lead to root rot. Make sure the container is slightly larger than the root ball to allow room for growth.
Drainage: Pick a pot with multiple drainage holes to avoid water accumulation.
Size: Use a container 1-2 inches wider in diameter than the plant's root system.
Material: Opt for breathable materials like terracotta or ceramic to promote air circulation.
Once you've selected the pot, fill it one-third full with the potting mix. Place the Monstera Siltepecana cutting into the pot and fill around it, making certain the roots are covered.
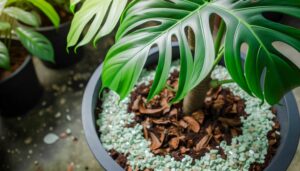
Choosing Proper Soil
A well-balanced soil mix that's rich in organic matter and perlite is crucial for the healthy growth of Monstera Siltepecana. You'll need a soil medium that retains moisture yet provides excellent drainage to prevent root rot.
Combine equal parts of peat moss or coco coir, perlite, and orchid bark. The peat moss or coco coir adds organic material, enhancing nutrient retention. Perlite improves aeration, guaranteeing roots receive sufficient oxygen. Orchid bark contributes to drainage, averting waterlogging.
Before transferring your Monstera Siltepecana cuttings to the soil, make sure the mix is moist but not waterlogged. This balance creates an ideal environment for root development. By carefully selecting the right soil components, you set the stage for robust plant growth.
Planting and Watering
When transferring your Monstera Siltepecana cuttings to soil, gently place the roots into the prepared soil mix, making sure they're adequately spread out. This promotes optimal root development and prevents overcrowding.
Use a well-draining soil mix, rich in organic matter, to support healthy growth. Water the cuttings thoroughly to settle the soil around the roots and eliminate air pockets.
Key steps to remember:
- Soil Moisture: Maintain consistent moisture levels, but avoid saturating the soil.
- Light Exposure: Place the plant in indirect sunlight to encourage photosynthesis without causing leaf burn.
- Humidity: Ensure a humid environment, ideally around 60-70%, to replicate natural tropical conditions.
Care After Propagation
After propagating Monstera Siltepecana, maintain prime watering practices by keeping the soil consistently moist but not waterlogged.
Position the plant where it receives bright, indirect light, and maintain a temperature range of 65-80°F.
Regularly monitor for pests and diseases, addressing any issues promptly with suitable insecticides or fungicides.
Optimal Watering Practices
Consistently monitor soil moisture levels to guarantee your Monstera Siltepecana receives adequate hydration without becoming waterlogged. Opt for well-draining soil, as this reduces the risk of root rot. Water the plant when the top inch of soil feels dry to the touch. Confirm the pot has drainage holes to facilitate excess water escape.
Key practices include:
- Use a moisture meter: This device accurately measures soil moisture, preventing over or under-watering.
- Adopt a consistent watering schedule: Regular intervals help maintain ideal moisture levels.
- Adjust watering based on environmental conditions: Factors like humidity and temperature influence water needs.
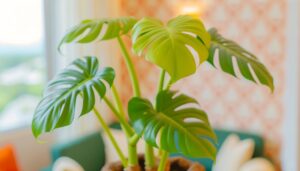
Light and Temperature
Secure your newly propagated Monstera Siltepecana receives bright, indirect light to foster healthy growth while avoiding direct sunlight, which can scorch the leaves.
Place the plant near an east or north-facing window, where it can benefit from diffused natural light. Artificial grow lights can supplement if natural light is insufficient.
Maintain ambient temperatures between 65-80°F (18-27°C) to mimic the Monstera's native tropical environment. Avoid sudden temperature fluctuations and drafty areas, as these can stress the plant.
Humidity levels should ideally be kept between 60-80%. Use a hygrometer to monitor humidity and employ a humidifier or pebble tray if necessary.
Consistent environmental conditions will secure vigorous growth and overall plant health.
Pest and Disease Management
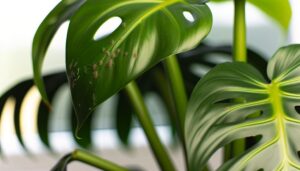
Keep a watchful eye on your newly propagated Monstera Siltepecana for common pests like spider mites, aphids, and mealybugs, which can impede its growth and overall health. Regularly inspect both sides of the leaves and the stems. If you spot any pests, take immediate action.
- Spider mites: Use a miticide or a neem oil solution. Guarantee thorough coverage.
- Aphids: Apply insecticidal soap or a homemade mixture of water and dish soap. Spray directly on the affected areas.
- Mealybugs: Dab them with a cotton swab soaked in rubbing alcohol. Follow up with a systemic insecticide if needed.
Maintain proper humidity and ventilation to prevent fungal infections. Remove any diseased leaves promptly to halt disease spread. Regular care ensures a flourishing Monstera.
Conclusion
Congratulations, you've successfully propagated your Monstera siltepecana!
By following these detailed steps, you're nurturing a new life that will soon flourish like a green phoenix rising from the ashes.
Remember, patience and consistent care are your best allies.
Monitor moisture levels, provide indirect sunlight, and watch for those telltale signs of growth.
With time, your new Monstera will reward you with its stunning, intricate foliage, bringing a touch of the jungle into your home.