How to Propagate Monstera Standleyana
To propagate Monstera Standleyana, select a healthy stem with at least two nodes and inspect it for pests or diseases. Use sterilized pruning shears to make a clean cut below a node.
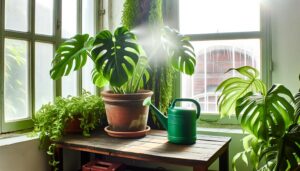
Apply rooting hormone to the cut end. Place the cutting in water or a well-draining soil mix, ensuring high humidity and bright, indirect sunlight.
Monitor root development and change the water regularly. Once roots establish, transplant to a pot with drainage holes and a well-aerated soil mix.
Maintain humidity at 60-80% and provide monthly fertilization during the growing season. For an in-depth guide, explore further techniques and tips.
Key Takeaways
- Select a healthy stem with at least two nodes and aerial roots.
- Use sterilized pruning shears to make a clean cut below a node.
- Place the cutting in water or well-draining soil mix to root.
- Maintain bright, indirect sunlight and high humidity levels (60-80%).
- Transplant rooted cuttings into a pot with drainage holes and well-aerated soil.
Selecting the Right Cutting
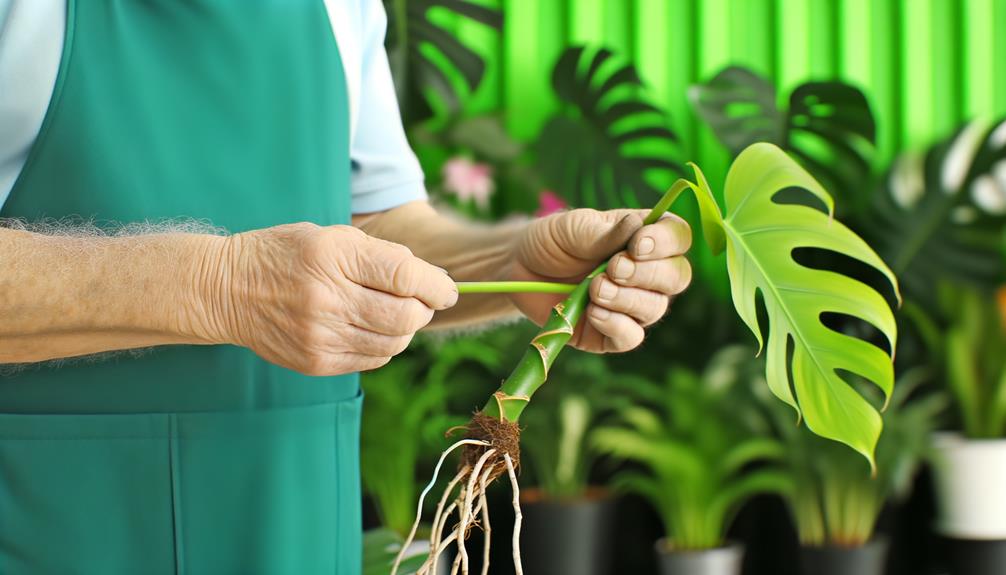
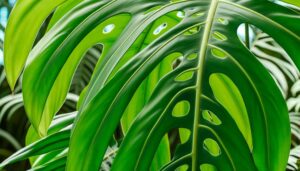
When selecting the right cutting for propagating Monstera standleyana, make sure you choose a healthy stem with at least two nodes and one or more aerial roots. Nodes are crucial as they contain meristematic tissue, which actively divides, giving rise to new growth.
Aerial roots, which are roots that grow above the ground, enhance the cutting's ability to absorb moisture and nutrients. Inspect the stem for signs of disease or pest infestation; avoid any with discoloration, spots, or soft, mushy areas, as these can hinder successful propagation.
Confirm the leaves are vibrant and firm, indicating robust health. By carefully selecting your cutting, you'll optimize the chances of successful rooting and healthy plant development.
Preparing Your Tools
Gather sterilized pruning shears, a clean cutting board, rooting hormone, and a container filled with fresh water or a well-draining potting mix to guarantee a sterile and efficient propagation process. Cleanliness is vital to prevent pathogenic contamination. Use isopropyl alcohol or a bleach solution to sterilize your pruning shears thoroughly.
Make sure your cutting board is sanitized to avoid transferring any bacteria. Rooting hormone enhances root development by stimulating cell differentiation and elongation, so have it ready. Opt for a container that provides adequate aeration if using potting mix, or fresh water if rooting hydroponically.
These preparatory steps are essential for optimizing the plant's health and successful propagation. Confirm every tool is impeccably clean before proceeding.
Taking the Cutting
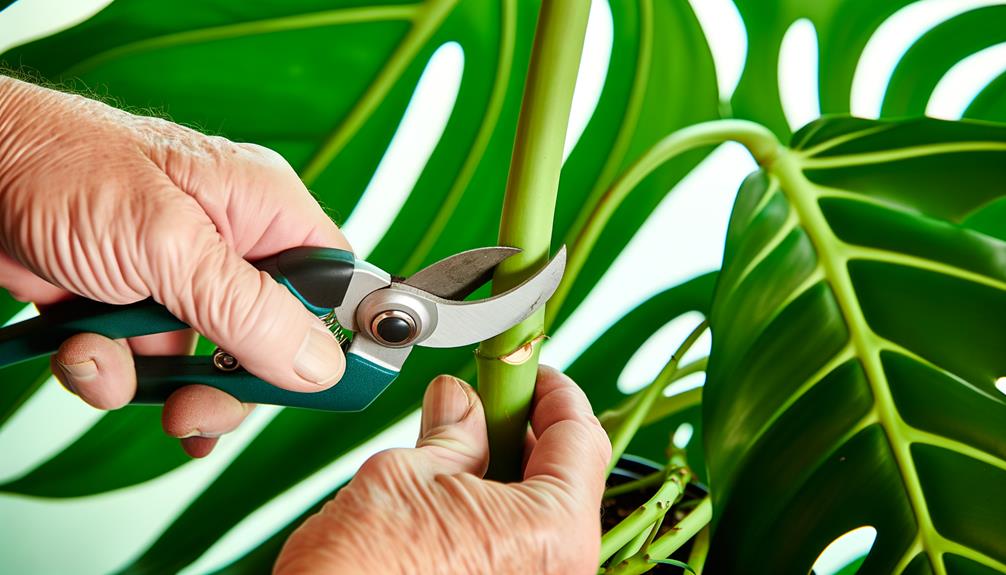
Make certain you choose a healthy stem with at least one node and two or three leaves, as this increases the chances of successful propagation. Sterilize your pruning shears with isopropyl alcohol to prevent infection. Hold the stem steady and make a clean, diagonal cut just below the node.
| Step | Action | Detail |
|---|---|---|
| 1 | Select Stem | Choose a stem with one node and 2-3 leaves. |
| 2 | Sterilize Shears | Use isopropyl alcohol to disinfect. |
| 3 | Position and Cut | Make a clean, diagonal cut below the node. |
| 4 | Inspect Cutting | Validate node and leaves are intact, free from pests or disease. |
| 5 | Prepare for Next Step | Ready cutting for rooting process. |
Examine the cutting to make sure it's free from pests or disease. Your cutting is now ready for the next step.
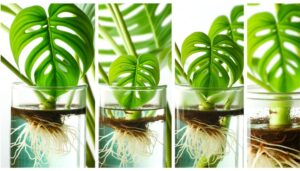
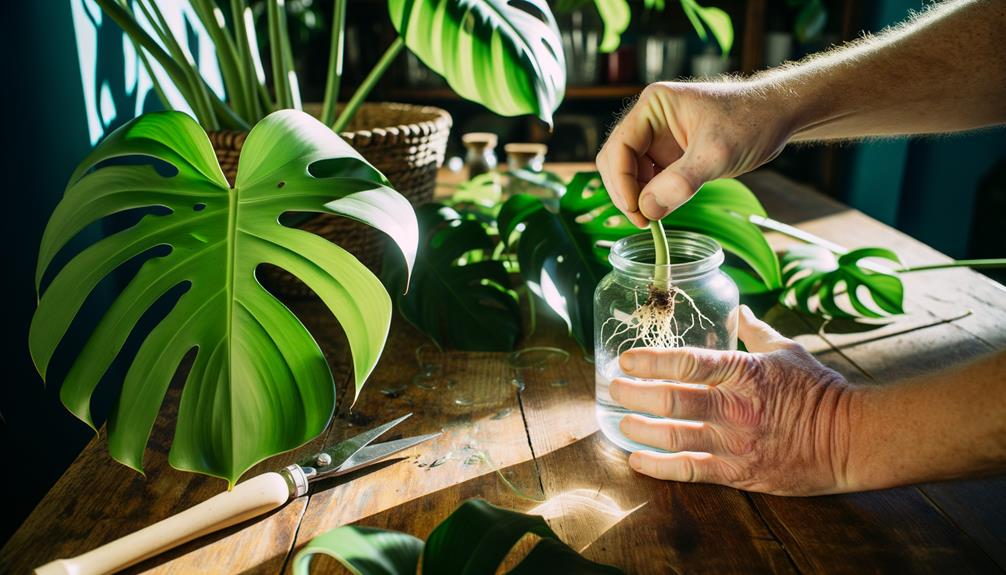
Rooting in Water
To root Monstera Standleyana cuttings in water, first make sure you choose healthy cuttings with at least one node and aerial root.
Select a transparent container to monitor root development and fill it with non-chlorinated water.
Position the container in an area with indirect, bright light to promote best photosynthesis and root growth.
Choose Healthy Cuttings
When selecting cuttings for propagation, make certain each stem section includes at least one node, as this is where root development will occur. Choose cuttings from a healthy, mature Monstera Standleyana plant. Verify the stems are free from pests, diseases, and any physical damage.
Using sterilized pruning shears, make a clean cut just below a node. Aim for sections that are 4-6 inches long and have at least one leaf attached. This optimizes photosynthesis, aiding in root formation.
After cutting, allow the stem sections to callus over for a few hours. This step helps prevent rot when the cuttings are placed in water. Remember, healthy cuttings increase your chances of successful propagation and vigorous plant growth.
Water Container Selection
Select a transparent receptacle to monitor root development, making sure it's deep enough to submerge the nodes without covering the leaves. This allows you to observe root formation and address any issues promptly. Opt for a receptacle with a sturdy base to prevent tipping. Ensure the receptacle is free from contaminants to avoid fungal growth.
Here are some key characteristics to contemplate:
- Glass or see-through plastic: Facilitates light penetration and visual inspection.
- Depth: Sufficient to cover nodes but shallow enough to keep leaves dry.
- Width: Wide enough to accommodate multiple cuttings without crowding.
- Sterility: Clean and sterile to minimize pathogens.
- Stability: A broad base to prevent accidental tipping.
Regularly change the water to provide oxygen and nutrients essential for root development.
Optimal Light Conditions
Guarantee your Monstera Standleyana cuttings receive bright, indirect light to promote robust root development while avoiding the risk of leaf scorch. Place the cuttings near a north or east-facing window where they can absorb ample filtered sunlight. Direct sunlight can cause photodamage and inhibit cellular processes critical for root formation.
| Light Source | Duration (Hours) |
|---|---|
| North-facing window | 6-8 |
| East-facing window | 4-6 |
| LED grow light | 8-10 |
| Fluorescent lighting | 10-12 |
| Diffused sunlight | 6-8 |
Ensure you maintain consistent light exposure as fluctuations can disrupt photosynthesis and slow down rooting. If using artificial lighting, adjust the distance to prevent excessive heat. Proper light conditions will accelerate the propagation process, ensuring healthy, vigorous growth.
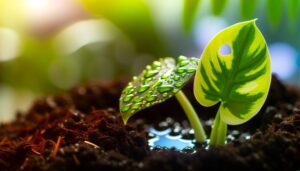
Rooting in Soil
To root Monstera standleyana in soil, start by preparing a well-draining potting mix rich in organic matter. Make certain the mixture includes:
- Perlite for aeration
- Peat moss for moisture retention
- Pine bark to enhance drainage
- Composted material for nutrient content
- Charcoal to prevent root rot
Select a container with drainage holes to prevent waterlogging.
Insert the cuttings 2-3 inches deep, verifying the nodes are buried. Water the soil thoroughly until excess drains out.
Place the pot in a location with bright, indirect light to encourage photosynthesis. Maintain soil moisture consistently but avoid water saturation.
Periodically check for root development by gently tugging the cutting after a few weeks.
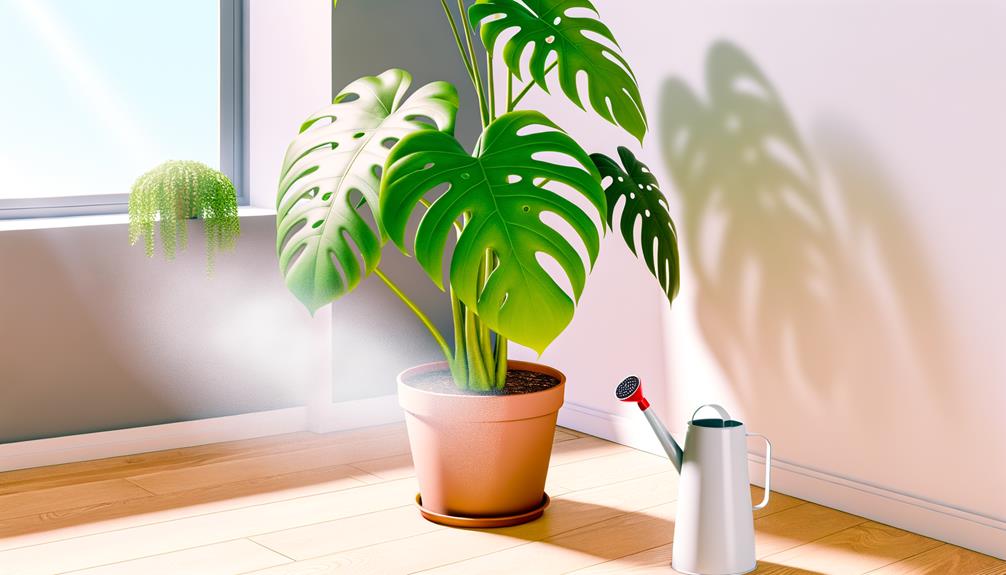
Ensuring Proper Humidity
To propagate Monstera Standleyana successfully, you need to maintain ideal humidity levels between 60-80%. Use a hygrometer to monitor the environment and employ a humidifier if necessary to regulate moisture.
Ensure air circulation to prevent fungal issues while keeping the substrate consistently damp but not waterlogged.
Optimal Humidity Levels
Maintaining ideal moisture levels, between 60% and 80%, is crucial for the healthy growth of Monstera standleyana. This tropical plant thrives in a humid environment, mimicking its native rainforest habitat.
To achieve these levels, you should:
- Use a hygrometer to monitor ambient moisture accurately.
- Employ a humidifier to maintain consistent dampness in the air.
- Group plants together to create a microenvironment with higher moisture.
- Mist the leaves regularly to replicate natural dampness.
- Utilize a pebble tray filled with water beneath the pot for evaporation.
Each of these steps helps maintain the necessary moisture, promoting cell turgor pressure and facilitating ideal physiological processes.
Maintaining Moisture Balance
Balancing the moisture levels for Monstera standleyana involves not only maintaining high humidity but also preventing over-saturation that could lead to root rot.
Maintain a relative humidity of 60-80% using a hygrometer for accuracy. Mist the leaves daily with distilled water or use a humidity tray filled with pebbles and water.
Guarantee ample air circulation by placing a small fan nearby; stagnant air can exacerbate fungal issues. Monitor the soil moisture using a moisture meter; it should remain consistently moist but not waterlogged.
If you notice the top inch of the soil is dry, it's time to water. Avoid letting the plant sit in standing water by ensuring proper drainage with a well-aerated potting mix.
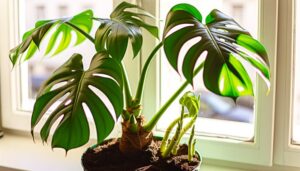
Providing Adequate Light
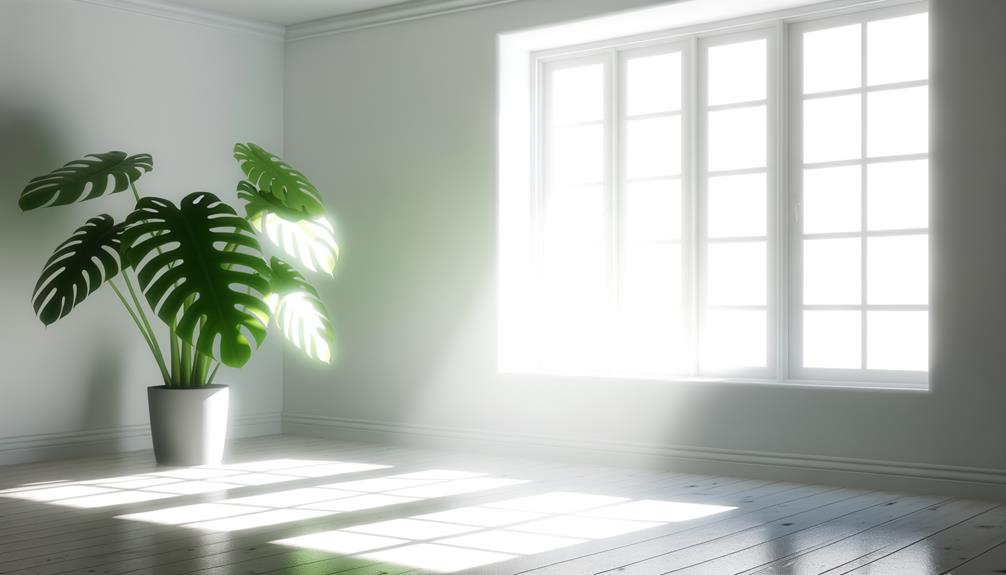
Optimizing adequate light for your Monstera Standleyana involves placing the plant in an area where it receives bright, indirect sunlight for at least 6 to 8 hours a day. This light is essential for photosynthesis, promoting healthy growth and vibrant foliage. Avoid direct sunlight, which can scorch the leaves.
Consider the following when positioning your plant:
- East or North-facing windows provide ideal light without direct sun exposure.
- Sheer curtains can diffuse intense light, mimicking the plant's natural understory habitat.
- Artificial grow lights are beneficial during darker months or in low-light environments.
- Rotating the plant guarantees even light distribution, preventing one-sided growth.
- Monitoring leaf color can indicate light sufficiency—pale leaves suggest insufficient light.
Follow these guidelines to sustain your Monstera's health.
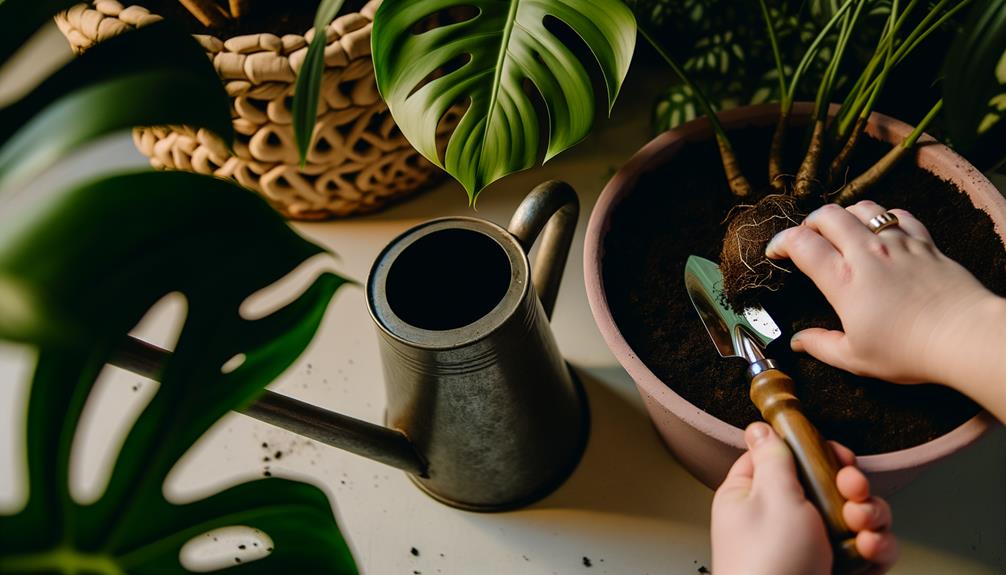
Transplanting to a Pot
When transplanting your Monstera Standleyana to a pot, choose a container with adequate drainage holes to prevent root rot. Prepare a well-aerated soil mix consisting of equal parts peat moss, perlite, and orchid bark.
Gently remove the plant from its current medium, being careful not to damage the roots. Place a layer of the prepared soil mix at the bottom of the pot. Position the Monstera in the center, making sure the root system is spread evenly.
Gradually fill the pot with soil mix, lightly pressing down to eliminate air pockets. Water thoroughly until excess water drains out. Verify the root ball is level with the soil surface, avoiding deep planting to prevent stem rot.
Post-Propagation Care
After successfully transplanting your Monstera Standleyana, focus on maintaining ideal conditions to support its growth and health. Implement the following practices to maximize plant robustness:
- Light: Provide bright, indirect sunlight to prevent leaf scorch while enhancing photosynthesis.
- Watering: Maintain soil moisture using a well-draining mix; avoid waterlogging by allowing the top inch of soil to dry between waterings.
- Humidity: Aim for relative humidity levels around 60% to replicate the plant's native tropical environment, using a humidifier if necessary.
- Fertilization: Apply a balanced, water-soluble fertilizer monthly during the growing season to supply essential nutrients.
- Pest Control: Inspect regularly for pests like spider mites and scale; address infestations promptly with insecticidal soap or neem oil.
These steps will safeguard your plant's thriving post-propagation.
Conclusion
You've successfully propagated your Monstera standleyana.
You might worry it's complicated, but with these steps, it's straightforward.
Remember, choosing the correct cutting and preparing your tools guarantees success.
Rooting in water or soil, maintaining proper humidity, and providing sufficient light are essential.
Once roots develop, transplant to a pot and continue with post-propagation care.
Follow these scientific, detailed instructions, and you'll see your Monstera thrive.
Happy propagating!