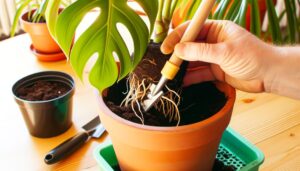
How to Propagate Monstera With Aerial Roots? Proven Methods!
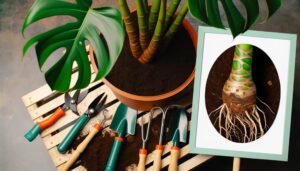
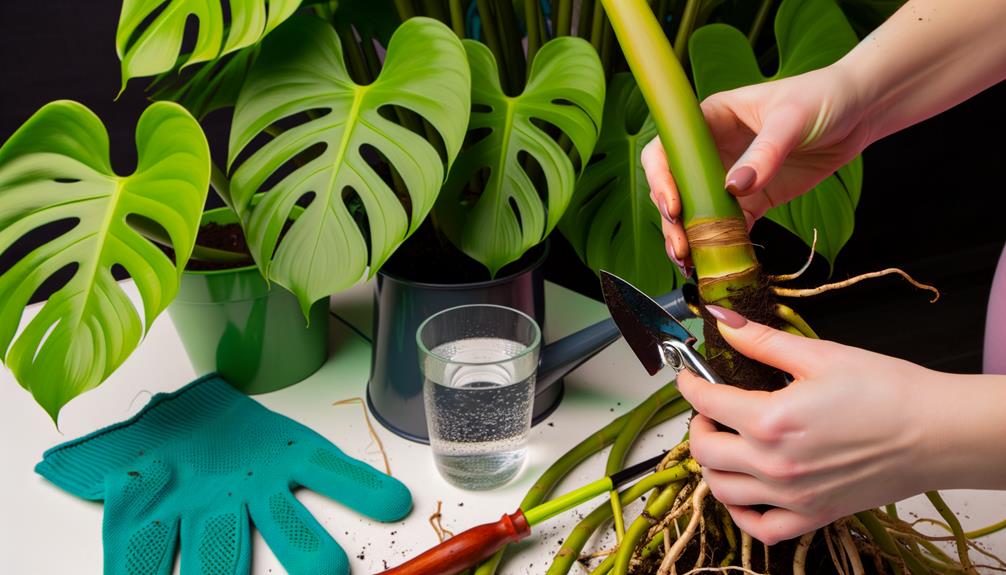
To propagate Monstera using aerial roots, start by identifying nodes where aerial roots and leaf nodes converge. Use sterilized pruning shears to make a clean cut below the node, making sure the cut is at a 45-degree angle to maximize root development.
Place the cutting in a vessel with distilled water or well-draining potting mix. Ensure the environment has bright, indirect light and maintain humidity levels between 60-70%.
Keep the aerial roots covered and moist to facilitate rooting. Regularly check soil moisture and fertilize monthly with a balanced, water-soluble fertilizer.
Let’s explore detailed steps for successful propagation techniques.
Key Takeaways
- Choose the growing season with temperatures between 65-85°F and humidity levels of 60-70%.
- Use sterilized pruning shears to make clean cuts below nodes with aerial roots.
- Place cuttings in a pot with well-draining potting mix, ensuring aerial roots are covered.
- Maintain indirect bright light and humidity levels between 60-80% for optimal growing conditions.
- Water when the top inch of soil is dry and fertilize monthly with a balanced, water-soluble fertilizer.
Understanding Aerial Roots
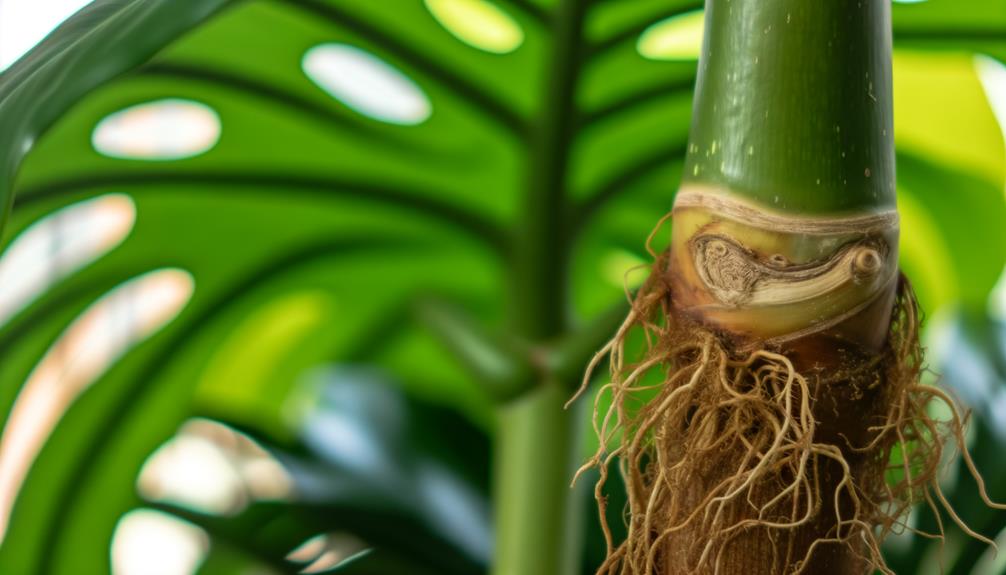
Aerial roots, which are specialized root structures that grow above the ground, play an important role in the epiphytic lifestyle of Monstera plants. These roots facilitate attachment to host structures, providing stability and access to nutrients and moisture from the air and surrounding environment.
You’ll find that they exhibit positive phototropism, growing towards light, and negative gravitropism, growing away from the ground. This behavior allows Monstera to climb and expand its reach efficiently.
Additionally, aerial roots contain specialized cells called velamen, which enhance water and nutrient absorption. Understanding these physiological functions is essential for effective propagation.
Choosing the Right Time
Timing is crucial when selecting the best period for propagating Monstera with aerial roots. You should aim for the growing season, typically spring or early summer, when the plant’s metabolic processes are at their peak. This period ensures peak root development and plant health.
Additionally, consider the following factors:
| Factor | Ideal Condition | Explanation |
|---|---|---|
| Temperature | 65-85°F (18-29°C) | Promotes enzymatic activity and root growth. |
| Humidity | 60-70% | Prevents desiccation of aerial roots. |
| Light | Indirect, bright light | Supports photosynthesis without leaf scorch. |
Gathering Necessary Supplies
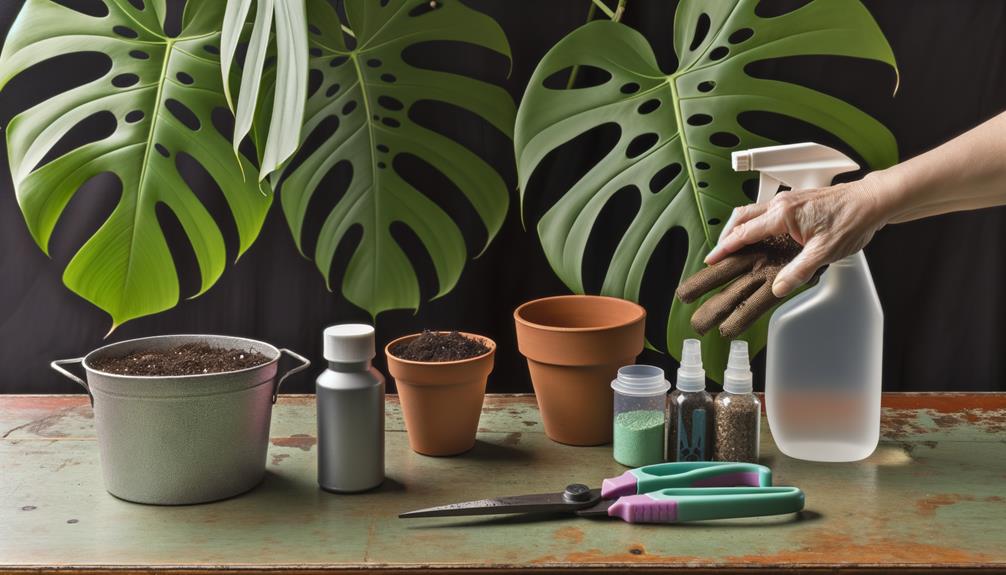
With ideal timing determined, you’ll now need to gather the necessary supplies to guarantee a successful propagation process. Start with a sterilized, sharp pruning shear to make clean cuts, minimizing tissue damage and infection risks.
You’ll also need a rooting hormone, which contains auxins to stimulate root growth. Prepare a transparent propagation vessel filled with distilled water or a well-draining potting mix, ensuring optimal aeration and hydration.
If using water, consider adding activated charcoal to prevent bacterial growth. Acquire a clean, clear plastic bag to create a humidity dome, facilitating transpiration. Finally, have some sphagnum moss on hand for moisture retention and support.
These supplies will establish the foundation for effective Monstera propagation.
Identifying Suitable Nodes
To identify appropriate nodes for Monstera propagation, locate the points on the stem where aerial roots and leaf nodes converge, as these areas are rich in meristematic tissue essential for root development.
Examine the stem closely, identifying the junctions where new leaves emerge and aerial roots extend. These nodes contain high concentrations of plant hormones like auxins that stimulate root growth when propagated.
Here’s a table to help you understand:
| Attribute | Suitable Node | Unsuitable Node |
|---|---|---|
| Meristematic Tissue | Abundant | Sparse |
| Aerial Root Presence | Present | Absent |
| Leaf Node Proximity | Close | Distant |
| Hormonal Activity | High auxin concentration | Low auxin concentration |
| Rooting Potential | High | Low |
Identifying these optimal nodes guarantees successful Monstera propagation.
Cutting the Stem
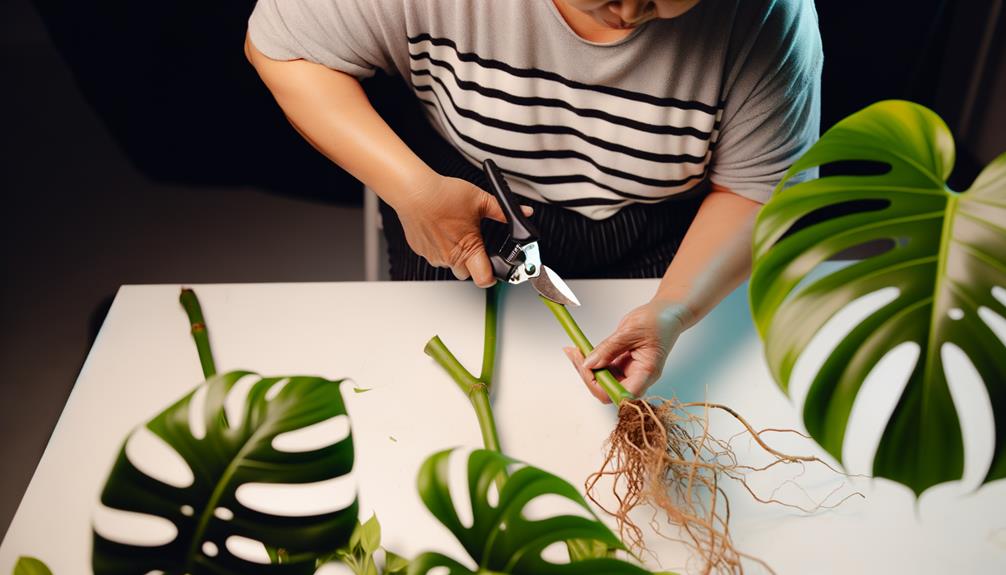
When cutting the stem for Monstera propagation, make sure you use a sterilized, sharp blade to make a clean incision just below a suitable node. This guarantees minimal trauma to the plant and reduces the risk of infection.
Select a node with at least one healthy leaf and aerial root for best propagation potential. Position the blade at a 45-degree angle to maximize the surface area for root development. Avoid crushing or tearing the stem tissue, as this can hinder the plant’s ability to form new roots.
After cutting, immediately dip the cut end in a rooting hormone to promote faster and stronger root generation. Always handle the cuttings gently to prevent mechanical damage.
Preparing the Cuttings
Guarantee each Monstera cutting includes at least one node, a healthy leaf, and an aerial root to maximize the chances of successful propagation.
The node, a vital growth point, contains meristematic tissue capable of cellular differentiation, essential for root and shoot development.
Inspect the leaf for signs of chlorosis or necrosis to ensure it can photosynthesize effectively.
The aerial root, which often appears as a brown, wiry extension from the node, enhances water and nutrient absorption during the rooting phase.
Using sterilized pruning shears, make a clean, oblique cut below the node to facilitate ideal water uptake.
Place the cutting in a controlled environment with indirect sunlight and stable temperatures to prevent desiccation and encourage root initiation.
Rooting in Water
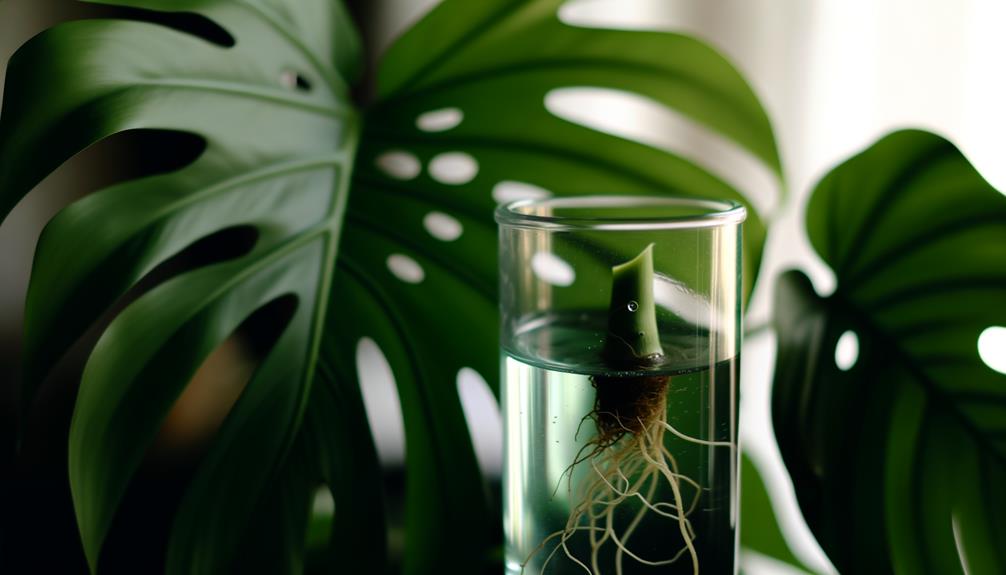
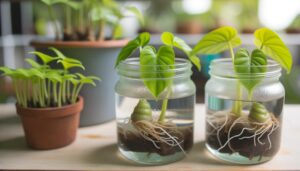
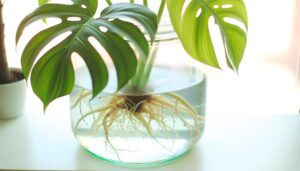
To begin rooting your Monstera cuttings in water, you’ll need to select specimens with robust aerial roots and healthy foliage. Use a transparent container filled with dechlorinated water to allow for best light penetration and root oxygenation.
Regularly monitor the cuttings for root elongation and signs of rot, changing the water bi-weekly to maintain a sterile environment.
Selecting Healthy Cuttings
Selecting healthy cuttings involves identifying Monstera stems with robust aerial roots, vibrant leaves, and no signs of disease or pest infestation.
Start by examining the nodes—where the leaves and roots emerge. You’ll want a cutting with at least one node, as this is vital for new root development. Look for stems that are turgid, indicating good vascular health and nutrient flow.
Avoid cuttings with yellowing leaves or dark, mushy roots, as these are signs of potential fungal infections. Use a sterilized, sharp blade to make a clean cut just below the node.
Ensuring the cutting is free from pests like spider mites or scale insects is necessary for successful propagation. This meticulous selection will enhance rooting success.
Preparing Water Container
Begin by selecting a see-through vessel, like a glass jar or vase, that allows you to monitor root development and water clarity effectively. Fill the container with distilled or filtered water to minimize pollution. Maximize the water level to cover the nodes but not the leaves to hinder rot.
| Parameter | Recommendation | Purpose |
|---|---|---|
| Container | Transparent glass jar | Visibility of root growth |
| Water Type | Distilled/Filtered | Reduce microbial pollution |
| Water Level | Cover nodes, not leaves | Prevent rot and promote root growth |
| Placement | Indirect sunlight | Avoid algae growth, ensure light |
Regularly change the water every 5-7 days to maintain peak oxygen levels and prevent harmful growth. This setup provides a controlled environment conducive to healthy root initiation.
Monitoring Root Growth
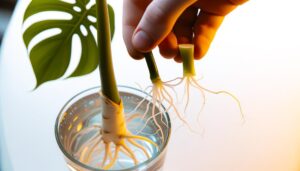
Keep a close eye on the emerging roots, ensuring they remain healthy and free from discoloration or slime. Check for root rot, evidenced by brown or black, mushy roots. Healthy roots should be white or light tan.
Replace the water every 5-7 days to maintain ideal oxygen levels and prevent bacterial growth. Use distilled or rainwater to avoid chlorine and fluoride, which can impede root development. Monitor the water temperature, ideally keeping it between 65-75°F (18-24°C).
If you notice algae forming, clean the container thoroughly with mild soap and rinse well before refilling. Roots should begin to elongate within a few weeks; once they reach several inches, the cutting is ready to be transferred to soil.
Transplanting to Soil
When transplanting your Monstera cutting to soil, start by choosing a pot with sufficient drainage holes to prevent waterlogging.
Make sure you use a well-aerated potting mix, rich in organic matter, to support root development.
Gently place the cutting in the soil, making sure the aerial roots are properly covered to promote excellent nutrient uptake.
Preparing the Pot
To prepare the pot for moving your Monstera cutting with aerial roots, make sure you select a container with sufficient drainage and fill it with a well-aerated potting mix rich in organic matter.
Use a potting mix that includes components like peat moss, perlite, and compost. These materials guarantee proper aeration, moisture retention, and nutrient availability.
The container should have drainage holes to prevent waterlogging, which can lead to root rot. Before filling the pot, sterilize it to eliminate any pathogens.
Once the potting mix is in place, water it thoroughly to settle the soil. This step creates an ideal environment for root establishment and growth, ensuring your Monstera cutting moves smoothly to its new home.
Planting the Cutting
After thoroughly preparing your pot, gently place the Monstera cutting with aerial roots into the soil, making sure that the roots are well-covered and in direct contact with the potting mix.
Ensure the potting mix is composed of well-draining components like perlite, peat, and orchid bark. Firmly press the soil around the cutting to eliminate air pockets, promoting excellent root-to-soil interface.
Hydrate the soil uniformly, avoiding waterlogging to prevent root rot. Position your pot in indirect, bright light to facilitate photosynthesis while avoiding leaf scorch.
Maintain ambient humidity levels, ideally between 60-80%, to support root development and overall plant vigor. Regularly monitor soil moisture and adjust watering frequency accordingly to sustain healthy growth.
Caring for New Plants
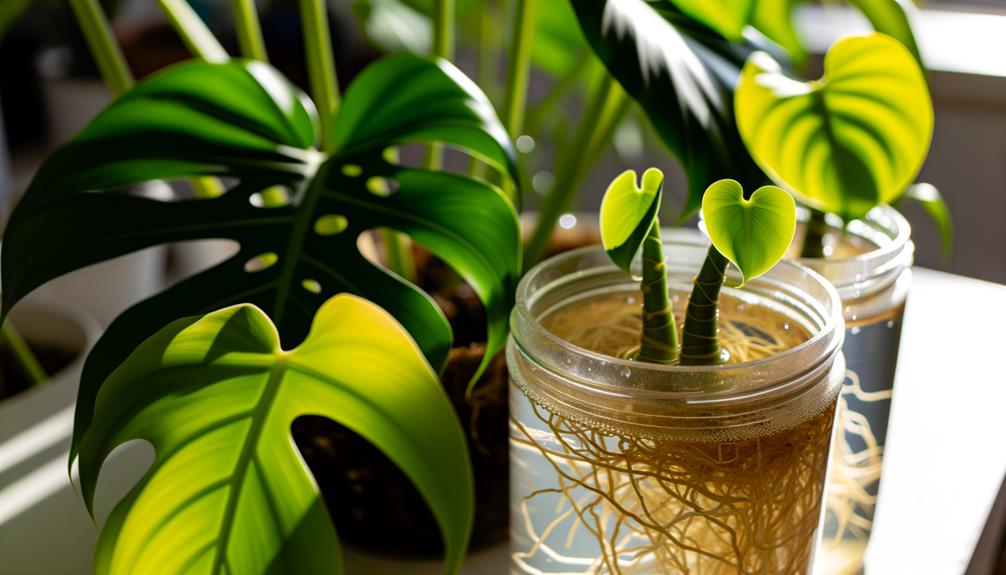
Maintaining ideal care for your newly propagated Monstera involves keeping precise humidity levels, sufficient light exposure, and consistent watering schedules.
Monitor relative humidity around 60% to 70% for peak growth; using a hygrometer helps uphold these conditions.
Position your Monstera in bright, indirect light—avoid direct sunlight to prevent leaf scorch. Utilize a light meter to measure lumens if necessary.
Water the plant when the top inch of soil feels dry; overwatering can lead to root rot. Employ a well-draining soil mix, rich in organic matter, to facilitate aeration and moisture retention.
Fertilize monthly during the growing season with a balanced, water-soluble fertilizer. Regularly inspect for pests like spider mites and aphids to promote healthy development.
Conclusion
You’ve mastered the art of propagating Monstera with aerial roots. Following these steps, your plant’s growth will be as reliable as a well-tuned engine. By selecting best nodes, making accurate cuts, and ensuring proper rooting conditions, you’ve set the stage for healthy new plants.
Transplant them to soil and maintain care with the attention of a botanist. Watch as your Monstera flourishes, a proof of your horticultural skill and scientific approach.

