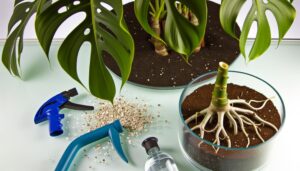
How to Propagate Swiss Cheese Monstera? Expert Tips!
To propagate a Swiss Cheese Monstera, start by gathering sharp, sterilized pruning shears and a clean container. Select a healthy stem with at least one node and leaf.
Cut the stem a quarter inch below the node. Place the cutting in a jar with chlorine-free water, positioning it in indirect sunlight.
Regularly check water levels and monitor root growth. Once roots develop, transfer the cutting to a well-draining soil mix and provide 6-8 hours of bright, indirect light.
Ensure proper watering by using filtered water and maintaining consistent soil moisture. Continue with these steps to see your Monstera thrive.

Key Takeaways
- Select a healthy stem with at least one node and leaf.
- Cut a quarter inch below the node using sharp, sterilized pruning shears.
- Place the cutting in chlorine-free water or a rooting medium.
- Position the cutting in indirect sunlight and monitor for root growth.
- Transfer to well-draining soil once roots are established.
Gather Your Supplies
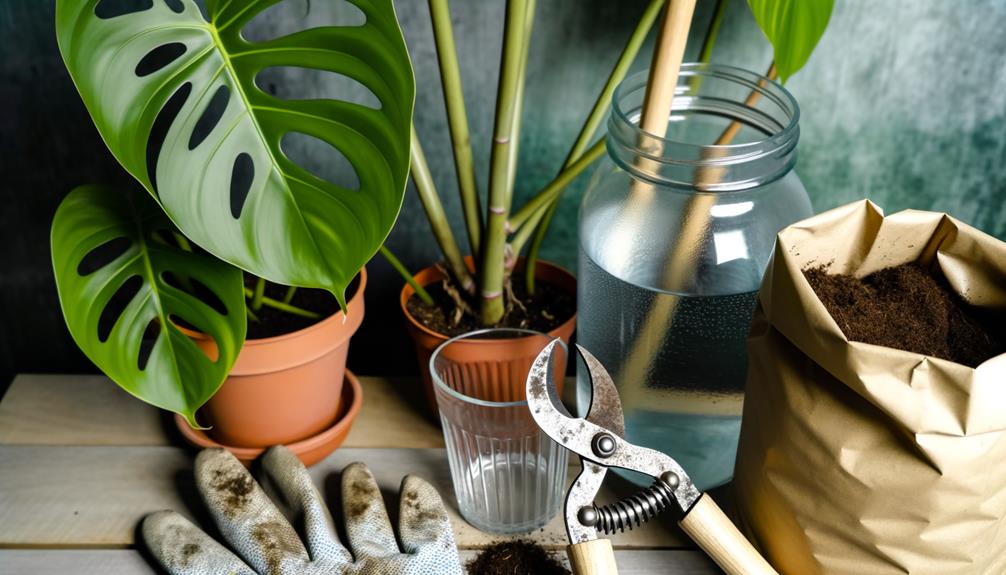
Before you start propagating your Swiss Cheese Monstera, make sure you have all the necessary supplies, including pruning shears, a clean container, and a suitable rooting medium. Pruning shears should be sharp and sterilized to prevent any disease transmission.
A clean container, preferably glass or plastic, is essential for holding the water or soil. Your rooting medium, whether water, sphagnum moss, or a well-draining soil mix, plays an essential role in root development.
Water should be distilled or rainwater to avoid contaminants. Sphagnum moss should be moist but not soaking wet. If you choose soil, make sure it has good aeration and drainage.
Gathering these supplies beforehand streamlines the propagation process, making sure each step is efficient and effective.
Choose a Healthy Stem
When choosing a stem for propagation, first make sure it appears vibrant and free from disease or damage.
Look closely for growth nodes, which are small bumps where new roots will develop.
A healthy stem with multiple nodes increases the chances of successful rooting and robust growth.
Assess Stem Health
To ensure successful propagation, meticulously examine the stem for signs of vigor, such as robust coloration and the presence of multiple nodes. First, verify the stem is firm to the touch; any softness could indicate rot.
Inspect the coloration—healthy stems exhibit a vibrant, consistent green. Avoid stems with discoloration, dark spots, or yellowing, which signal disease or stress.
Next, check for a minimum of two nodes, as these are essential for root and leaf development. Nodes should be spaced adequately and show no signs of damage.
Identify Growth Nodes
Having assessed the stem’s health, now pinpoint the growth nodes, which are the key sites for root and leaf emergence.
Identify the nodes by locating the small, knobby protrusions along the stem. These nodes often appear slightly swollen and are typically located just below where a leaf joins the stem.
Confirm each cutting has at least one node, as this is essential for successful propagation. Carefully examine the node for any signs of damage or disease; healthy nodes should be firm and green. Avoid nodes that are brown or mushy.
Make the Cutting
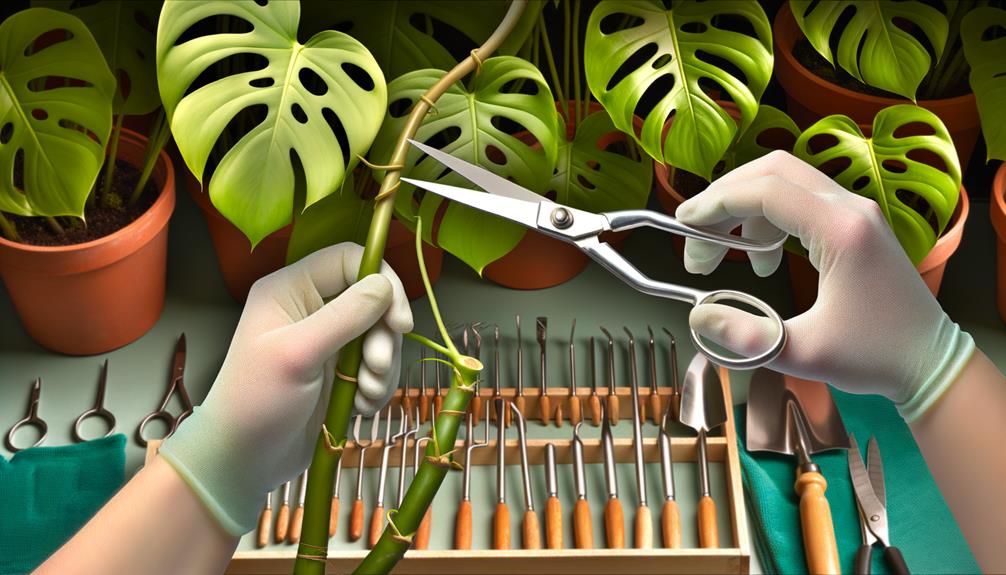
Carefully select a healthy vine with at least one node and a few leaves to guarantee successful propagation.
Position sterilized pruning shears about a quarter inch below the node. Ensure the cut is clean and diagonal for best water absorption.
Inspect the cutting for any signs of disease or pests; discard if unhealthy. Retain at least one leaf for photosynthesis, but you can trim excess leaves to reduce water loss.
Avoid damaging the node, as it’s vital for root development. Use gloves to prevent transferring oils from your hands to the plant.
Place the cutting on a clean surface, ready for the next steps. Precision and care are crucial to maximize the chances of a strong new plant.
Prepare the Water Jar
Begin by selecting a clear glass jar, ensuring it’s large enough to accommodate the cutting without crowding and deep enough to submerge the node completely. This is essential for best root development.
Next, clean the jar thoroughly to remove any residues or contaminants that could harm the cutting. Use a mild dish soap and rinse it well with warm water.
Fill the jar with room-temperature, chlorine-free water. Let tap water sit for 24 hours to dechlorinate if necessary.
Position the jar in a spot with indirect sunlight to prevent algae growth and overheating.
Monitor water levels regularly, ensuring the node stays submerged and the water remains clear.
These preparations set the stage for successful propagation.
Place the Cutting in Water
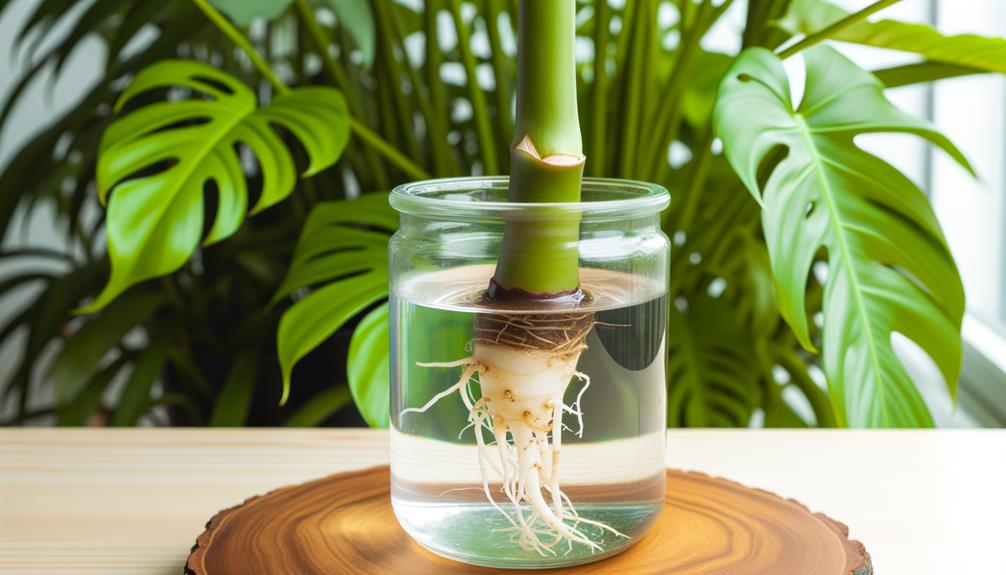
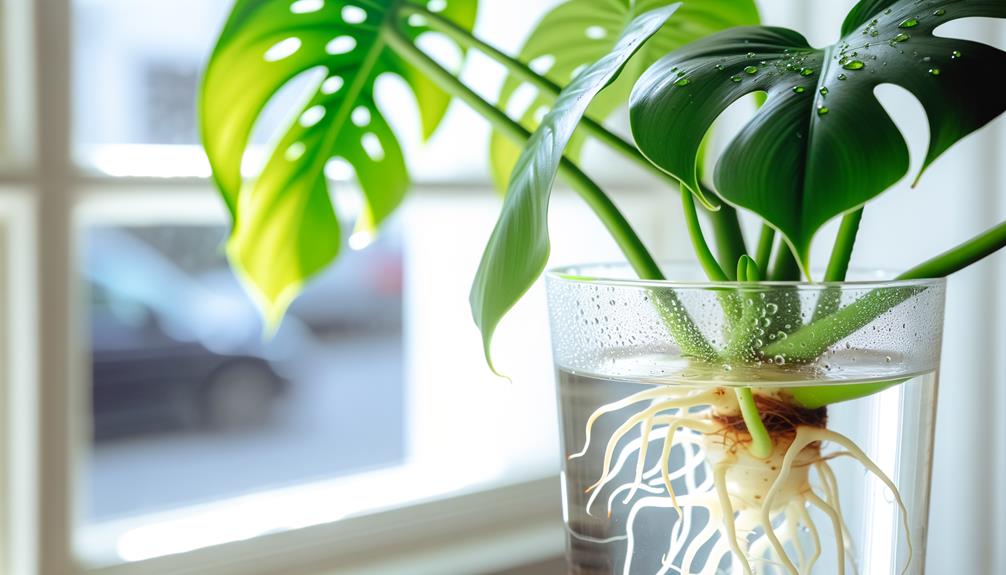
Insert the cutting into the water jar, ensuring the node is fully submerged while keeping the leaves above the waterline to prevent rot. Ensuring the node is underwater is imperative for root development.
You’ll want to use a transparent jar to observe any changes. Place the jar in indirect sunlight, as direct exposure can harm the cutting and promote algae growth.
| Emotion | Reason | Action |
|---|---|---|
| Excitement | Watching growth | Check progress daily |
| Patience | Root formation | Wait for roots to develop |
| Pride | Successful growth | Share your success story |
Monitor Root Growth
You should regularly inspect the roots to verify they’re healthy and free of rot.
Use a ruler or measuring tape to track their growth progress, noting any changes over time.
Check Root Health
Examining the root system’s strength is essential for guaranteeing your Swiss Cheese Monstera thrives and continues to grow healthily.
Regularly check the root health by following these steps:
- Inspect Color and Texture: Healthy roots are white or light tan and feel firm. Dark or mushy roots indicate rot.
- Check for New Growth: Look for new root tips, which signify active growth and a thriving plant.
- Assess Root Bound Conditions: If roots circle the pot or emerge from drainage holes, it’s time to repot.
Carry out these steps every few weeks. Use sterilized tools to prevent infections.
Roots are the lifeline of your Monstera; maintaining their health ensures strong foliage and overall plant vitality. Pay attention to any unusual changes and take corrective actions promptly.
Track Growth Progress
Monitoring root development is crucial for comprehending the overall health and progress of your Swiss Cheese Monstera.
Begin by inspecting the root system weekly. Look for new root tips that indicate active growth. Ensure that roots are white or light beige; dark or soft roots signal potential decay.
Measure root length and note any changes, which can help you track growth rates. Use clear containers if possible, allowing you to observe root development without disturbing the plant.
Additionally, maintain ideal conditions: consistent moisture, sufficient light, and stable temperatures.
Recording these observations in a growth journal can offer valuable insights into your Monstera’s progress and help you make informed decisions regarding care and adjustment of propagation techniques.
Transfer to Soil
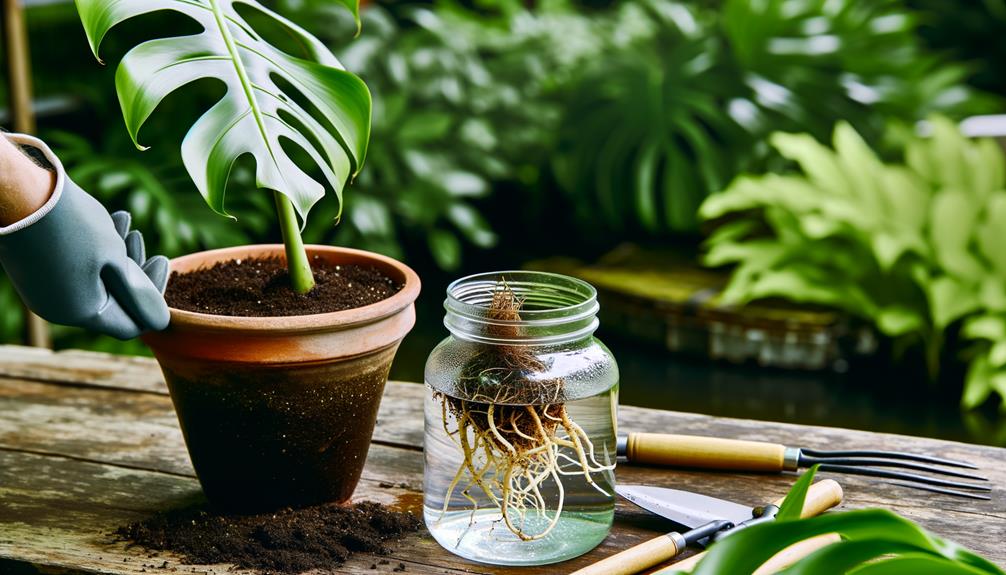
Once the Swiss Cheese Monstera cuttings have developed substantial roots, typically after several weeks, it’s important to prepare an appropriate soil mix to guarantee successful transfer and continued growth. Choose a well-draining mix, combining equal parts of peat moss, perlite, and orchid bark.
Follow these steps:
- Fill a pot: Use a pot with drainage holes and fill it with the prepared soil mix.
- Plant the cutting: Place the rooted cutting into the soil, making sure the roots are fully covered and the node is just above the soil surface.
- Water thoroughly: Saturate the soil until water drains from the bottom, making sure the soil is evenly moist but not waterlogged.
These steps ensure ideal conditions for your Monstera’s growth.
Provide Proper Lighting
To maximize growth, place your Swiss Cheese Monstera in a location where it receives bright, indirect light for approximately 6-8 hours a day. Direct sunlight can scorch the leaves, while too little light can stunt growth. Ideal lighting conditions ensure the plant thrives.
Here’s a breakdown of lighting conditions:
| Light Condition | Effect on Plant | Recommendation |
|---|---|---|
| Direct Sunlight | Leaf Scorching | Avoid |
| Indirect Sunlight | Optimal Growth | Ideal |
| Low Light | Stunted Growth | Supplement with Grow Light |
Make sure that the plant is rotated periodically to allow even exposure to light, preventing one-sided growth. This attention to lighting is essential for healthy propagation and overall plant vitality.
Watering Needs
To promote ideal growth when propagating Swiss Cheese Monstera, focus on proper hydration frequency, best water quality, and monitoring soil moisture.
You’ll need to water consistently, using filtered water to avoid chlorine and fluoride.
Regularly check the soil’s moisture level to prevent overwatering or drying out.
Proper Hydration Frequency
Maintaining proper hydration for your Swiss Cheese Monstera involves watering the plant when the top inch of soil feels dry to the touch, promoting ideal growth and health.
To achieve peak hydration, follow these steps:
- Check Soil Moisture Regularly: Use your finger or a moisture meter to monitor the top inch of soil. This helps prevent both overwatering and underwatering.
- Consistent Watering Schedule: Establish a routine based on your plant’s environment. Typically, watering once a week works well, but adjust based on temperature and humidity.
- Monitor Plant Health: Observe your Monstera’s leaves; yellowing can indicate overwatering, while dry, crispy edges suggest underwatering.
Adhering to these guidelines guarantees your Monstera gets the right amount of water for robust growth.
Ideal Water Quality
Optimizing your Swiss Cheese Monstera’s thriving necessitates using water that’s free from harmful chemicals like chlorine and fluoride. These chemicals can hinder growth and harm the plant’s root system.
To optimize water quality, consider using filtered or distilled water. If tap water is your only option, let it sit out for 24 hours; this allows chlorine to evaporate. Additionally, rainwater is an excellent choice due to its natural softness and lack of additives.
Check the pH level of the water; a slightly acidic to neutral pH (around 6.0 to 7.0) is ideal. Regularly testing the water quality ensures that your Monstera receives the best hydration, promoting robust growth and vibrant foliage.
Monitoring Soil Moisture
Regularly checking the soil moisture levels in your Swiss Cheese Monstera’s pot is crucial for preventing overwatering or underwatering, both of which can negatively impact the plant’s health.
To monitor soil moisture accurately, follow these steps:
- Use a Moisture Meter: Insert the probe into the soil to get an accurate reading. Aim for a moisture level between 4-6 on the meter.
- Finger Test: Insert your finger about 2 inches into the soil. If it feels dry at this depth, it’s time to water.
- Weight Check: Lift the pot; if it feels notably lighter than after watering, the soil is likely dry.
These methods help you maintain ideal moisture levels, supporting healthy growth and reducing the risk of root rot.
Pest Management
To effectively manage pests on your Swiss Cheese Monstera, identify common culprits like spider mites, mealybugs, and aphids early and use targeted treatments to mitigate infestations. Begin by routinely inspecting the undersides of leaves and stems for signs of these pests.
Spider mites appear as tiny, red or brown dots, often accompanied by fine webbing. Mealybugs resemble small, white cotton masses, while aphids are tiny, green or black insects clustering on new growth. U
tilize insecticidal soap or neem oil for mild infestations. For severe cases, consider introducing beneficial insects like ladybugs or applying systemic insecticides.
Additionally, maintain ideal humidity and airflow around your plant to deter pest proliferation, as dry and stagnant conditions favor their development.
Encouraging New Growth
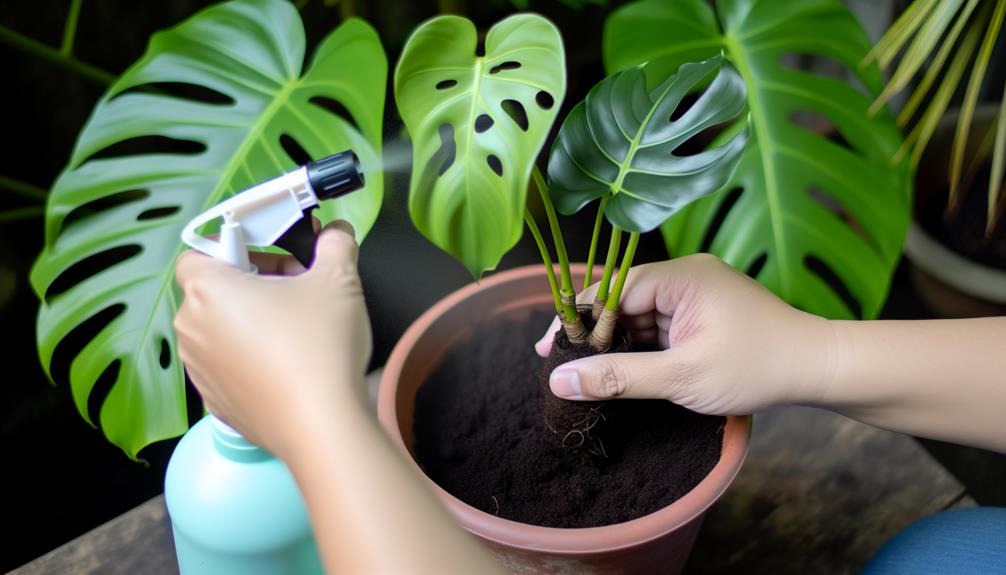
Pruning your Swiss Cheese Monstera strategically will stimulate robust new growth, ensuring the plant remains healthy and vibrant. Focus on removing dead or yellowing leaves and cutting back leggy stems to promote a bushier appearance.
Follow these steps for best results:
- Disinfect Your Tools: Always use sterilized pruning shears to prevent disease transmission.
- Identify Nodes: Cut just above a leaf node, where new leaves will emerge, to encourage branching.
- Timing: Prune during the plant’s active growing season, typically spring and summer, for maximum growth stimulation.
Conclusion
So, you’ve followed all the steps to propagate your Swiss cheese monstera, ensuring proper lighting, pest management, and hydration.
Ironically, while you’ve become a plant propagation expert, you might find yourself with more monstera cuttings than you ever planned for.
Your home could transform into an indoor jungle, but hey, at least you’ll have plenty of oxygen!
Keep up with the care, and soon you’ll have thriving, new monstera plants to share—or not.


