How to Propagate Variegated Monstera? A Step-by-Step Guide!
To propagate a variegated Monstera, start in early spring to late summer for best growth. Use sharp, sterilized pruning shears for clean cuts.
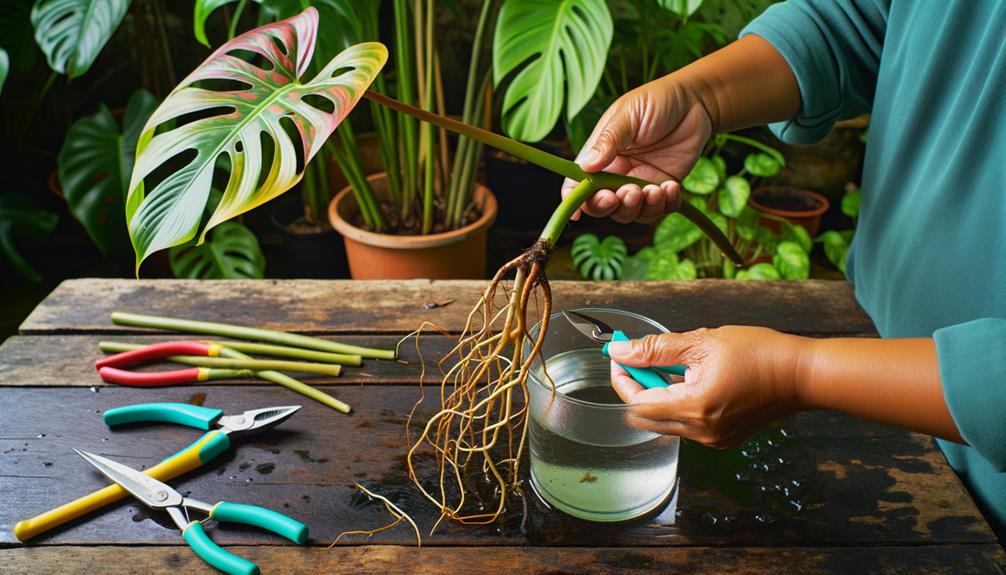
Select a healthy stem with a leaf node and aerial root. Cut below the node at a 45-degree angle.
Dip the cutting in rooting hormone and place it in a well-draining, nutrient-rich soil mix. Maintain ambient temperatures between 65-80°F, and keep humidity at 60-80%.
Water lightly and position near indirect sunlight. Monitor root development before transplanting into a larger pot.
For more insights and step-by-step guidance, explore the intricacies involved.
Key Takeaways
- Choose a healthy stem with nodes and aerial roots for optimal root development.
- Sterilize pruning shears with isopropyl alcohol before making 45-degree cuts below nodes.
- Use rooting hormone on cuttings and plant in well-draining, nutrient-rich soil mix.
- Place cuttings in indirect light, maintain humidity between 60-80%, and keep temperatures between 65-80°F.
- Transplant rooted cuttings into a well-draining potting mix, water thoroughly, and place in bright, indirect light.
Choosing the Right Time
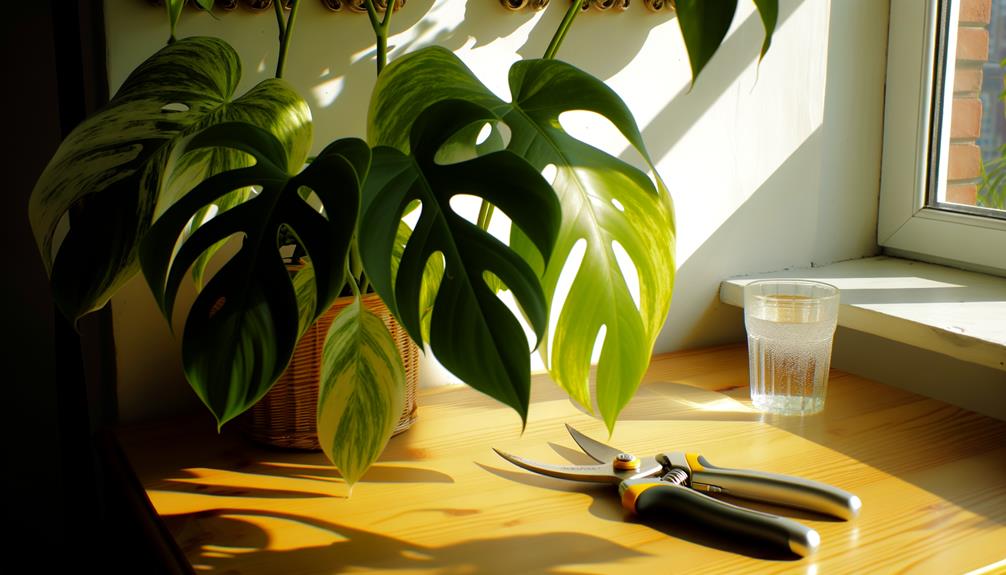
The best time to propagate a variegated monstera is during its active growing season, typically from early spring to late summer, when the plant’s natural growth hormones are at their peak. This period ensures best root development and faster establishment.
You should monitor the plant’s growth patterns closely, as signs of new leaves and vigorous stem growth indicate readiness for propagation. Best ambient temperatures remain between 65°F and 80°F, as cooler conditions can hinder root formation.
Avoid propagating during dormancy, which can lead to failed cuttings. By timing your propagation efforts to coincide with the plant’s natural growth cycle, you’ll maximize the likelihood of successful rooting and robust growth. Proper timing is essential for maintaining the variegation’s integrity.
Gathering Necessary Tools
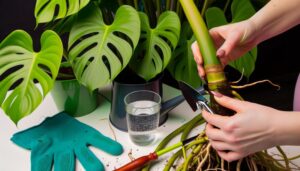
To guarantee successful propagation of your variegated monstera, you’ll need to gather essential tools such as a sharp, sterile pruning shear, rooting hormone, and a clean pot with well-draining soil. Properly sterilize your tools with isopropyl alcohol to prevent infections.
Preparing these items in advance will streamline the propagation process and increase the likelihood of healthy growth.
Essential Propagation Tools
For successful propagation of a variegated Monstera, you’ll need a sharp, disinfected pair of pruning shears, rooting hormone, a clean glass container, and a well-draining soil mix.
Sharp pruning shears guarantee precise cuts, reducing plant stress and promoting healthier growth. Disinfection prevents the introduction of pathogens that could hinder root development. Rooting hormone stimulates root growth, essential for successful propagation.
A clean glass container allows you to monitor root development and ensures a sterile environment. Finally, an aerated, well-draining soil mix prevents root rot by allowing excess water to escape, providing an ideal growing medium.
Gathering these tools ensures you’re well-prepared to propagate your variegated Monstera effectively and efficiently, promoting vigorous and healthy new plants.
Tool Preparation Steps
Start by ensuring your pruning shears are sharpened and disinfected to make clean, pathogen-free cuts. Use a sharpening stone to hone the blades to a fine edge. Sterilize them with isopropyl alcohol or a bleach solution (one part bleach to nine parts water).
Next, gather a clean, sharp knife for making precise cuts on the nodes. Prepare a rooting hormone to enhance root development; powder or gel forms work well. You’ll also need small pots filled with a well-draining potting mix, preferably containing perlite or orchid bark for aeration.
Selecting a Healthy Stem
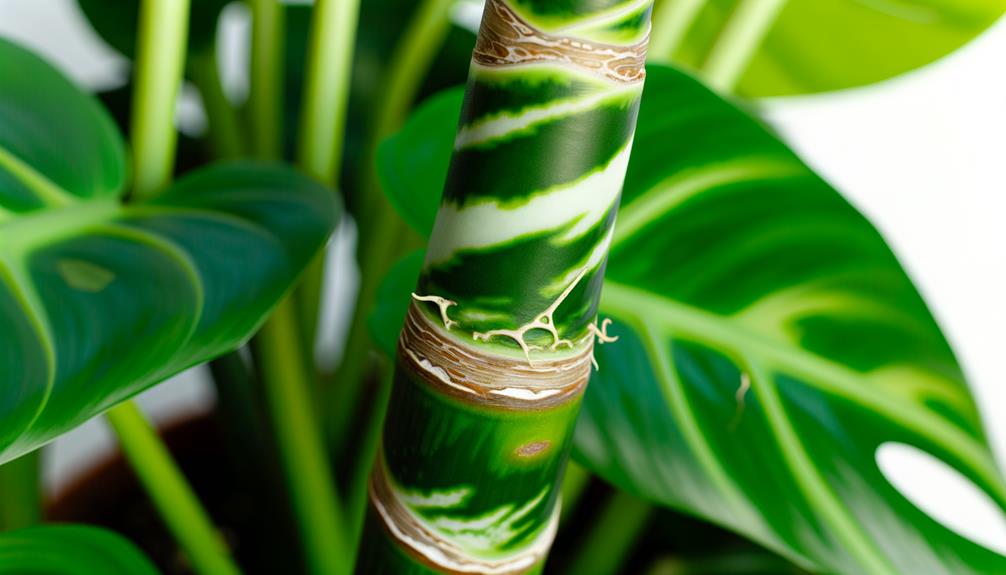
When selecting a healthy stem for propagation, you’ll need to identify the best leaf nodes, as they’re critical for root development.
Check for the presence of aerial roots at these nodes, as they enhance the cutting’s ability to establish quickly.
Lastly, make sure the stem is free from disease or damage to promote vigorous growth.
Identifying Optimal Leaf Nodes
Identifying best leaf nodes involves examining the stem for nodes that exhibit strong growth and healthy variegation patterns, ensuring the most favorable chance for successful propagation.
Look for nodes with substantial swelling and clear differentiation from the internode regions. Healthy nodes often have speckled or marbled patterns on their adjacent leaves, indicating robust variegation.
Carefully inspect the stem for any signs of disease or damage; an excellent node should appear vibrant and firm.
Select a node that’s neither too young nor overly mature, as it should balance growth potential and stability.
Checking for Aerial Roots
A critical step in selecting a healthy stem for propagation is verifying the presence of aerial roots, as these roots greatly enhance the plant’s ability to establish itself in a new environment. Look for small, protruding roots along the stem. They improve water and nutrient absorption.
To identify best aerial roots, follow these steps:
- Inspect Node Areas: Check around leaf nodes, where aerial roots typically emerge.
- Look for Firmness: Confirm the roots are firm and not brittle; this indicates they’re healthy.
- Assess Length: Ideal aerial roots are at least 1-2 inches long to facilitate immediate anchoring.
- Check for Multiple Roots: More aerial roots increase the cutting’s chance of success.
Having these roots will greatly enhance your propagation success rate.
Ensuring Stem Health
Selecting a healthy stem is essential for successful propagation. Prioritize stems that are green, firm, and exhibit no signs of disease or damage. Inspect stems closely for variegation patterns, as consistent variegation indicates genetic stability. Avoid stems with brown spots, mushy areas, or pest infestations.
Confirm the stem has at least one node—a critical point for root formation—and a few healthy leaves. Cut the stem just below the node using sterilized pruning shears to minimize infection risk. Immediately place the cutting in water or a well-draining soil mix to encourage root development.
Maintaining ideal stem health enhances your chances of growing a robust variegated Monstera, ensuring a flourishing, aesthetic addition to your plant collection.
Making the Cuttings
To begin making the cuttings, make certain that each section includes at least one node and a healthy aerial root. This maximizes your cutting has the potential for robust growth.
Use a sterilized, sharp knife or pruning shears to make clean cuts, minimizing plant tissue damage and reducing infection risk.
Follow these steps:
- Identify a section: Choose a stem with visible variegation, a node, and an aerial root.
- Sterilize tools: Clean your knife or shears with rubbing alcohol to prevent disease transmission.
- Make the cut: Slice just below the node at a 45-degree angle for best water absorption.
- Inspect the cutting: Verify it’s healthy, with no signs of rot or pests.
These steps lay the groundwork for successful propagation.
Preparing the Cuttings
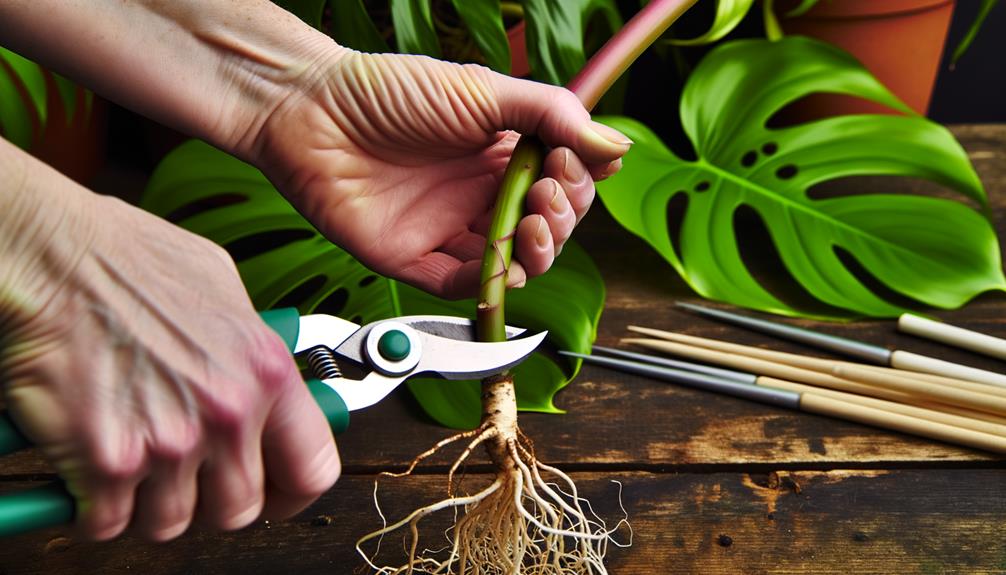
After making the cuttings, immerse them in lukewarm water to prevent dehydration and encourage initial root growth. Make sure each cutting has at least one node, as this is where roots will emerge.
Remove any lower leaves that might submerge, as they can rot and contaminate the water. Sterilize your pruning shears with isopropyl alcohol before trimming to minimize infection risk. Apply a rooting hormone to the cut end to stimulate faster root development.
Use a clean container, preferably glass, to monitor root progress easily. Place the cuttings in bright, indirect light to mimic their natural environment. Maintain water temperature and cleanliness to promote healthy root formation. Change the water every few days to avoid bacterial growth.
Rooting in Water
Securing ideal conditions for your variegated monstera cuttings, place them in a clean, transparent container filled with filtered water to facilitate visible and healthy root development.
Position the container in a bright, indirect light environment to optimize photosynthesis and root growth. Change the water weekly to prevent bacterial growth and guarantee oxygenation. Monitor root development; roots typically emerge within 2-4 weeks.
To promote successful rooting:
- Utilize sterilized scissors to trim any damaged leaves or stems.
- Maintain water temperature around 70-75°F (21-24°C) to simulate tropical conditions.
- Add a rooting hormone to the water to enhance root formation.
- Verify nodes are submerged but leaves remain above water to prevent rot.
Rooting in Soil
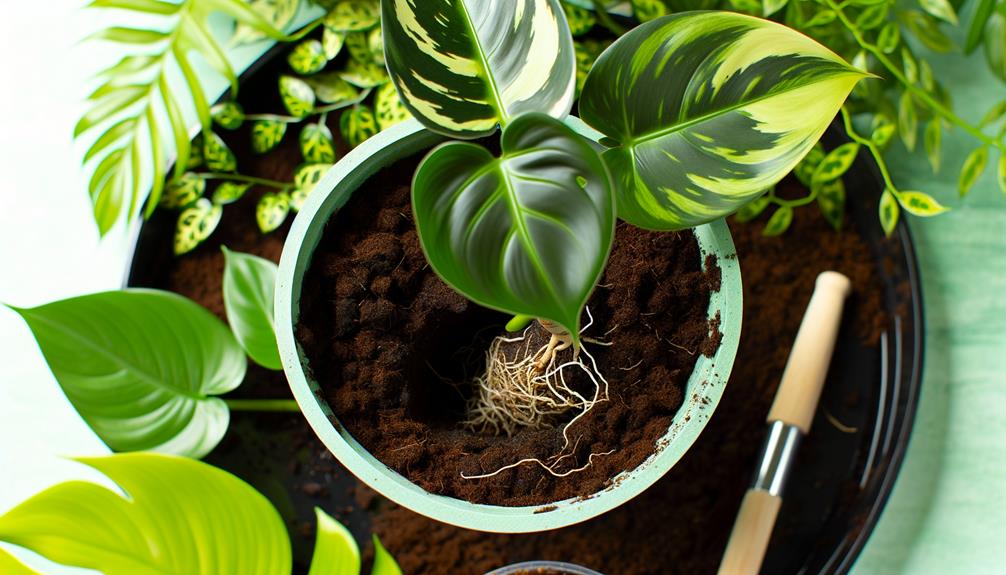
Rooting variegated monstera cuttings in soil necessitates a well-draining, nutrient-rich potting mix to foster robust root development. Begin by selecting a high-quality mix with components like perlite, orchid bark, and peat moss to ensure aeration and moisture retention.
Cut a healthy stem with at least one node and one aerial root. Plant the cutting in a small pot filled with the prepared mix, burying the node just below the surface. Firm the soil gently around the cutting to eliminate air pockets.
Water the soil lightly to keep it moist but not waterlogged, as excessive moisture can lead to root rot. Maintain a consistent environment and monitor for new growth, signaling successful root establishment.
Providing Optimal Conditions
To guarantee your variegated monstera thrives, provide bright, indirect light, maintain high humidity levels, and keep the temperature between 65-80°F. These conditions mimic the plant’s native tropical environment, essential for best possible growth.
Here are specific actions you should take:
- Light: Position your monstera near an east or north-facing window. Use sheer curtains to diffuse direct sunlight, preventing leaf burn.
- Humidity: Increase humidity to 60-80% using a humidifier or pebble tray filled with water. Misting can also help but isn’t as effective.
- Temperature: Monitor room temperature with a digital thermometer. Avoid placing the plant near drafts or heating vents.
- Watering: Water when the top inch of soil feels dry. Make sure proper drainage to prevent root rot.
These steps provide the ideal environment for your variegated monstera.
Transplanting Cuttings
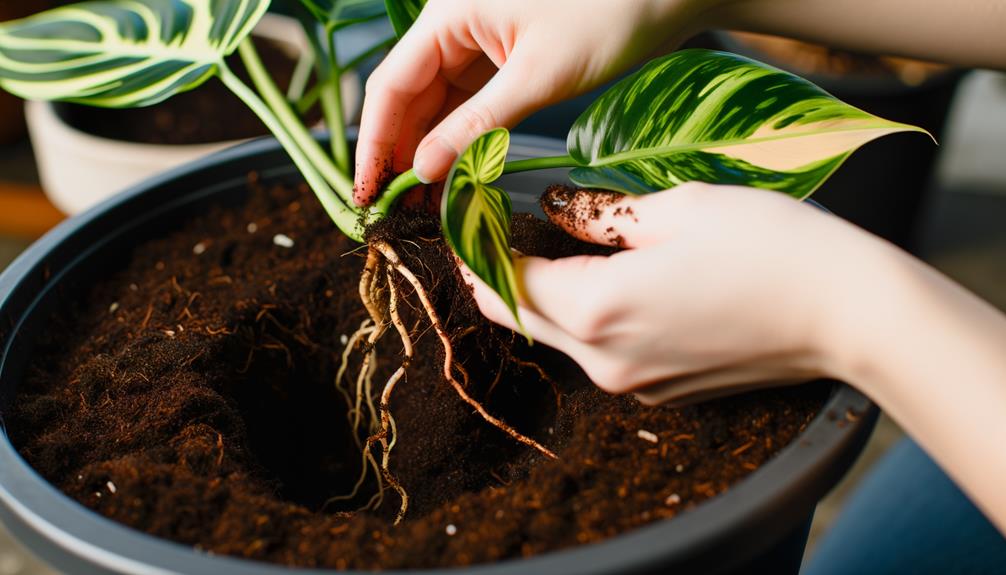
When transplanting cuttings, gently remove them from their water or propagation medium, being careful not to damage the delicate roots.
Prepare a well-draining potting mix by combining equal parts perlite and peat moss to guarantee aeration and moisture retention. Fill a small pot with the mix, creating a hole in the center.
Position the cutting so the roots are spread out and not crowded. Backfill with soil, firming it gently around the base to eliminate air pockets.
Water the transplanted cutting thoroughly to settle the soil and secure root contact. Place the pot in a bright, indirect light location.
Maintain high humidity around the plant by using a humidity dome or a plastic bag until it establishes.
Caring for New Plants
Once your variegated Monstera cuttings are securely transplanted, prioritize maintaining consistent moisture levels in the soil to encourage robust growth and prevent root desiccation.
Adequate care for new plants involves several critical steps:
- Watering: Guarantee the soil remains moist but not waterlogged. Overwatering can lead to root rot, while underwatering can cause dehydration.
- Lighting: Provide bright, indirect sunlight. Direct sunlight can scorch the leaves, while insufficient light can impede variegation.
- Humidity: Sustain high humidity levels, ideally around 60-80%. Use a humidifier or mist the leaves daily to replicate tropical conditions.
- Fertilization: Feed the plant with a balanced, water-soluble fertilizer every 4-6 weeks to supply essential nutrients for growth.
Conclusion
Think of propagating your variegated Monstera like baking a cake. You need the right ingredients, precise measurements, and careful timing.
By selecting a healthy stem, making accurate cuts, and providing ideal conditions, you can watch your plant flourish, just like a perfectly risen cake.
Remember, patience is key. Studies show that well-cared-for cuttings have a 90% success rate.
With your newfound expertise, you’ll soon have a thriving collection of stunning Monsteras. Happy propagating!

