How to Repot a Monstera Plant? Essential Tips!
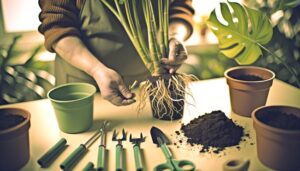
To repot a Monstera, first select a new pot about 1-2 inches larger with good drainage holes. Prepare a well-draining mix like peat moss, perlite, and pine bark.
Water your Monstera before starting. Remove it gently, checking and untangling the roots.
Trim any dead or unhealthy roots. Place the plant in the center of the new pot, add the fresh mix, and lightly pack the soil around the roots.
Water thoroughly to settle the soil, and place the plant in bright, indirect light. Monitoring for stress and maintaining humidity is essential for recovery and growth.
Continue to explore for more detailed steps.
Key Takeaways
- Choose a new pot 1-2 inches larger with multiple drainage holes.
- Prepare a well-draining potting mix like peat moss, perlite, and pine bark.
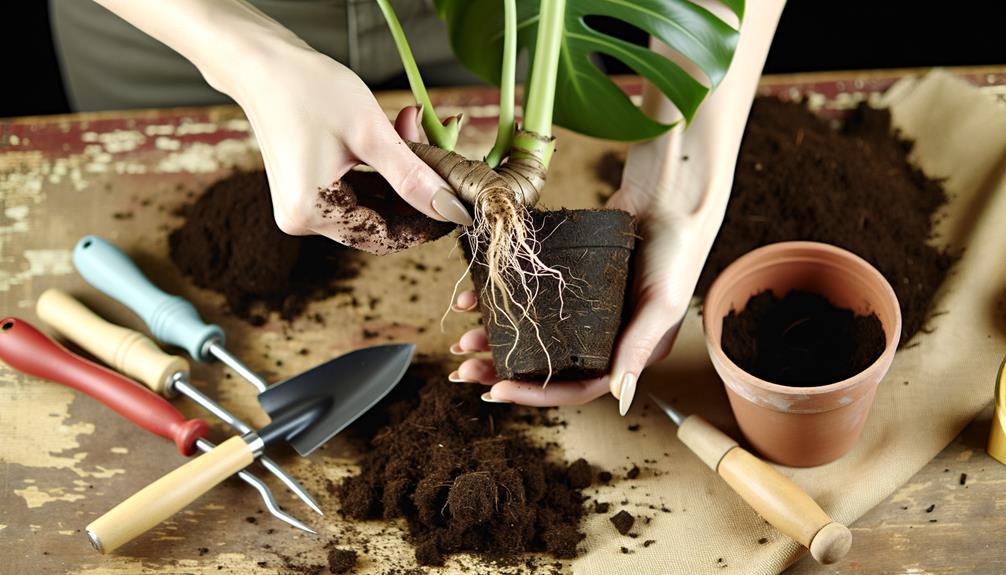
- Gently remove the Monstera, checking and trimming unhealthy roots.
- Position the Monstera in the center, fill with fresh potting mix, and water thoroughly.
- Place the repotted plant in bright, indirect light and maintain high humidity.
Signs Your Monstera Needs Repotting
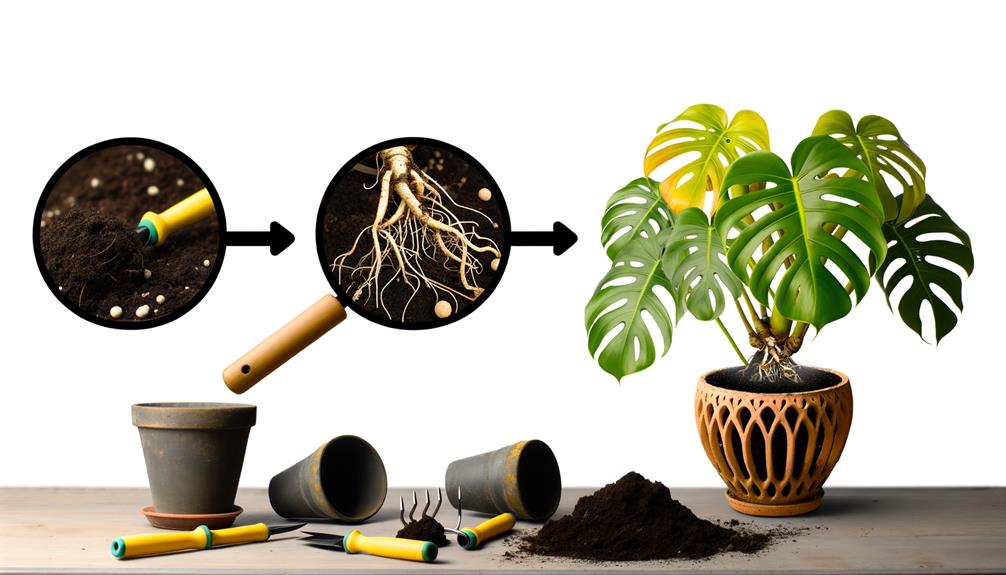
Your Monstera’s roots growing out of the drainage holes is a clear indicator that it’s time to contemplate repotting. This root-bound condition restricts the plant’s growth and nutrient absorption.
You might also notice yellowing leaves or stunted growth, both of which suggest the plant’s roots are overcrowded. Additionally, if your Monstera dries out rapidly after watering, it indicates that the soil volume is insufficient to retain moisture.
Another sign is when the plant becomes top-heavy and unstable, as the pot can no longer support its size. Inspect the surface soil; if it looks compacted or the roots are visible, it’s time to act.
All these signs signal your Monstera’s need for more space to thrive healthily.
Choosing the Right Pot
Selecting an appropriately sized pot with sufficient drainage is crucial for ensuring your Monstera’s sustained health and growth. Choose a pot that’s one to two inches larger in diameter than the current one. This size allows for root expansion without overwhelming the plant.
Make sure the pot has drainage holes to prevent waterlogging, which can cause root rot. Opt for materials like terracotta or ceramic, which provide stability and breathability. Avoid pots that are too deep; Monstera roots prefer spreading horizontally.
Additionally, consider using a saucer to catch excess water. By carefully selecting the right pot, you’ll create an ideal environment for your Monstera, promoting vigorous growth and health.
Preparing Your New Pot
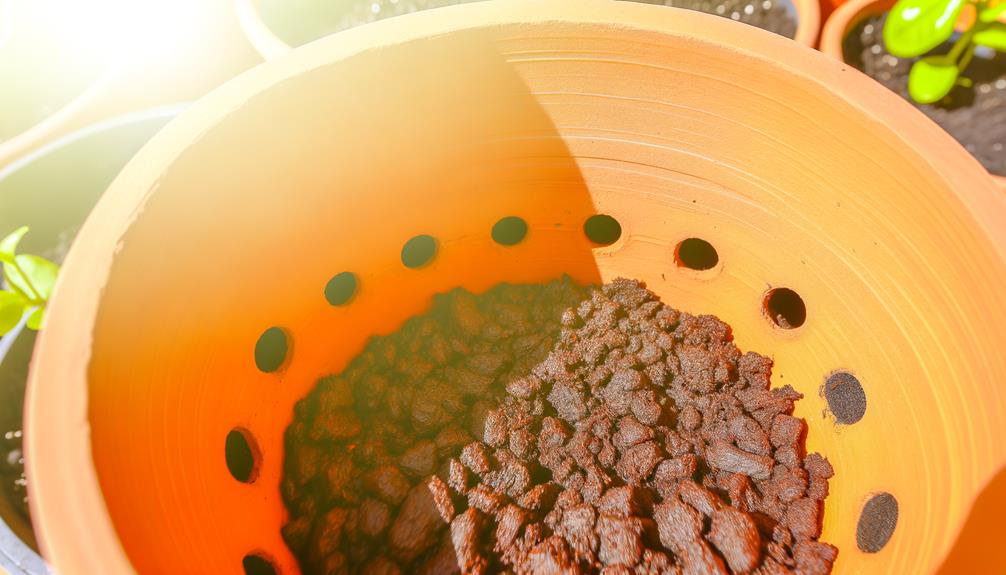
Before repotting your Monstera, make certain the new pot is thoroughly cleaned and sanitized to prevent any potential contamination or disease. Use a solution of one part bleach to nine parts water to sterilize the pot. Rinse thoroughly and let it dry completely. Confirm the new pot has adequate drainage holes to avoid waterlogging, which can lead to root rot.
Here’s a quick reference table:
| Step | Description |
|---|---|
| Cleaning Solution | 1 part bleach, 9 parts water |
| Drying Time | Until completely dry |
| Checking Drainage Holes | Verify multiple holes |
| Pot Material Consideration | Terra cotta or plastic |
These steps ensure the pot is ready for your Monstera, providing a healthy and conducive environment for growth.
Removing the Monstera From Its Old Pot
With the new pot prepared, gently loosen the soil around the Monstera’s roots to facilitate its removal from the old pot. Carefully tilt the pot to one side and tap the sides to dislodge the soil.
If the plant resists, use a sterile knife to gently separate the soil from the pot’s edges. Once loosened, support the base of the Monstera with one hand while tipping the pot with the other.
Gradually slide the plant out, ensuring you don’t damage the roots. If the Monstera is still stuck, try pushing from the drainage holes using a blunt object.
Take your time; patience is key to preserving the plant’s root integrity during this essential step.
Inspecting the Root System
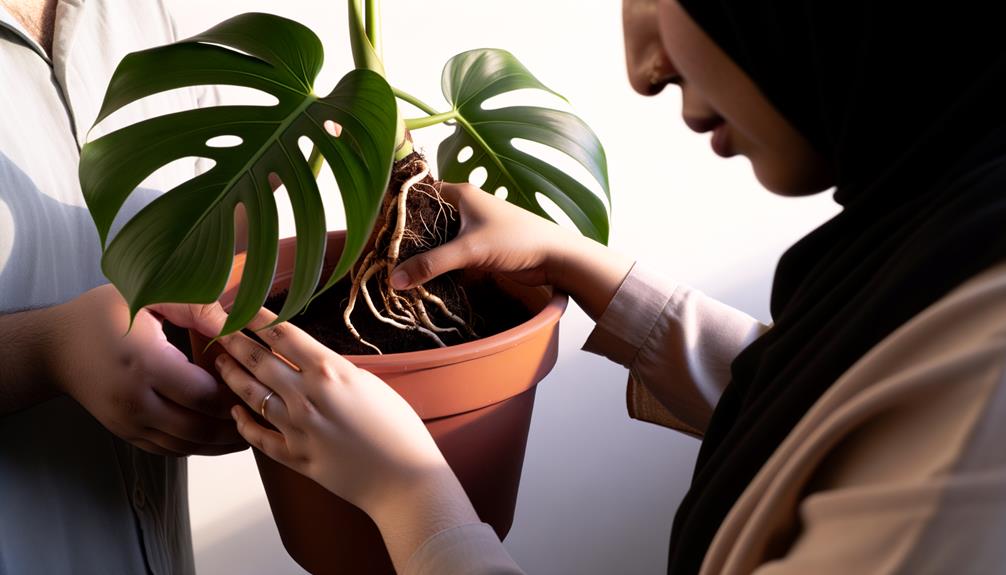
Carefully inspect the Monstera’s root system for signs of health, such as white, firm roots, and identify any potential issues like rot or overcrowding. Healthy roots should be plump, white or light tan, and slightly moist. Remove any roots that appear mushy, black, or brown, as these are signs of root decay. Use sterilized scissors to trim away dead or unhealthy roots, making sure to cut back to healthy tissue.
Examine the root ball for signs of overcrowding; if roots are densely packed and circling the pot, gently separate them to promote new growth. Be sure to handle the roots carefully to avoid unnecessary damage. This step is essential for maintaining the plant’s overall health and encouraging robust growth in its new environment.
Placing the Monstera in the New Pot
Gently position the Monstera in the center of the new pot, ensuring the root ball is evenly distributed and the plant stands upright.
Carefully hold the plant at the base of the stems to maintain stability.
Check that the roots are spread out and not tangled or folded. This positioning helps the roots grow outward and down, promoting healthy development.
Make sure the main stem is vertical and the leaves are oriented in their natural growth direction.
Adjust the plant’s height so that the root crown sits slightly below the pot’s rim. This setup prevents water from pooling around the stem, reducing the risk of rot.
Double-check that the plant is secure before proceeding to the next step.
Adding Fresh Potting Mix
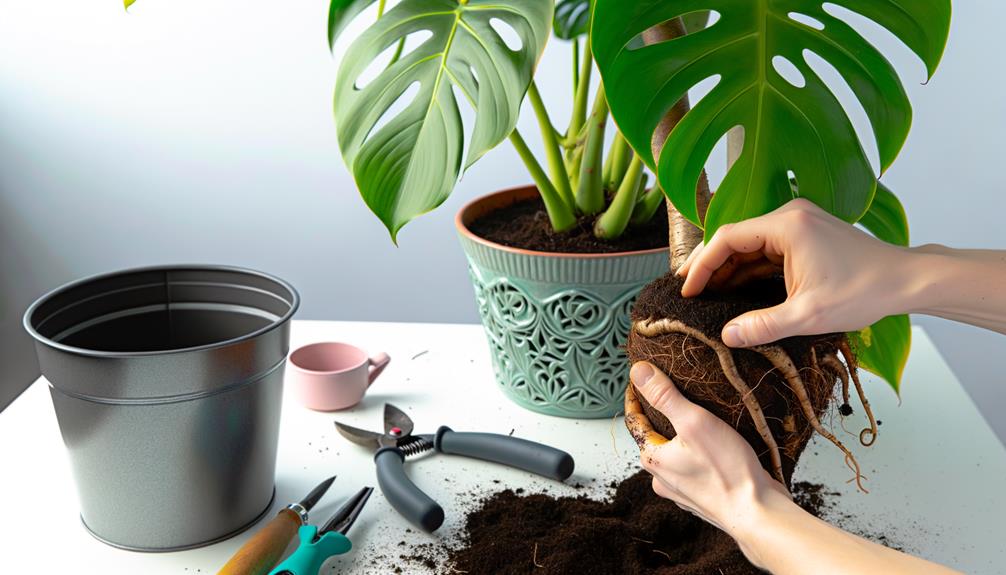
Start filling in the gaps around the Monstera’s roots with fresh potting mix, ensuring it’s evenly distributed and packed down lightly to eliminate air pockets. Use a high-quality, well-draining mix, typically containing peat moss, perlite, and pine bark.
| Material | Function |
|---|---|
| Peat Moss | Retains moisture |
| Perlite | Improves drainage |
| Pine Bark | Enhances aeration |
Gently tap the sides of the pot to help the mix settle further. Continue adding the potting mix until it reaches about an inch below the rim of the pot. Check that the Monstera is upright and stable, adjusting as necessary. Avoid over-packing the soil, as this can impede root growth and drainage, potentially harming the plant.
Watering and Care After Repotting
After repotting your Monstera, make sure you water it thoroughly to help the soil settle around the roots.
Maintain high humidity levels and place the plant in bright, indirect light to promote recovery.
Regularly monitor for signs of stress or root rot, adjusting care as needed to promote health.
Initial Watering Schedule
Once you’ve repotted your Monstera, make sure you thoroughly water it to help settle the soil and eliminate any air pockets around the roots. For the first week, maintain consistent moisture without waterlogging.
Here’s a precise schedule:
| Day | Watering Amount | Notes |
|---|---|---|
| 1 | Thorough soak | Confirm water drains freely |
| 3 | Light watering | Keep soil slightly damp |
| 5 | Light watering | Check soil moisture level |
| 7 | Moderate soak | Adjust based on drainage |
After the initial week, evaluate soil moisture by inserting your finger about an inch deep. Water only when the top inch feels dry. Always make sure excess water drains away to prevent root rot. This balanced approach helps your Monstera acclimate and thrive post-repotting.
Humidity and Light Needs
Maintaining ideal humidity and light conditions is crucial for the healthy growth of your Monstera plant after repotting. Monstera thrives in humidity levels between 60-80%. You can achieve this by misting regularly or using a humidifier.
Place the plant in indirect, bright light; direct sunlight can scorch its leaves. East-facing windows work well, offering gentle morning light. Rotate the plant periodically to ensure even light exposure.
Avoid placing it near drafty windows or vents, as sudden temperature changes can stress the plant. Consistent environmental conditions will help your Monstera acclimate to its new pot and encourage robust growth.
Monitoring Plant Health
Regularly monitoring your Monstera’s health post-repotting is essential, focusing particularly on its watering needs and overall care.
Here are three critical steps to maximize your plant’s well-being:
- Watering: Maintain consistent moisture but avoid waterlogging. Water thoroughly when the top 1-2 inches of soil feels dry. Use well-draining soil to prevent root rot.
- Humidity: Keep humidity levels between 60-80%. Use a humidity tray or a humidifier to maintain ideal conditions, especially during dry seasons.
- Light and Temperature: Place your Monstera in bright, indirect light. Avoid direct sunlight, which can scorch leaves. Keep the temperature between 65-85°F (18-29°C), avoiding cold drafts.
Conclusion
Repotting your Monstera might seem overwhelming, but it’s essential for its health and growth. By recognizing the signs, selecting the right pot, and carefully shifting your plant, you give it the best chance to thrive.
Make sure the root system is healthy, use fresh potting mix, and water adequately. The theory stands true: a well-repotted Monstera will reward you with lush, vigorous growth.
Your meticulous care and attention will surely make all the difference.


