How to Revive Monstera Plant? Expert Advice!
To revive your Monstera, start by examining leaves for discoloration or pests and smelling the soil for root rot. Check soil moisture with a meter and adjust watering accordingly.
Confirm the pot has good drainage using gravel or perlite. Test and balance soil pH, then aerate if compacted.
Position your plant near a bright window and consider using grow lights. Mist leaves or use a humidifier to maintain humidity.
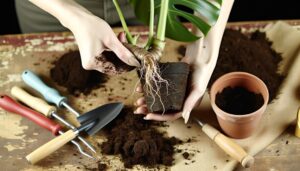
If necessary, repot with fresh soil, confirming adequate drainage. Use a balanced fertilizer monthly.
Regularly monitor leaves, soil, and light conditions. Follow these guidelines to systematically improve your Monstera’s health.
Key Takeaways
- Inspect for pests or disease symptoms and treat promptly.
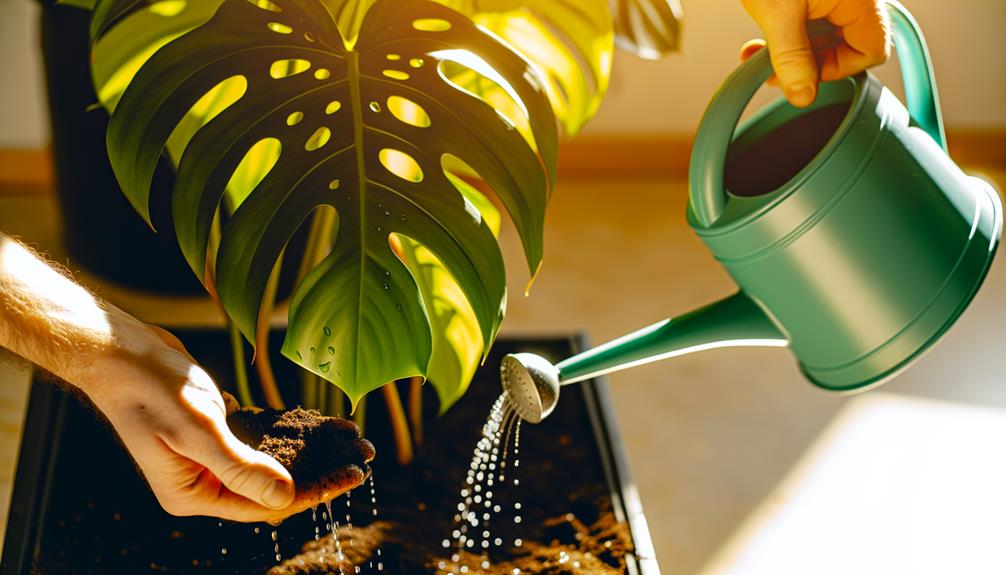
- Adjust watering practices to maintain optimal soil moisture, avoiding overwatering.
- Ensure the pot has adequate drainage to prevent root rot.
- Position the plant in proper light, supplementing with grow lights if necessary.
- Maintain humidity levels with a humidifier or moisture tray.
Identify the Problem
To effectively revive your Monstera plant, you must first identify the specific problem affecting its health.
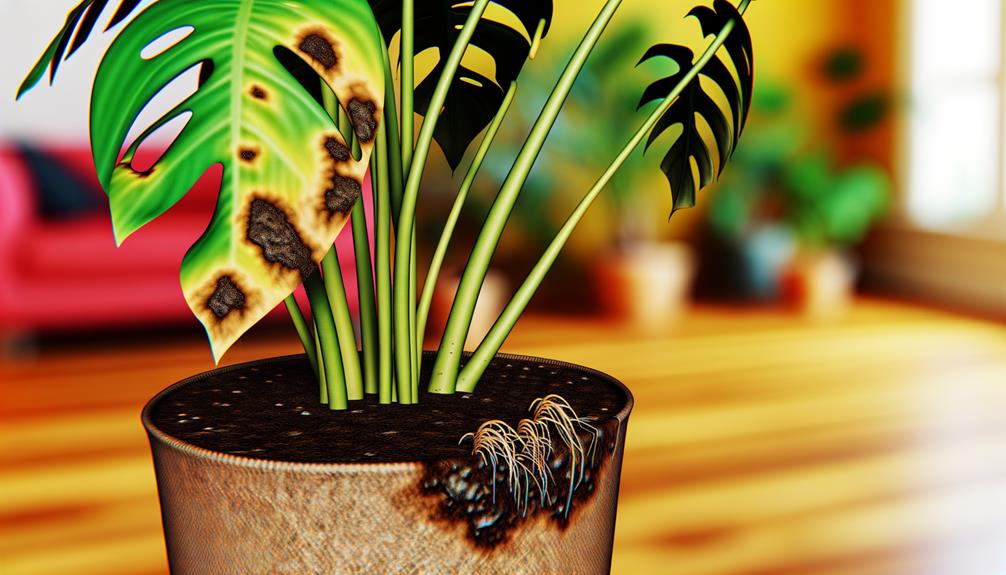
Start by examining the leaves for discoloration, spots, or wilting. Yellow leaves often indicate overwatering, while brown, crispy edges suggest underwatering or low humidity.
Inspect the soil for compactness or a foul odor, which might signal root rot. Check for pests like spider mites or aphids, typically found on the undersides of leaves.
Assess light conditions; Monstera plants prefer bright, indirect light, and insufficient light can cause leggy growth.
Finally, consider nutrient deficiencies; pale or stunted leaves can point to a lack of essential minerals.
Assess Watering Practices
Start by checking the soil moisture levels using a moisture meter to confirm they align with the plant’s requirements.
Next, adjust your watering schedule based on these readings to avoid overwatering or underwatering.
Check Soil Moisture Levels
Accurately gauging soil moisture levels is essential for understanding your Monstera plant’s watering needs and preventing both under- and over-watering. Use a moisture meter or insert your finger about 2 inches into the soil. The goal is to maintain a balance where the soil is neither too dry nor too saturated.
Observe the table below for guidance:
| Moisture Level | Action |
|---|---|
| 0-2 (Dry) | Water immediately |
| 3-4 (Moist) | Monitor closely, no watering needed |
| 5-6 (Optimal) | Ideal, maintain current practices |
| 7-10 (Wet) | Allow soil to dry out |
Understanding these levels helps you tailor your watering practices, ensuring your Monstera thrives without the risks of root rot or dehydration.
Adjust Watering Schedule
Once you’ve gauged the soil moisture levels, it’s crucial to adjust your watering schedule based on the data collected to enhance your Monstera’s health.
Follow these steps to achieve precise hydration:
- Monitor Frequency: Water your Monstera when the top 2 inches of soil are dry. Use a moisture meter for precision.
- Adjust Volume: Make sure water reaches the root zone without causing oversaturation. Typically, 10-20% of the pot’s volume is ideal.
- Consider Environment: Factors like humidity, temperature, and light affect water needs. Higher humidity and lower temperatures reduce water requirements.
- Seasonal Changes: In winter, plants often need less water. Modify your schedule to reflect seasonal variations in growth and dormancy.
This precise approach guarantees your Monstera receives the best amount of water for robust health.
Improve Drainage System
Evaluating your Monstera’s drainage system is crucial to prevent waterlogging and promote peak root health. First, confirm your pot has sufficient drainage holes to allow excess water to escape. You can improve drainage by adding a layer of gravel or perlite at the bottom. This creates air pockets, reducing the risk of root rot.
Next, analyze your soil mix. A well-draining mix should contain ingredients like peat moss, coco coir, and perlite. These materials balance moisture retention and aeration. Check for water pooling on the soil surface; it indicates inadequate drainage.
Check Soil Conditions
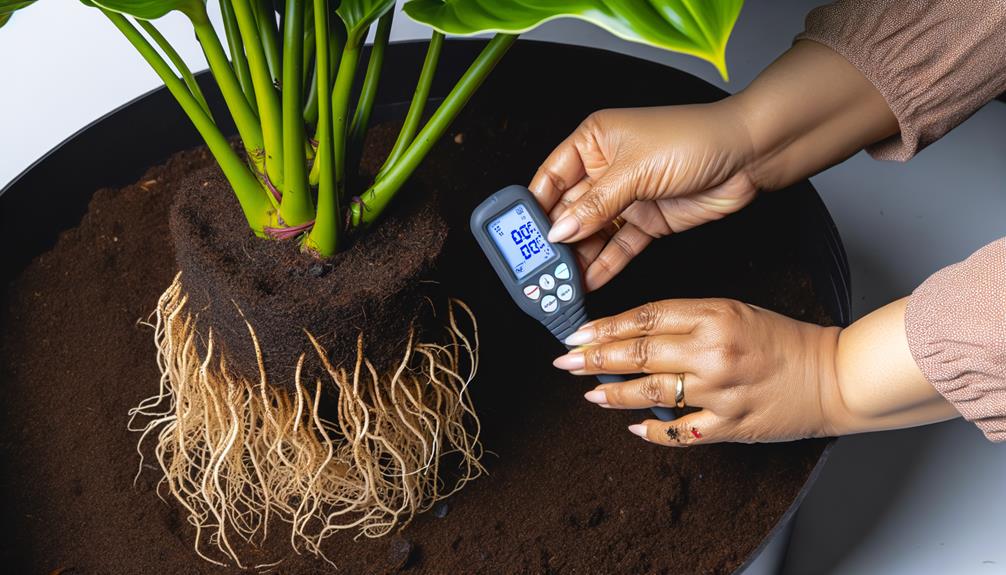
To secure your Monstera plant thrives, examine the soil for proper moisture levels, pH balance, and nutrient content. Start by testing soil moisture; it should be slightly moist but not waterlogged.
Next, measure the pH level; Monstera prefers a range of 5.5 to 7.0. Confirm nutrient content by using a balanced fertilizer. Also, inspect for signs of compacted soil, which can hinder root growth.
Consider these steps:
- Moisture Level: Use a moisture meter to uphold slight dampness.
- pH Balance: Utilize a pH testing kit to achieve the ideal range.
- Nutrient Content: Apply a balanced fertilizer monthly.
- Soil Texture: Aerate soil if compacted to enhance root oxygenation.
These steps will help optimize soil conditions for your Monstera.
Evaluate Light Exposure
Your Monstera’s health relies heavily on receiving the right amount of indirect sunlight, which is essential for photosynthesis and overall growth.
Position your plant near a north or east-facing window where it can receive bright, filtered light. Avoid direct sunlight as it can scorch the leaves, causing brown spots and hindering photosynthetic efficiency.
Use a light meter to measure the intensity; aim for 1000-2000 foot-candles. If natural light is insufficient, consider supplementing with fluorescent grow lights, ensuring they’re on for about 12-14 hours daily.
Monitor leaf color and growth patterns; pale or slow-growing leaves indicate inadequate light, while yellowing suggests excessive exposure. Adjust accordingly to optimize light conditions for your Monstera’s revival.
Inspect for Pests

Thoroughly examine your Monstera for pests, as infestations can severely compromise its health and well-being. Use a magnifying glass to identify common pests such as spider mites, aphids, and mealybugs. Check the undersides of leaves, stems, and soil surface for signs of infestation.
Common symptoms include:
- Discolored spots – Yellow, white, or brown spots on leaves.
- Webbing – Fine webs, often indicating spider mites.
- Sticky residue – Honeydew secretion from aphids or scale insects.
- Cotton-like clusters – White, cottony masses from mealybugs.
If you identify pests, isolate the plant to prevent spread and use appropriate treatments like insecticidal soap or neem oil. Regularly monitoring your Monstera will help in early detection and effective management.
Prune Damaged Leaves
To effectively prune your Monstera, start by identifying unhealthy foliage, such as leaves with brown spots or yellowing.
Use clean, sterilized pruning shears to prevent the spread of pathogens.
Make precise cuts at the base of the damaged leaf to encourage healthy growth.
Identify Unhealthy Foliage
Identifying unhealthy foliage in your Monstera plant involves observing leaves for signs of discoloration, wilting, or physical damage, which are indicators of underlying issues.
Discolored leaves might exhibit yellowing due to nutrient deficiencies or brown spots from fungal infections. Wilting often signifies inadequate watering or root rot. Physical damage, like tears or holes, can result from pests or environmental stressors.
To effectively identify unhealthy foliage, follow these steps:
- Examine Leaf Color: Note any yellow, brown, or black areas.
- Check Leaf Texture: Look for wilting, curling, or drooping.
- Inspect for Damage: Identify tears, holes, or irregular shapes.
- Assess Overall Health: Compare affected leaves with healthier parts of the plant.
Use Clean Tools
Using sterilized tools is essential when you prune damaged leaves to prevent the spread of diseases and pests. Dirty tools can introduce pathogens that compromise plant health. Before you start, disinfect your pruning shears with rubbing alcohol or a bleach solution. Carefully remove any yellowing or brown leaves, making clean cuts close to the stem.
Here’s a quick reference table for effective tool sterilization:
| Disinfectant | Concentration | Soaking Time |
|---|---|---|
| Rubbing Alcohol | 70% | 30 seconds |
| Bleach Solution | 10% | 5 minutes |
| Hydrogen Peroxide | 3% | 1 minute |
After pruning, always clean your tools again to maintain their effectiveness. This practice minimizes the risk of cross-contamination, ensuring your Monstera remains vibrant and healthy.
Repot if Necessary
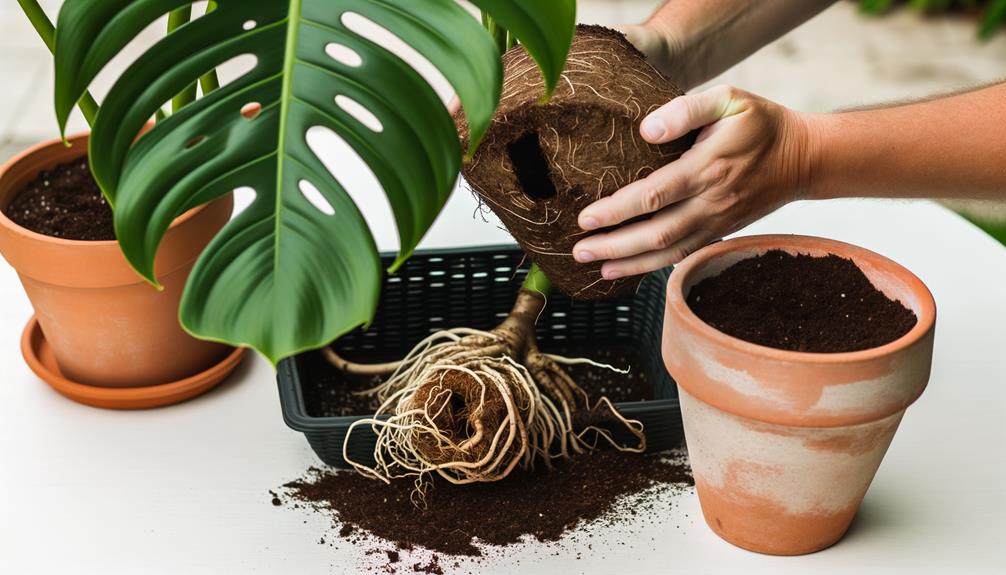
If the Monstera’s roots are visibly circling the pot or emerging through drainage holes, it’s an indication that repotting is essential to provide adequate space for growth.
Follow these steps to ensure a successful change:
- Select an Appropriate Pot: Choose a container that’s 2 inches larger in diameter than the current one, making sure it has enough drainage holes to prevent waterlogging.
- Prepare Fresh Potting Mix: Use a well-draining mixture containing peat, perlite, and pine bark to replicate the Monstera’s natural habitat.
- Gently Remove the Plant: Carefully loosen the roots and remove any old soil clinging to them, being careful not to damage the root structure.
- Position and Fill: Place the Monstera centrally in the new pot, filling around the roots with fresh soil, and water thoroughly.
Fertilize Appropriately
You need to select a balanced fertilizer with equal parts nitrogen, phosphorus, and potassium to support your Monstera’s overall health.
Apply the fertilizer according to seasonal guidelines, typically every two weeks during the growing season and monthly during the dormant period.
Guarantee you dilute the fertilizer to half strength to prevent nutrient burn.
Choose Balanced Fertilizer
To enhance the thriving of your Monstera plant, choose a balanced fertilizer with an equal ratio of nitrogen, phosphorus, and potassium, typically labeled as 20-20-20. This ratio provides essential nutrients for ideal growth. Nitrogen boosts leaf development, phosphorus aids root and flower formation, and potassium enhances overall plant health.
Here’s how to use it effectively:
- Dilute Properly: Mix the recommended amount of fertilizer with water, following the manufacturer’s guidelines.
- Frequency: Apply the diluted solution every 4-6 weeks during the growth phase.
- Application Method: Pour the solution directly onto the soil, avoiding contact with leaves.
- Monitoring: Observe your plant for signs of excessive fertilization, such as leaf burn or yellowing, and adjust accordingly.
Following these steps guarantees your Monstera plant receives well-rounded nutrition.
Follow Seasonal Guidelines
Seasonal changes dictate specific fertilization practices to make certain your Monstera plant thrives year-round. During the growing season, typically spring and summer, apply a balanced, water-soluble fertilizer every 2-4 weeks. This period demands higher nutrient uptake due to active growth.
In contrast, reduce fertilization in autumn and cease it entirely during winter when the plant’s growth slows. Over-fertilizing during dormancy can lead to root burn and nutrient imbalances. Always dilute the fertilizer to half the recommended strength to avoid overfeeding.
Monitor the plant’s response to fertilization; yellowing leaves could indicate over-fertilization, while stunted growth might suggest under-fertilization. By adhering to these seasonal guidelines, you’ll make sure your Monstera maintains prime health and vigor throughout the year.
Ensure Proper Humidity
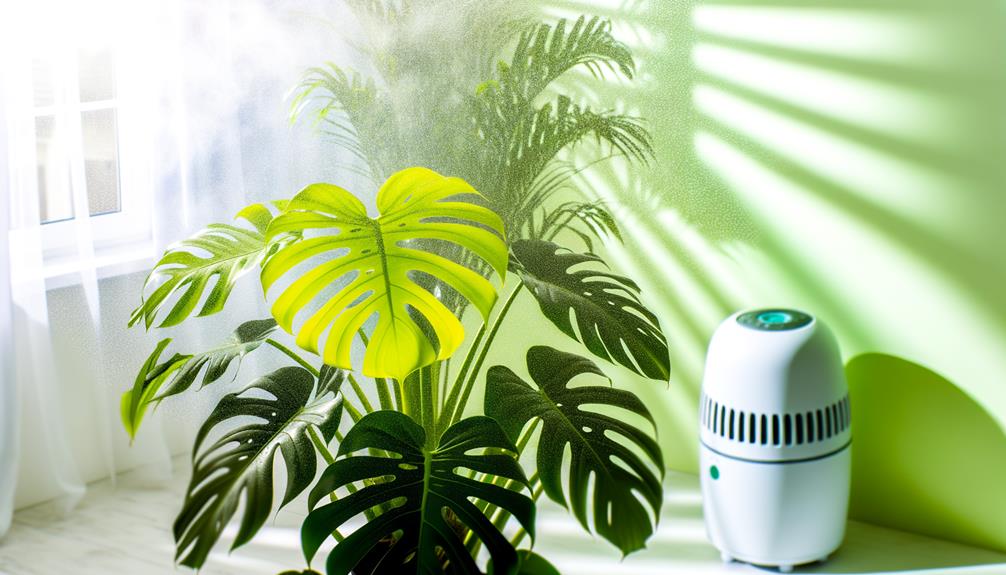
Maintaining ideal moisture levels, between 60%-80%, is vital for the Monstera plant’s health and growth. Without sufficient moisture, your Monstera’s leaves can develop brown edges and become less vibrant.
To guarantee proper moisture, follow these steps:
- Use a Humidifier: Position a humidifier near your plant to maintain consistent moisture levels in the air.
- Mist the Leaves: Regularly spray the leaves with water to increase moisture around the plant.
- Group Plants Together: Position multiple plants close to each other to create a microenvironment with higher moisture.
- Use a Moisture Tray: Position a tray filled with water and pebbles beneath the plant pot; as the water evaporates, it raises the moisture.
Monitor Plant Recovery
After establishing proper humidity levels, it’s crucial to monitor your Monstera’s recovery by observing new growth and overall plant well-being. Examine the leaves for signs of improvement, such as reduced yellowing, fewer brown spots, and new leaf emergence.
Check the soil moisture regularly, ensuring it remains evenly moist but not waterlogged. Look for aerial root development as an indicator of improved health.
Measure light exposure using a light meter, ensuring your Monstera receives bright, indirect sunlight. Monitor temperature fluctuations; maintain a consistent range of 65-85°F (18-29°C).
Regularly inspect for pests like spider mites or scale, which can impede recovery. Document your observations and any changes you implement, enabling precise adjustments to optimize your Monstera’s revival.
Conclusion
By carefully following these steps, you’ll increase your Monstera’s chance of recovery greatly.
Did you know that over 60% of houseplants die due to improper watering? By simply adjusting your watering practices and monitoring your plant’s environment, you can avoid being part of that statistic.
Your Monstera will thrive with proper care, ensuring it remains a vibrant addition to your space. Keep a close eye on its progress and adjust as necessary for best health.


