Monstera Split Leaf Philodendron Propagation: Complete Guide
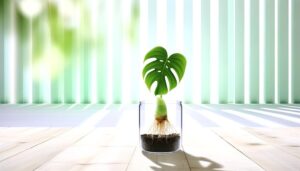
To propagate Monstera split leaf philodendrons, start in spring or early summer. Use sterilized pruning shears to cut a stem segment just below a node, ensuring it has a leaf and an aerial root.
Let the cut end callous for 24 hours, then place it in well-draining soil or filtered water. Maintain temperatures between 65-75°F and keep the node slightly buried.
Change water every 3-4 days if rooting in water and expect root formation within 2-4 weeks. Provide indirect light, high humidity, and water when the top inch of soil is dry.
For detailed care tips, explore further.
Key Takeaways
- Propagate Monstera philodendrons in spring or early summer when the plant is actively growing.
- Choose a healthy stem cutting with at least one node and a leaf for best results.
- Allow the cut end to callous for 24 hours before placing it in water or soil.
- Maintain high humidity and indirect light conditions to encourage root development.
- Regularly change water or keep the soil well-draining to prevent root rot during propagation.
Understanding Monstera Philodendrons
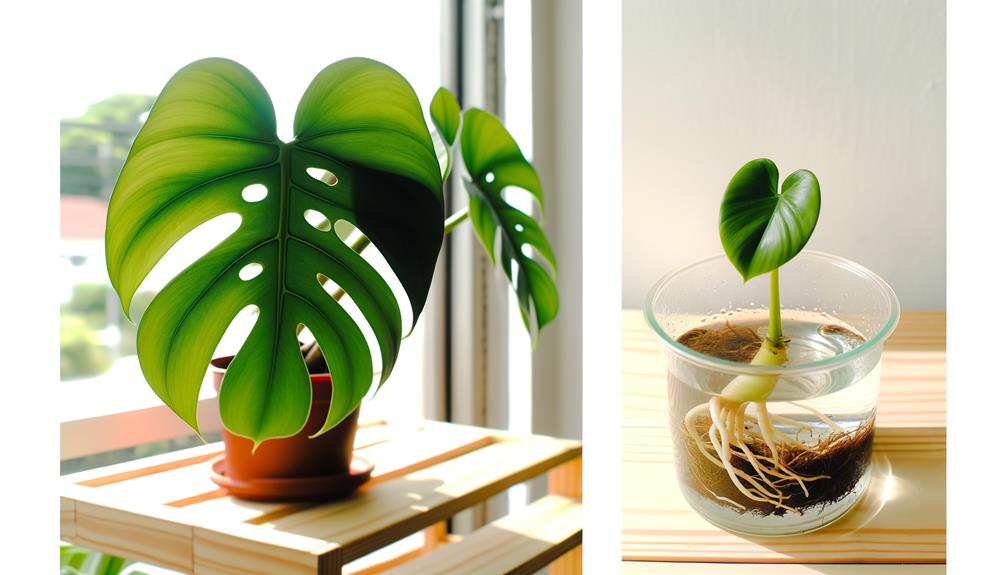
Monstera philodendrons, commonly known as split-leaf philodendrons, are a genus of tropical plants distinguished by their large, fenestrated leaves that enhance light capture. These leaves feature natural perforations, or fenestrations, which maximize photosynthetic efficiency by allowing light to penetrate through to lower leaves.
You’ll find these adaptations particularly useful in their native rainforest understories. When caring for monstera philodendrons, focus on maintaining high humidity and indirect sunlight to mimic their natural habitat. Ensure the soil remains well-draining yet retains moisture.
Utilize a balanced, water-soluble fertilizer monthly during the growing season to promote healthy growth. By understanding these needs, you’ll create an optimal environment for your monstera philodendron to thrive, setting the foundation for successful propagation.
Best Time for Propagation
To propagate your Monstera split leaf philodendron successfully, you’ll need to think about the ideal seasonal conditions, plant maturity, and specific environmental factors like daylight and temperature.
Aim for propagation during the spring or early summer when the plant is actively growing.
Make sure the plant has reached its peak maturity with enough aerial roots and healthy foliage for the best results.
Ideal Seasonal Conditions
Curiously, have you ever wondered when the best time is for propagating your Split Leaf Philodendron to promote maximum growth and health?
The ideal seasonal conditions play an important role. Spring and early summer are ideal due to increased light levels and warmer temperatures, which enhance root development and growth rates. Aim for temperatures between 65-75°F (18-24°C).
Here’s a quick reference:
| Season | Temperature Range | Light Levels |
|---|---|---|
| Spring | 65-75°F (18-24°C) | Bright, indirect |
| Early Summer | 65-75°F (18-24°C) | Bright, indirect |
| Late Summer | 70-80°F (21-27°C) | Moderate, indirect |
Optimal Plant Maturity
While ideal seasonal conditions are vital, ensuring your Split Leaf Philodendron has reached peak maturity is equally significant for successful propagation. Aim to propagate when your plant has developed several mature leaves and robust aerial roots. A mature plant will have a well-established root system, providing the necessary nutrients and stability for new cuttings.
Use sterilized pruning shears to take a cutting that includes at least one node and a healthy leaf. Nodes are essential as they contain meristematic cells, responsible for root development. After cutting, place the node in water or a moist growing medium to encourage root formation. Monitor for root growth, typically within a few weeks, before transferring to a permanent pot.
Daylight and Temperature
The best time for propagating your Split Leaf Philodendron is during late spring or early summer when daylight hours are longer and temperatures range between 70-80°F (21-27°C). This period ensures ideal growth conditions, promoting root development and overall plant importance.
To maximize success, follow these guidelines:
- Daylight Exposure: Make sure your philodendron receives bright, indirect sunlight for at least 6-8 hours daily. This aids in photosynthesis and energy production.
- Temperature Control: Maintain consistent indoor temperatures within the 70-80°F range. Avoid placing the plant near drafts or heat sources.
- Humidity Levels: Keep humidity around 60-70%. Utilize a humidifier or pebble tray to achieve this, as consistent humidity supports healthy root growth.
Following these steps will enhance propagation outcomes.
Tools and Materials Needed
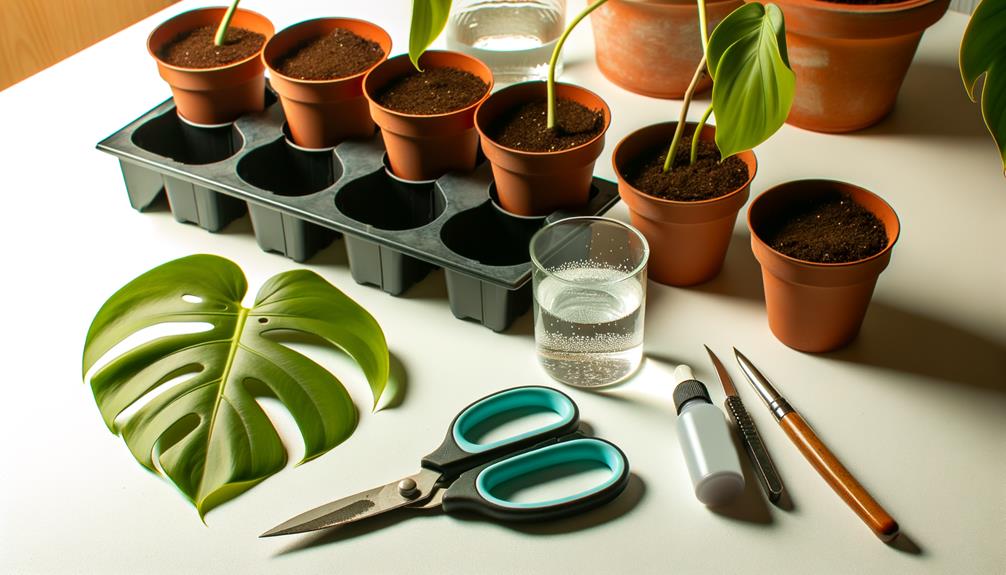
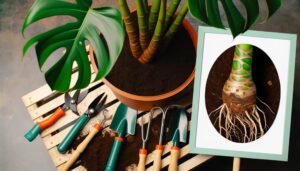
Gather essential tools and materials such as sterilized pruning shears, rooting enhancer, a clean cutting surface, and a suitable growing medium.
Start by sterilizing your pruning shears with rubbing alcohol to prevent potential infections. The rooting enhancer will boost root development, increasing propagation success rates.
Use a clean cutting surface to maintain sanitary conditions and avoid contamination. For the growing medium, choose a well-draining mix like perlite combined with peat moss or sphagnum moss to provide optimal moisture and aeration.
Additionally, you’ll need a container with drainage holes to prevent waterlogging.
Selecting a Healthy Cutting
When selecting a healthy cutting, first identify a sturdy stem segment featuring at least one leaf and one node. Make sure the leaf is free from discoloration or damage, indicating excellent health.
Before making the incision, sterilize your cutting tool with isopropyl alcohol to prevent contamination.
Ideal Stem Location
Selecting a healthy cutting involves identifying a stem section that possesses at least one node and a few leaves, guaranteeing strong future growth. To achieve this, you must carefully inspect the Monstera plant for prime stem locations.
Focus on areas where the stem appears vigorous and free from any signs of disease or pest infestation. Precision in selection guarantees successful propagation.
Consider these steps:
- Locate a Node: Identify a segment with a visible node, as this is where roots will develop.
- Check for Vitality: Guarantee the stem is firm and green, indicating it’s actively growing and healthy.
- Avoid Damaged Areas: Select a section free from physical damage or discoloration, ensuring it has the best chance for survival.
Leaf and Node Check
Ensure the cutting has a leaf adjacent to the node, as this will support photosynthesis and promote healthier root development. Inspect the selected stem for a single, mature leaf positioned directly next to a node.
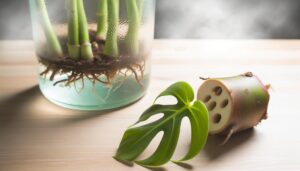
The node, a small, raised bump, houses essential cells for root generation. Verify the leaf is free from pests, diseases, and discoloration, as these conditions can compromise the cutting’s viability.
Utilize a magnifying glass if necessary to identify the node and assess its health. A robust node should appear plump and slightly green. Prioritize cuttings with aerial roots emerging near the node, as these indicate an active growth phase.
Cutting Tool Sterilization
After selecting a cutting with a healthy node and leaf, make sure your cutting tools are sterilized to prevent the introduction of pathogens. Sterilization is essential to avoid bacterial or fungal infections that can harm your Monstera.
Here’s a detailed methodology:
- Alcohol Wipe: Use a 70% isopropyl alcohol wipe to clean the blades of your pruning shears. This concentration is effective in killing most pathogens.
- Bleach Solution: Soak the tools in a 10% bleach solution (1 part bleach to 9 parts water) for 10 minutes. Rinse thoroughly with water to remove any residue.
- Flame Sterilization: Briefly pass the cutting edge through a flame, ensuring you don’t overheat and damage the metal. Allow it to cool before use.
Preparing the Cutting
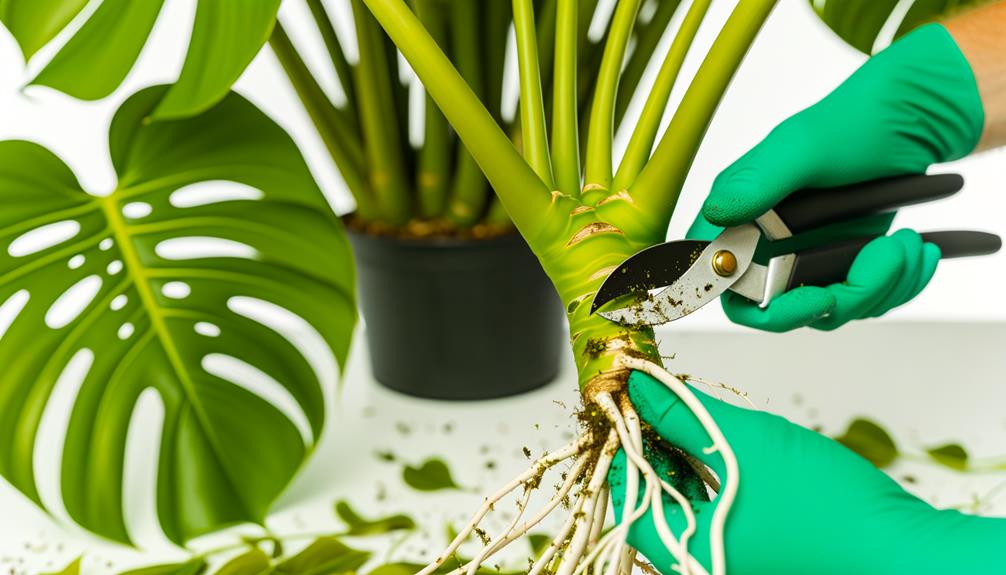
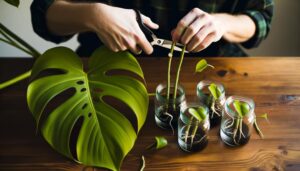
To prepare the cutting, make sure you have a clean, sharp knife or pruning shears to make a precise cut just below a node on a healthy stem.
Select a stem that has at least two to three leaves and an aerial root if possible. Hold the stem steady and make a swift, clean cut at a 45-degree angle. This angle increases the surface area for root development and minimizes damage.
Immediately remove any leaves that are too close to the cut end to prevent rot. Place the cutting in a dry, shaded area for 24 hours to allow the cut end to callous, reducing the risk of bacterial infection.
Your cutting is now ready for the next propagation step.
Rooting in Water
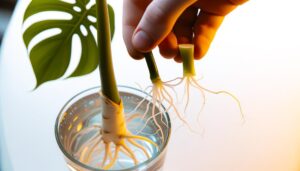
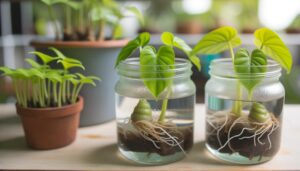
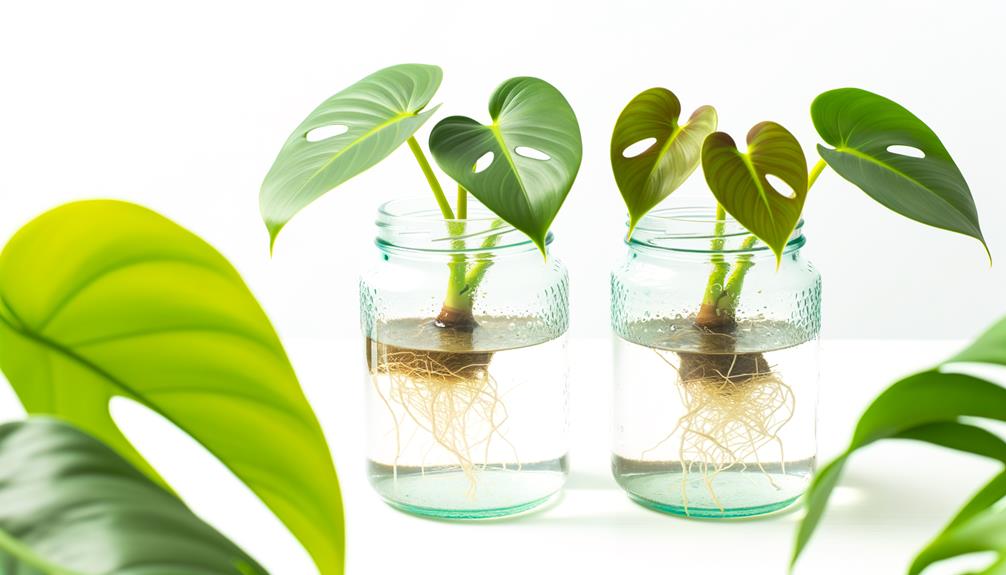
Place the prepared cutting into a clean container of filtered water, making sure the node is fully submerged to facilitate root initiation. Position the container in an area with indirect sunlight, as too much direct sunlight can cause algae growth and hinder root development. Change the water every 3-4 days to maintain oxygen levels and prevent bacterial growth.
Monitor the cutting closely, looking for signs of root development. Typically, you should observe root formation within 2-4 weeks.
To guarantee success, follow these steps:
- Use filtered or distilled water: Tap water may contain chemicals that impede root growth.
- Maintain a stable temperature: Aim for a consistent room temperature of 65-75°F.
- Inspect regularly: Check for root rot or fungal growth and remove affected parts promptly.
This method promotes healthy root growth and prepares the plant for eventual transfer.
Rooting in Soil
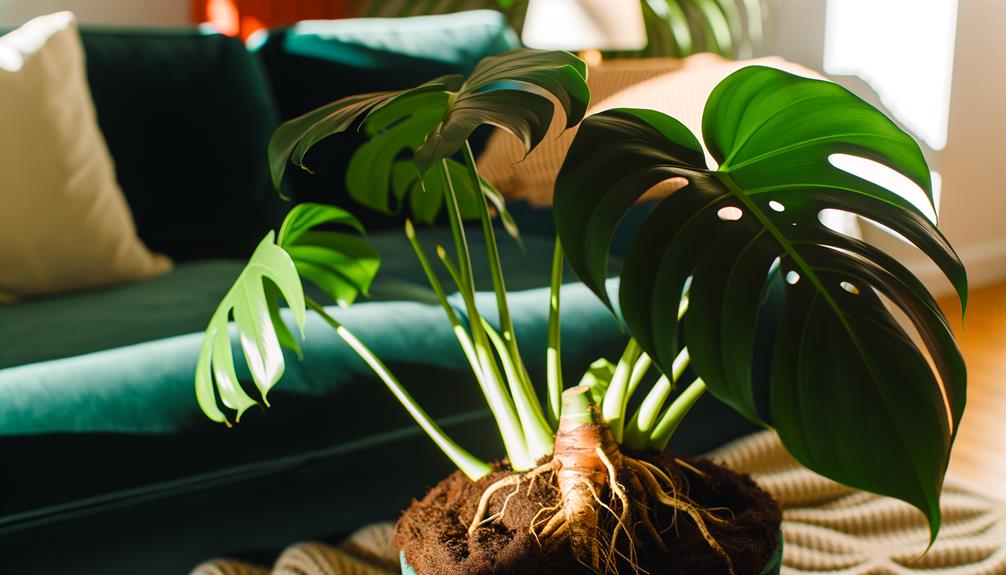
Rooting in soil involves planting the prepared cutting directly into a well-draining potting mix, ensuring the node is buried just below the surface to facilitate root development.
Begin by selecting a pot with drainage holes to prevent waterlogging. Fill it with a mix comprising equal parts peat moss, perlite, and orchid bark to enhance aeration and moisture retention. Moisten the soil lightly before inserting the cutting.
Position the cutting so the node is submerged while the leaves remain above the surface. Firm the soil around the base to stabilize the cutting.
Place the pot in a location with indirect sunlight. Maintain consistent moisture by watering when the top inch of soil feels dry, promoting ideal rooting conditions.
Transplanting Cuttings
After your cuttings have established a strong root system in their original containers, it’s time to transplant them into larger pots for ongoing growth.
Start by selecting pots that are 1-2 inches larger in diameter than the current containers. Use well-draining potting soil to prevent waterlogging and root rot.
Here’s a step-by-step guide:
- Prepare the New Pots: Fill them with fresh potting soil, leaving room for the cutting.
- Remove the Cuttings: Gently take out each cutting from its initial container, being careful not to harm the roots.
- Transplant and Water: Place each cutting in the new pot, fill with soil, and water generously to settle the roots.
This approach guarantees that your Monstera splits thrive in their new habitat.
Caring for New Plants
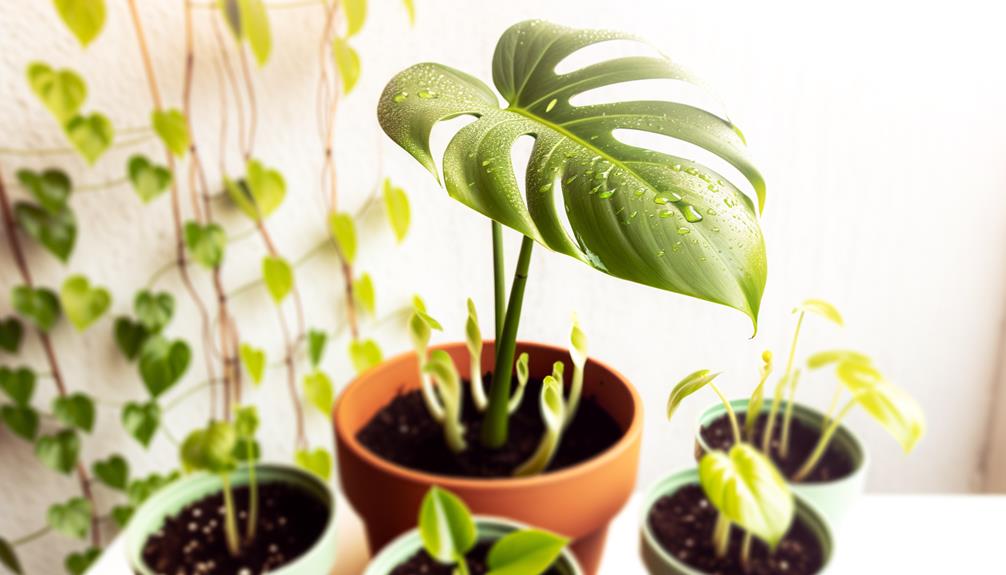
Proper care for your newly transplanted Monstera split leaf philodendron guarantees robust growth and vibrant foliage. Make sure it receives indirect, bright light to maximize photosynthesis, avoiding direct sunlight that can cause leaf burn.
Maintain a consistent moisture level by watering when the top inch of soil feels dry; overwatering leads to root rot. Utilize a well-draining potting mix rich in organic matter, promoting aeration and nutrient retention.
Maintain ambient temperatures between 65-85°F, and provide humidity levels above 60% to mimic its tropical origins. Apply a balanced, water-soluble fertilizer monthly during the growing season to support nutrient uptake.
Regularly inspect for pests and prune dead or yellowing leaves to encourage healthy development.
Common Propagation Issues
When propagating Monstera split leaf philodendrons, you may encounter issues such as rooting problems, leaf yellowing, and stem rot. Make sure you use sterile tools and provide adequate humidity to mitigate these issues.
Monitor the cuttings closely for early signs of distress to implement corrective actions promptly.
Rooting Problems
While propagating your Monstera Split Leaf Philodendron, you might encounter several rooting problems, such as root decay, inadequate oxygenation, or nutrient imbalances. Address these issues methodically to guarantee successful propagation.
- Root Decay: Overwatering or poor drainage leads to root decay. Use well-draining soil and ensure containers have sufficient drainage holes. Monitor moisture levels carefully.
- Inadequate Oxygenation: Roots need oxygen to thrive. Avoid compact soil; instead, use a mix that includes perlite or orchid bark for improved aeration.
- Nutrient Imbalances: Roots require balanced nutrients for growth. Use a diluted, balanced fertilizer solution. Avoid excessive fertilization, which can harm delicate roots.
Leaf Yellowing
Leaf yellowing often indicates underlying issues in Monstera Split Leaf Philodendron propagation, such as improper light levels, moisture stress, or nutrient deficiencies. You should ensure your plant receives bright, indirect light to prevent photosynthetic inefficiencies.
Monitor soil moisture consistently; overwatering leads to root oxygen deprivation, while underwatering causes desiccation. Utilize a well-draining potting mix to maintain the best moisture levels.
Address nutrient deficiencies by applying a balanced, water-soluble fertilizer bi-weekly. Nitrogen, potassium, and magnesium are essential for chlorophyll synthesis and overall leaf health.
Inspect the plant for pests like spider mites, which can worsen leaf yellowing by sap extraction. Prune affected leaves to direct energy towards healthy growth.
Stem Rot
To effectively prevent stem rot in Monstera Split Leaf Philodendron propagation, maintain ideal soil aeration and moisture levels. Make sure you’re using well-draining soil to avoid waterlogging, which can lead to root suffocation and rot.
Follow these steps:
- Select a well-draining medium: Use a blend of perlite, peat, and orchid bark to enhance aeration and drainage.
- Monitor moisture levels: Keep the soil consistently moist but not waterlogged. Check soil moisture with your finger or a moisture meter.
- Provide adequate airflow: Position your plant in a spot with good air circulation to reduce humidity around the stems.
Encouraging Healthy Growth
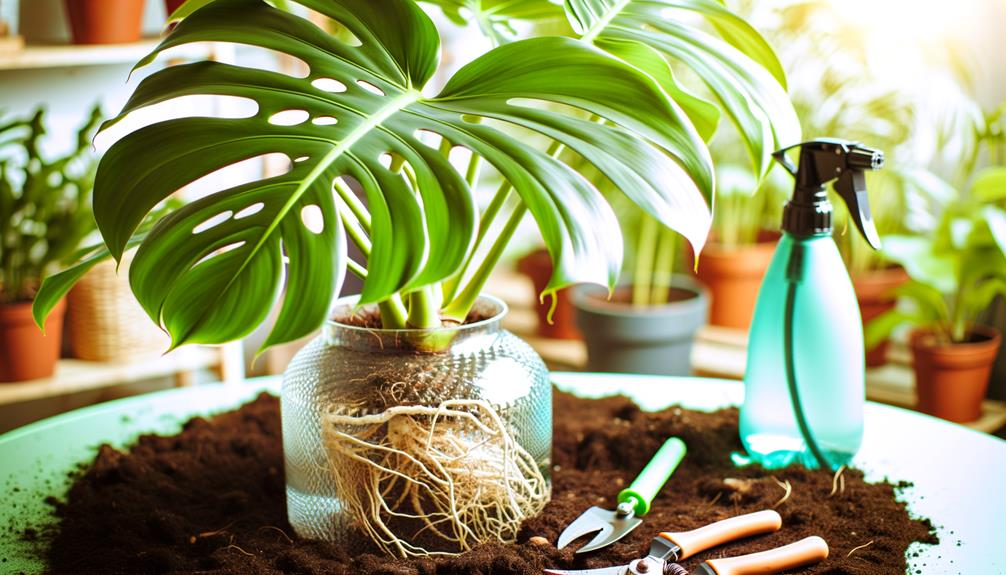
Promoting healthy growth in Monstera split leaf philodendrons requires ideal light, humidity, and nutrient levels. Place your plant in indirect, bright light to avoid direct sunlight that may damage leaves.
To keep humidity levels at an optimum range of 60-80%, consider using a humidifier or regularly misting the leaves.
For best nutrient absorption, opt for a well-draining potting mix along with a balanced 20-20-20 fertilizer, diluted to half strength, every 4-6 weeks during the growing season.
Consistent watering is crucial; aim to keep the soil moist without overwatering. Allow the top inch of soil to dry between waterings.
Regularly inspect for pests such as spider mites and scale insects, and promptly address infestations with insecticidal soap or neem oil to support the thriving growth of your Monstera.
Conclusion
Wrapping up, you’ve now got the know-how to propagate your Monstera split leaf philodendron successfully. Just keep your eyes peeled for any common issues and ensure best care for those budding plants.
Remember, patience is a virtue—your diligent efforts will pay off in the long run. By following these precise steps, you’re setting the stage for a thriving, verdant indoor jungle.
Keep nurturing, and soon you’ll see your hard work bear fruit.

