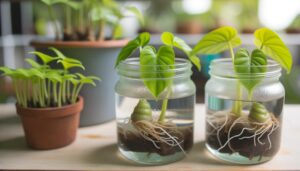
Monstera Water Propagation Time Lapse: A Complete Guide!
To observe Monstera water propagation, start by selecting a healthy stem with a node. Sanitize your cutting tools, make a clean cut below the node, and remove any nearby leaves.
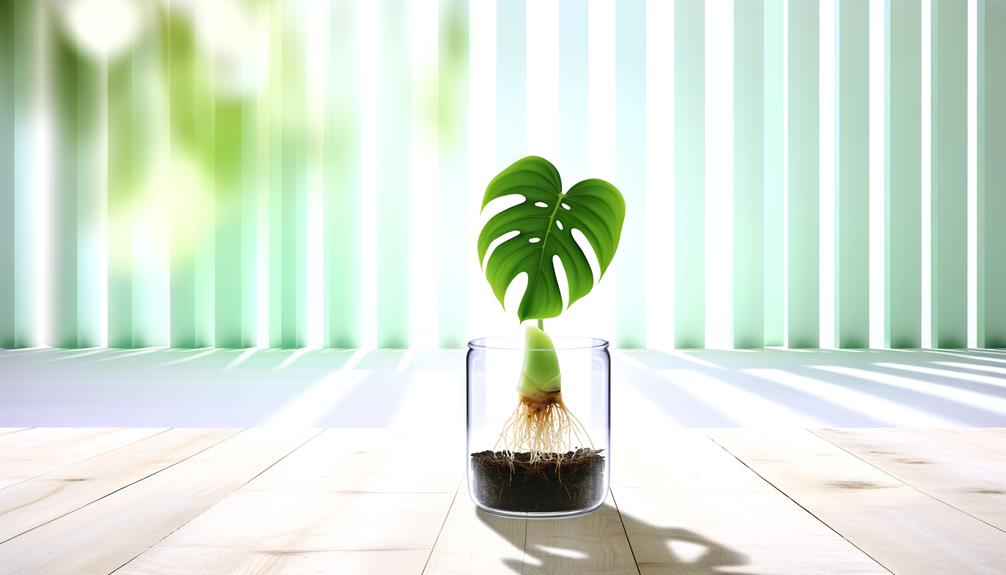
Submerge the node in chlorine-free water, keeping the leaves above water. Within 1-2 weeks, you’ll notice root primordia developing, followed by root elongation.
Monitor daily, replacing water every 3-5 days to prevent microbial growth. Document root length and watch for new leaf nodes.
Keeping the water clean aids in healthy root formation and prevents issues like root rot. Continue observing to witness the full shift to soil and robust growth.
Key Takeaways
- Initial root emergence typically starts within 1-2 weeks.
- Replace water every 3-5 days to prevent microbial growth.
- Ensure the node is submerged while keeping leaves above water.
- Maintain room temperature, chlorine-free water for optimal root development.
- Regularly monitor and document root length and health progress.
Selecting the Perfect Cutting
To select the perfect cutting, look for a healthy Monstera stem with at least one node and a few leaves. Nodes are essential because they contain meristematic cells, which will initiate root and shoot growth. Make sure the stem is free from disease, pests, and damage.
Observe the leaves; they should be vibrant green, indicating active photosynthesis and overall plant vitality. The cutting’s internodal length shouldn’t be too long, as shorter segments are more efficient for nutrient transport. By selecting vigorous cuttings, you’re maximizing they’ve the best chance for successful propagation.
Carefully note the cutting’s growth stages, focusing on root emergence, leaf development, and eventual acclimatization to soil. This meticulous approach optimizes your Monstera’s propagation success.
Preparing Your Cutting
Begin by sanitizing your cutting tools to prevent any potential infection that could hinder the Monstera’s growth. Making sure your tools are clean is essential for the plant’s health.
After sterilizing, follow these steps:
- Identify the Node: Locate a node on the Monstera stem, where roots will emerge. This area is typically slightly swollen and may have small aerial roots.
- Make a Clean Cut: Using your sanitized tools, cut just below the node. Make sure the cut is straight and clean to promote healthy root development.
- Remove Excess Leaves: Trim any leaves near the node to reduce water loss and focus energy on root formation.
- Inspect the Cutting: Examine the cutting for any damage or signs of disease, ensuring it’s healthy for propagation.
This meticulous preparation guarantees ideal conditions for growth.
Setting Up the Water
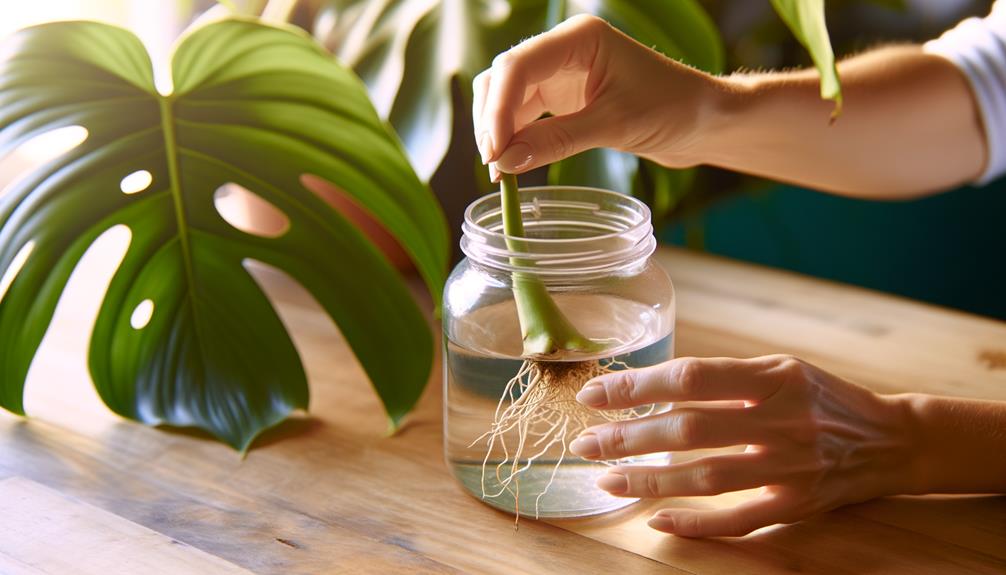
After preparing your cutting, fill a clean glass container with room-temperature, chlorine-free water to create an ideal environment for root development. Guarantee the container allows ample light penetration, facilitating photosynthesis in the submerged portion.
Position the cutting so the node is fully submerged, but the leaves stay above water to prevent rot.
Monitor the water level daily, guaranteeing the node remains submerged. Replace the water every 3-5 days to prevent microbial growth, which could inhibit root formation.
These steps promote cellular differentiation, encouraging root primordia emergence. You’ll notice the cutting absorbing water, ensuring turgor pressure is maintained.
This setup supports initial root development stages, optimizing conditions for cellular expansion and nutrient uptake.
Initial Root Growth
You’ll observe root emergence typically within 1 to 2 weeks, depending on the plant’s health and environmental conditions.
Early root development features thin, white roots that gradually thicken and branch out.
Maintaining best water conditions, such as keeping water clean and at room temperature, is essential for promoting healthy root growth.
Root Emergence Timing
Within the first week of placing a Monstera cutting in water, you can expect to observe the initial stages of root emergence characterized by small, white nodules forming at the nodes. These nodules indicate the onset of root primordia, essential for nutrient uptake.
During this period, you should monitor the following:
- Nodule Formation: Tiny, white growths at the node’s base signal root initiation.
- Color Changes: Nodules may transform from white to beige, indicating active cellular differentiation.
- Swelling: Nodes might enlarge slightly, reflecting internal cell division and expansion.
- Hydration Levels: Ensure water levels are stable to facilitate best root development.
Early Root Development
As the roots begin to extend from the nodules, you’ll observe them elongating into slender, white structures designed to maximize nutrient absorption. These initial roots are delicate, requiring careful handling to prevent damage. You’ll notice the following stages of early root development:
| Growth Stage | Observations |
|---|---|
| Day 1-3 | Root nodules swell and thin roots emerge. |
| Day 4-7 | Roots elongate, showing increased length. |
| Day 8-10 | Fine root hairs develop, enhancing absorption. |
| Day 11-14 | Roots thicken slightly, becoming more robust. |
| Day 15-20 | Branching occurs, increasing surface area. |
During these stages, keep a close eye on the roots’ health and growth rate. Their white coloration indicates they’re healthy and active in nutrient uptake.
Optimal Water Conditions
Optimizing water conditions is vital for promoting healthy initial root growth in Monstera cuttings. You need to closely monitor several factors to optimize the environment.
Here’s what you should focus on:
- Water Temperature: Maintain water within 20-25°C (68-77°F). This temperature range accelerates root cell division and elongation.
- Water Quality: Use filtered or distilled water to prevent contaminants and chlorine, which can inhibit root growth.
- Oxygenation: Change the water every 2-3 days to ensure sufficient oxygen levels. Stagnant water can lead to anaerobic conditions, hampering root development.
- Light Exposure: Position the cutting in indirect light. Direct sunlight can heat the water excessively, while too little light can slow photosynthesis, essential for energy during root formation.
Monitoring Progress
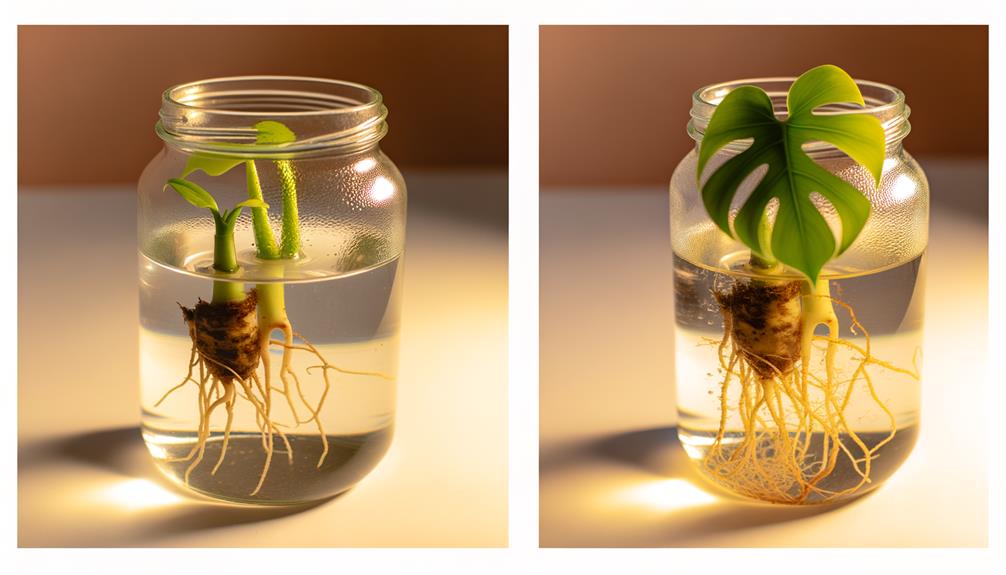
To accurately monitor the progress of your Monstera water propagation, regularly observe root development and note any changes in root length, color, and health. Measure root length weekly, documenting growth increments. Healthy roots typically appear white or light tan; discoloration may indicate issues.
Use a magnifying glass to inspect for root rot or algae growth. Pay attention to root branching, as multiple offshoots signify robust development. Monitor water clarity and refresh it if it becomes murky.
Check for the emergence of new leaf nodes, an indicator of successful propagation. The initial root nubs should evolve into longer, more intricate systems over weeks. Consistent observation helps you catch any issues early, optimizing the propagation process for a thriving Monstera.
Transferring to Soil
Once you’ve witnessed strong root development and new leaf nodes, it’s time to transfer your Monstera from water to soil for further growth.
Follow these steps to ensure a smooth progression:
- Prepare the Soil: Choose a well-draining potting mix rich in organic matter to provide essential nutrients.
- Select the Pot: Use a container with drainage holes to prevent waterlogging and root rot.
- Plant the Cutting: Place the Monstera cutting in the soil, making sure roots are well-covered and the node is above the surface.
- Water Thoroughly: After planting, water the soil until it’s evenly moist but not soggy.
Tips for Healthy Growth
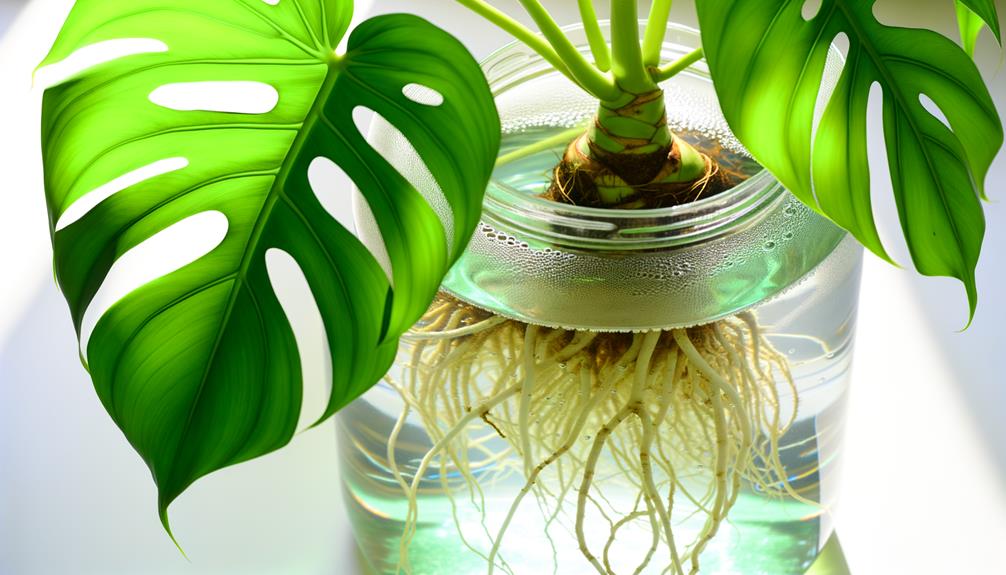
Maintaining ideal light conditions and consistent watering schedules is crucial for the healthy growth of your Monstera. Place it in indirect, bright light to promote photosynthesis without leaf burn.
Monitor the soil moisture; let the top inch dry before re-watering, preventing root rot. Use well-draining soil to support aeration and nutrient uptake.
Regularly check for pests like spider mites and scale; address infestations promptly with insecticidal soap. Prune dead or yellowing leaves to stimulate new growth and reduce disease risk.
During active growth stages, typically spring and summer, feed with a balanced liquid fertilizer every 4-6 weeks. Following these practices will foster vigorous, lush growth, ensuring your Monstera thrives in its environment.
Conclusion
As you eagerly await the final transformation, keep an eye on those tiny roots developing in the water. The anticipation builds as they grow stronger, more intricate.
You’ll notice the cutting’s vibrant health, a signal it’s almost ready for the soil. Will it thrive once transplanted? With proper care and attention, you’ll soon witness the remarkable journey from water to soil, culminating in a lush, thriving Monstera.
The moment of truth is near—your patience will be rewarded.


