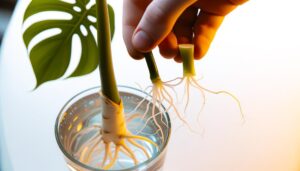
How to Propagating Monstera in Sphagnum Moss? Guide!
To propagate your Monstera in sphagnum moss, start by sterilizing your pruning shears and selecting a container with drainage. Identify healthy stems with nodes and leaves, then remove any lower leaves near the nodes.
Soak high-quality sphagnum moss in distilled water until moistened but not saturated. Insert the cuttings into the moss and maintain 40-60% moisture by misting daily.
Check for root development by lifting the cutting and inspecting for new growth. When roots appear, transplant the cutting into well-draining soil, ensuring gentle handling.
Position the new plant in indirect sunlight, and monitor its environment closely. There’s more to explore for best results.
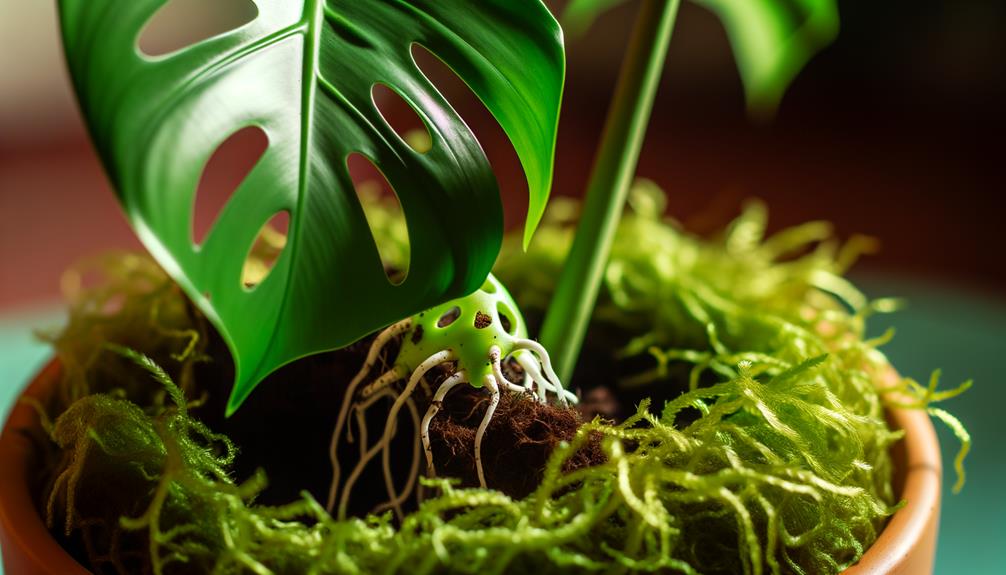
Key Takeaways
- Use sterilized pruning shears to take cuttings with nodes and leaves, ensuring they are free from pests and diseases.
- Moisten high-quality sphagnum moss with distilled water, then squeeze out excess moisture for ideal hydration.
- Place the cuttings in transparent plastic containers with drainage to monitor root development and moisture levels.
- Maintain moss moisture content between 40-60% by misting daily and checking for dampness.
- Transplant rooted cuttings to well-draining soil, ensuring to remove moss gently and provide indirect sunlight.
Gathering Your Supplies
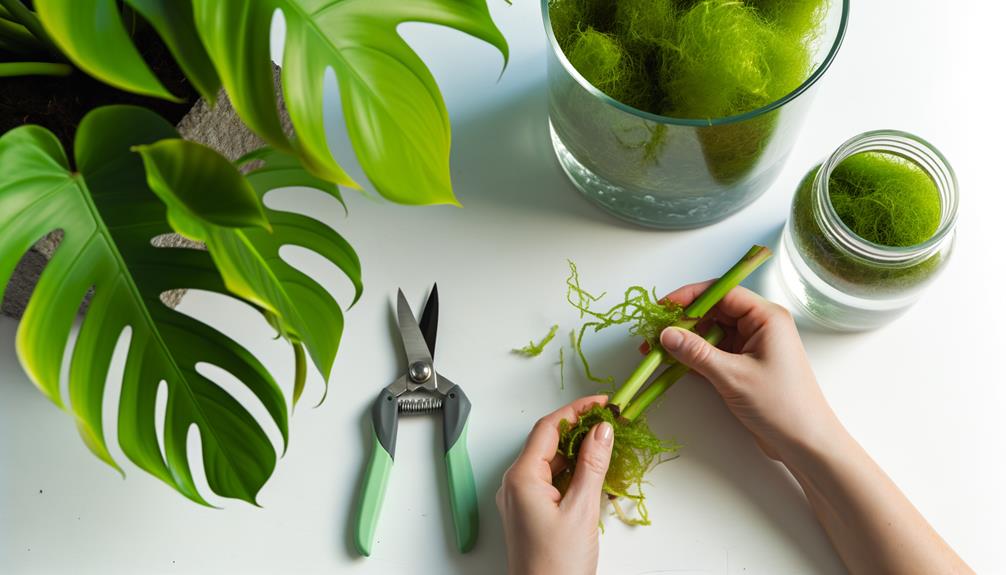
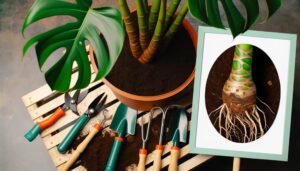
To propagate your Monstera in sphagnum moss, you’ll need to gather essential supplies including a clean pair of pruning shears, a container, and fresh sphagnum moss.
Start by ensuring your pruning shears are sterilized to prevent any infection. Clean them with rubbing alcohol or a bleach solution.
Next, choose a container that allows for adequate drainage. Transparent plastic containers work well because they let you monitor root development.
Finally, obtain high-quality sphagnum moss; it should be free from contaminants and pests. Before use, soak the sphagnum moss in water until it’s thoroughly moistened but not waterlogged. Squeeze out excess water to achieve the right moisture level.
With these supplies, you’re ready to begin propagating your Monstera.
Selecting Healthy Cuttings
To select healthy cuttings, you must first identify node locations on the Monstera stem, as these are important for root development. Choose mature stems with at least one node and a few leaves to guarantee vigorous growth.
Inspect the cuttings for pests or diseases to prevent any issues during propagation.
Identify Node Locations
Locating the nodes on your Monstera plant is essential for guaranteeing you select healthy cuttings for propagation. Nodes are the small, knobby protrusions on the stem where leaves and aerial roots emerge.
To identify them, look closely at the areas where the leaf petioles connect to the main stem. You’ll see a slight bulge or ring-like structure—this is the node.
Guarantee your cutting includes at least one node, as it’s the critical point from which new roots will develop. Avoid sections with damage or disease.
By carefully examining and selecting cuttings with healthy nodes, you set the stage for successful propagation in sphagnum moss, promoting vigorous growth and a thriving new plant.
Choose Mature Stems
When selecting healthy cuttings, prioritize mature stems that exhibit robust growth and have multiple nodes. Look for stems that are thick, sturdy, and show signs of vigorous development. These stems should have several nodes, as each node is a potential site for root and leaf growth.
Make sure the chosen stems are free from discoloration and mechanical damage, as these can indicate underlying issues. Cutting should be made just below a node, using sterilized tools to minimize the risk of infection.
Mature stems with aerial roots are particularly advantageous, as they can accelerate the rooting process in sphagnum moss. By carefully choosing healthy, mature stems, you lay the groundwork for successful Monstera propagation.
Inspect for Pests
Check that the selected stems are free from pests by thoroughly inspecting for any signs of infestation such as tiny insects, webs, or unusual spots on the leaves and stems. Use a magnifying glass to closely examine the nodes, underside of leaves, and any new growth.
Look for common pests like spider mites, aphids, and mealybugs. Pay attention to any sticky residue, which could indicate pest activity. If you notice any pests, treat the plant with an appropriate insecticidal soap or neem oil before proceeding with propagation.
Isolate the infested plant to prevent spreading pests. Ensuring your cuttings are pest-free is essential for successful propagation, as pests can hinder root development and overall plant health.
Prepping the Cuttings
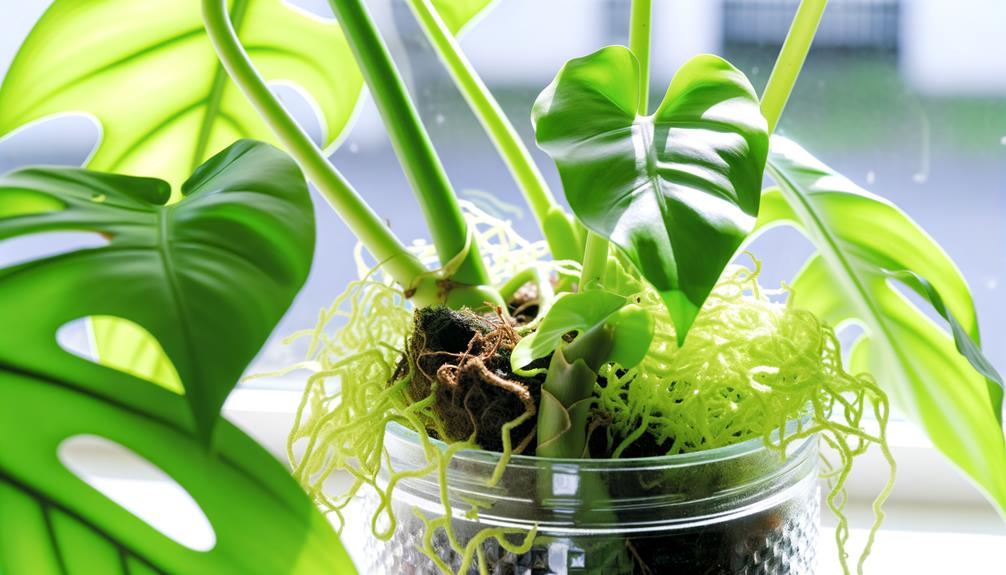
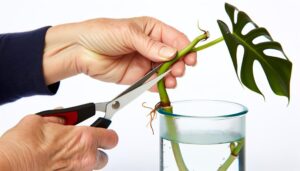
Before you begin, make sure you have sterilized pruning shears to make clean cuts on your Monstera plant. Select a healthy stem with at least one node and one leaf. The node is essential, as it’s the point from which new roots will grow.
Position your shears just below the node, ensuring a clean, angled cut to maximize surface area for root development. Remove any lower leaves near the node to prevent rot when the cutting is placed in the sphagnum moss. Optionally, you can dip the cut end in rooting hormone to encourage faster root formation.
Place the cuttings aside in a clean, dry area while you prepare the sphagnum moss for the next step.
Preparing the Sphagnum Moss
To prepare the sphagnum moss, soak it in distilled water until fully hydrated, making sure it’s moist but not waterlogged.
Begin by placing the dry moss in a clean container. Pour distilled water over the moss, allowing it to absorb the water for about 15 minutes.
After this period, gently squeeze the moss to remove any excess water. The moss should feel damp to the touch but not dripping.
This process guarantees the moss retains ideal moisture levels, essential for successful propagation. Using distilled water prevents the introduction of minerals and contaminants that could impede root development.
Monitoring the moisture content is crucial; too much water can lead to rot, while too little can dry out the cuttings.
Moistening the Moss
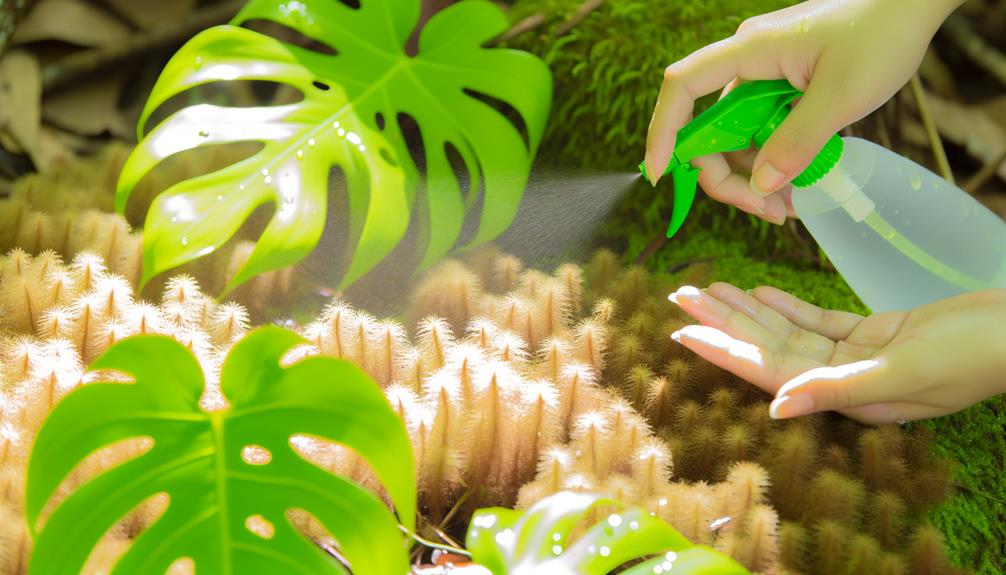
You need to make sure the sphagnum moss is perfectly saturated without being waterlogged.
Start by soaking the moss in clean, lukewarm water, then wring out the excess moisture until it’s damp but not dripping.
This precise moisture level is essential for promoting root growth and preventing rot.
Optimal Water Saturation
Achieving the ideal water saturation in sphagnum moss is crucial for fostering a healthy environment for Monstera cuttings to root effectively.
To ensure peak moisture levels, follow these steps:
- Soak the Moss: Immerse the sphagnum moss in water for 10-15 minutes. This allows the moss to absorb water completely, guaranteeing uniform saturation.
- Squeeze Excess Water: Gently press the moss to eliminate surplus water. The moss should be moist but not dripping. Excessively wet moss can result in decay and fungal growth.
- Monitor Moisture Levels: Regularly check the moss to sustain consistent moisture. If the moss feels dry, lightly mist it or add water sparingly.
These steps help establish the ideal environment for Monstera cuttings to flourish.
Moss Preparation Tips
Properly moistening the sphagnum moss is crucial to create an ideal rooting environment for your Monstera cuttings. Start by soaking the moss in a bowl of water until it’s fully saturated. Squeeze out excess water to make sure the moss is damp but not waterlogged. You want it to feel like a wrung-out sponge.
Overly wet moss can lead to root rot, while too dry moss won’t provide enough moisture. After squeezing, fluff the moss to maintain aeration and prevent compaction. Place the prepared moss in a container with good drainage.
Regularly check the moisture level, adding water as necessary to keep it consistently damp. This meticulous preparation promotes healthy root development and successful propagation.
Placing Cuttings in Moss
Begin by confirming that the sphagnum moss is thoroughly hydrated but not overly saturated, creating an ideal environment for the Monstera cuttings.
Follow these steps to place your cuttings:
- Prepare the Cuttings: Trim any damaged leaves and cut just below a node. Confirm each cutting has at least one node and one leaf.
- Insert into Moss: Gently press the cuttings into the hydrated moss, confirming the node is covered but the leaf remains above the surface. Avoid burying the cuttings too deeply.
- Secure the Moss: Lightly pack the moss around the cuttings to provide stability. Verify the moss remains moist but not waterlogged, which can lead to rot.
Creating a Humidity Dome
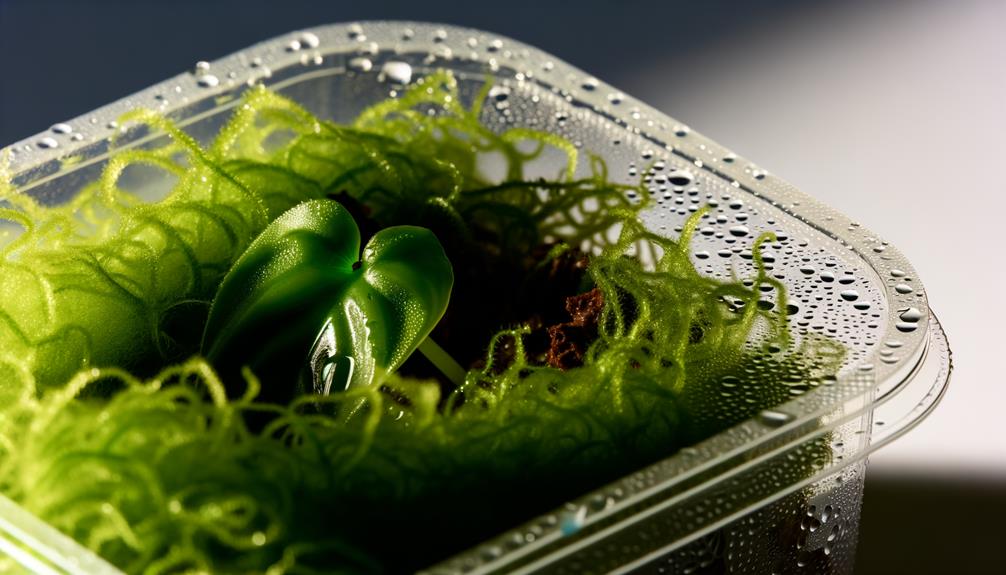
To create a humidity dome, use a see-through plastic container or a plastic bag that fits tightly over the container holding the cuttings, making sure it traps moisture while still allowing light to penetrate. This controlled environment promotes root growth by maintaining high humidity levels. Make sure the dome is spacious enough to avoid touching the cuttings, preventing mold growth.
| Aspect | Details |
|---|---|
| Material | See-through plastic container or plastic bag |
| Fit | Snug, without restricting air circulation |
| Light Penetration | Allows sufficient light for photosynthesis |
| Environment Control | High humidity, prevents moisture loss |
Check for condensation inside the dome to confirm humidity levels. A clear dome also lets you monitor the cuttings easily.
Monitoring Moisture Levels
Ensuring the sphagnum moss stays consistently moist without becoming waterlogged is essential for successful Monstera propagation. To achieve this balance, it’s pivotal to monitor moisture levels closely.
Here’s a detailed approach:
- Daily Inspection: Check the moss each day by gently squeezing a small section. It should feel damp, not soggy.
- Watering Technique: Use a spray bottle to mist the moss, ensuring even distribution. Avoid pouring water directly as it can lead to waterlogging.
- Moisture Meter: Invest in a moisture meter to provide precise readings. Aim for a moderate range, typically between 40-60% moisture content.
Checking for Root Growth
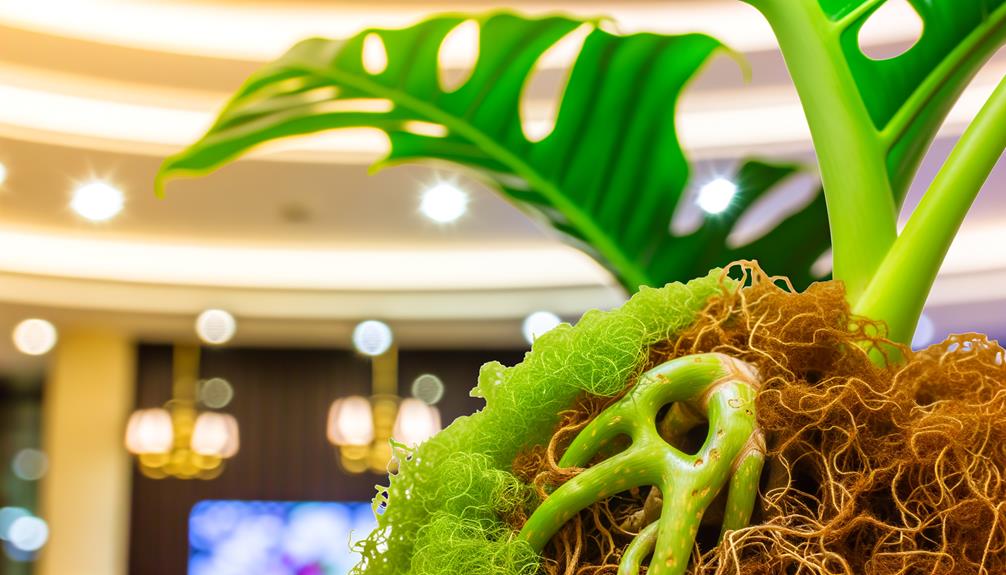
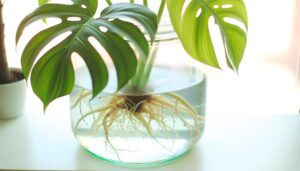
To check for root growth, gently lift the Monstera cutting from the sphagnum moss and inspect the base. Look for signs of root development, such as white or light-colored roots emerging from the stem.
Aim to perform this inspection approximately every two weeks to promote growth and prevent potential issues.
Signs of Root Development
Observing the development of roots in your Monstera cutting involves carefully inspecting the sphagnum moss for emerging white or light-colored root tips. These initial signs indicate successful propagation.
To effectively check for root growth, follow these steps:
- Gently lift the cutting: Carefully raise the cutting from the moss without disturbing the delicate root structures.
- Examine the moss: Look closely at the base of the cutting and the surrounding moss for small, white roots starting to form.
- Check moisture levels: Confirm the moss remains moist but not soggy to support continuous root development.
These steps will help you monitor the progress of your Monstera propagation, securing the new roots are healthy and robust.
Optimal Root Inspection Time
You’ll want to inspect the Monstera cutting for root growth approximately every two weeks to guarantee proper development.
Begin by gently lifting the cutting from the sphagnum moss. Check for white, healthy roots emerging from the nodes.
Verify the roots are firm and not mushy, indicating good health. If you notice any black or brown roots, trim them carefully with sterilized scissors to prevent rot.
After inspection, replant the cutting back into the moss, making sure it remains moist but not waterlogged.
Consistent monitoring helps you catch issues early and adjust care as needed. Remember, patience is key; rushing the process can damage delicate roots and hinder overall growth.
Transplanting to Soil
When your Monstera cuttings have developed a strong root system in sphagnum moss, it’s crucial to transplant them into soil to support long-term growth.
Follow these steps for a successful change:
- Prepare the Pot: Choose a pot with drainage holes and fill it with a well-draining soil mix, ideally one containing peat, perlite, and pine bark.
- Remove Moss Gently: Carefully remove the sphagnum moss from the roots without damaging them. Rinse the roots if necessary to make sure no moss remains.
- Plant and Water: Place the cutting in the pot, making certain that roots are spread out. Fill in with soil, pressing gently, and water thoroughly to settle the soil around the roots.
This guarantees your Monstera adapts well to its new surroundings.
Caring for New Plants
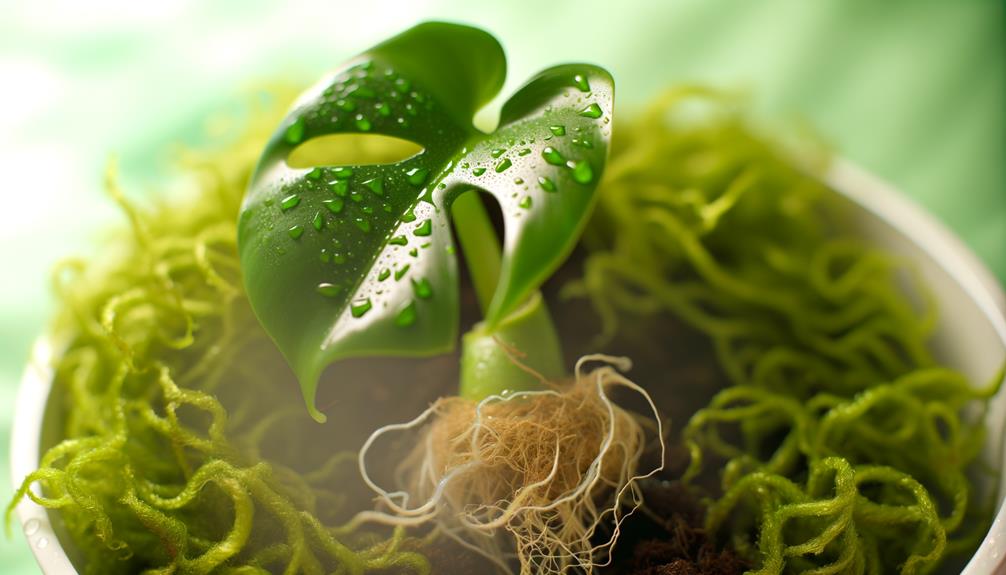
Maintaining ideal conditions for your newly transplanted Monstera is crucial for ensuring its healthy growth and development. Guarantee the plant receives indirect sunlight and maintain a consistent temperature between 65-80°F.
Water when the top inch of soil feels dry, and avoid overwatering to prevent root rot. Regularly check for pests and provide sufficient humidity around 60%.
| Care Aspect | Recommended Action |
|---|---|
| Light | Indirect sunlight |
| Temperature | 65-80°F |
| Watering | Water when the top inch of soil is dry |
| Humidity | Around 60% humidity |
| Pest Control | Regularly inspect and treat if necessary |
Fertilize monthly with a balanced, water-soluble fertilizer during the growing season. Rotate the plant periodically for even growth.
Conclusion
You’ve now mastered the art of propagating monstera in sphagnum moss. Each step, from selecting healthy cuttings to transplanting them into soil, plays an important role in ensuring strong growth. Remember, patience is key roots don’t form overnight.
Stay attentive with moisture levels and care routines. In no time, your monstera will flourish, rewarding your diligent efforts. So, immerse yourself, and let your green thumb transform simple cuttings into thriving plants.
The journey is as gratifying as the destination.

