When to Pot a Propagated Monstera? Expert Advice!
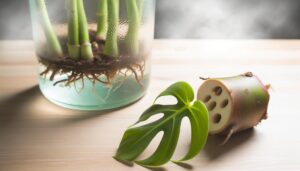
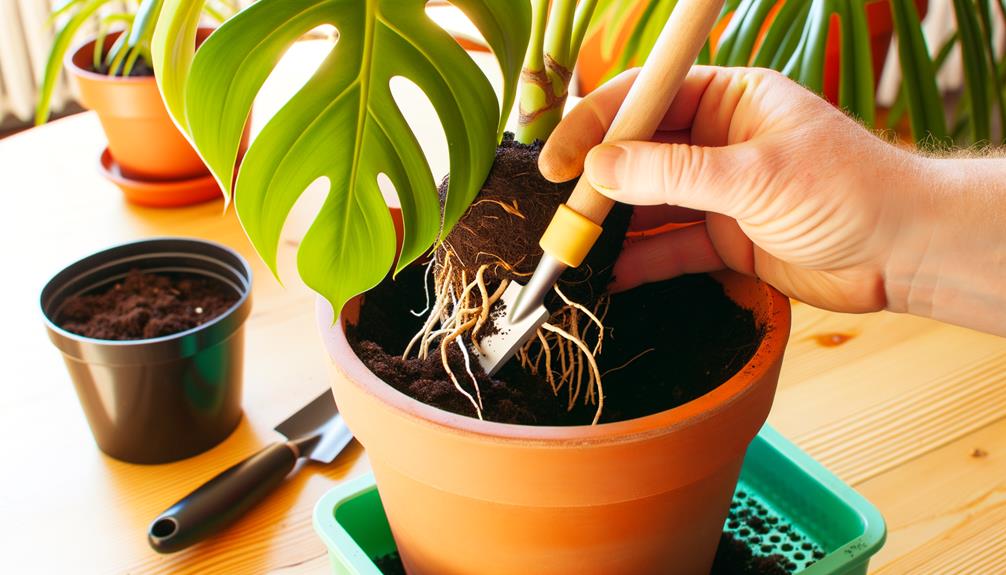
Pot your propagated Monstera when its roots reach at least 4 inches in length and display robust turgor pressure. This typically aligns with the active growth season in spring.
Check that the leaves show maturity with fenestrations and maintain a healthy color. Select a pot with well-draining soil mix, such as peat moss or coco coir, and incorporate perlite for structure.
Ensure the roots are free of rot and exhibit new growth. Water carefully to avoid waterlogging and maintain adequate humidity and temperature levels.
To further understand the best potting techniques and plant health, there’s plenty more to explore.
Key Takeaways
- Pot a propagated Monstera when roots reach at least 4 inches long.
- Ensure roots show signs of vigor and new growth before potting.
- Check for optimal potting season during late spring to early summer.
- Use a well-draining potting mix to prevent root rot.
- Pot when the plant exhibits healthy leaf color and no signs of wilting.
Root Length Matters
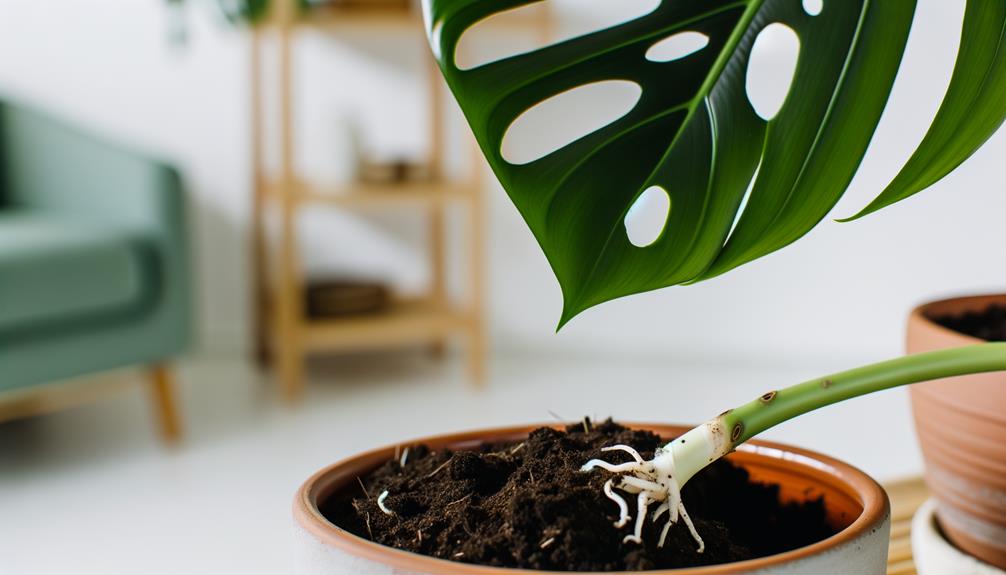
When potting a propagated Monstera, make sure that its roots have reached a minimum length of 4 inches to guarantee proper nutrient absorption and stability. At this length, the roots possess sufficient surface area for the uptake of essential macronutrients and micronutrients, ensuring robust plant health.
Additionally, these extended roots provide anchorage, reducing the risk of transplant shock. Utilize a well-draining potting mix to prevent waterlogging, which can lead to root rot. Monitor the root system for signs of vigor, such as white, firm roots, which indicate active growth.
Avoid potting too early, as underdeveloped roots may struggle to establish, leading to stunted growth. Always prioritize root development to foster a thriving Monstera.
Leaf Development
Observing leaf development in your Monstera provides essential insights into the plant’s overall health and well-being. Healthy leaves should exhibit robust, green pigmentation and characteristic fenestrations.
Key indicators to monitor include:
- Morphological Changes: Look for the emergence of fenestrations, or natural holes, which indicate maturity and favorable environmental conditions.
- Chlorophyll Content: Assess the leaf coloration. A rich, deep green suggests sufficient chlorophyll levels and effective photosynthesis.
- Turgor Pressure: Evaluate leaf rigidity. Firm, turgid leaves imply adequate water uptake and cellular health.
Consistent observation helps you understand the interplay between environmental factors and physiological responses. Anomalies, such as yellowing or wilting, can signal nutrient deficiencies or improper care, necessitating prompt corrective actions to maintain plant health.
Root Health Check
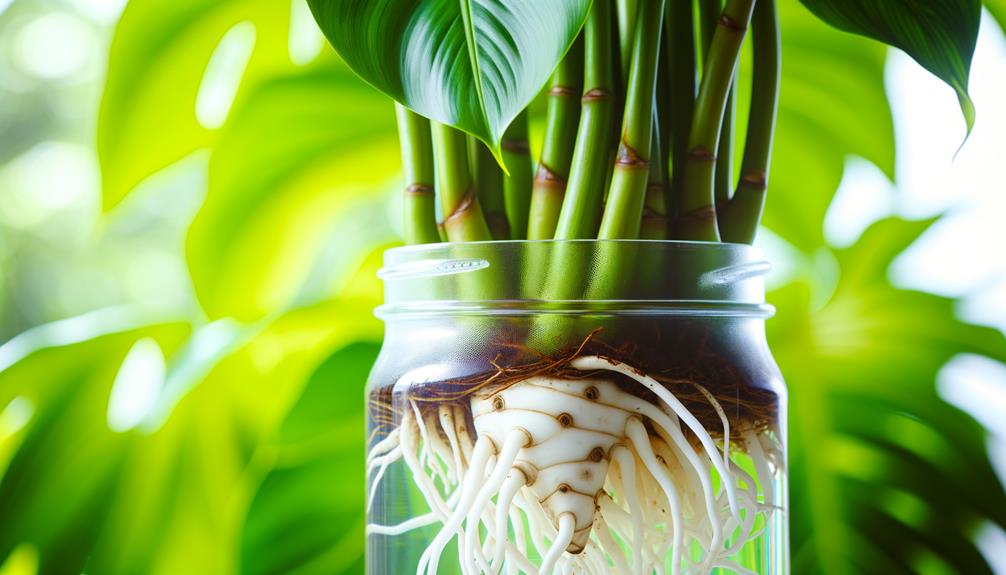
Start by inspecting the roots for any signs of root rot, characterized by brown, mushy roots that can compromise plant health.
Next, seek out new root growth, indicated by white, firm roots, which signifies a healthy propagation process.
Furthermore, evaluate the root length to guarantee they’re adequately developed to support the plant in its new potting environment.
Inspect for Root Rot
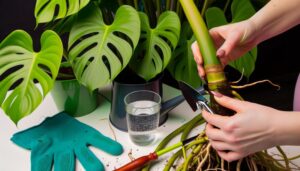
To ensure your propagated monstera thrives, carefully examine the roots for signs of decay, such as dark, mushy, or foul-smelling areas. Root decay, caused by pathogens like Pythium and Phytophthora, compromises nutrient uptake and plant well-being. Gently remove the plant from its propagation medium and inspect the root system.
Identify root decay by:
- Color: Healthy roots are white or light tan, while decayed roots appear dark brown or black.
- Texture: Healthy roots should be firm. Decayed roots feel mushy or slimy to the touch.
- Odor: Healthy roots have an earthy smell. Decayed roots emit a foul, decomposing odor.
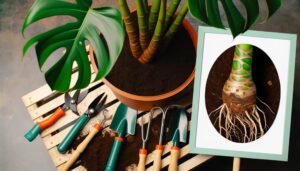
Remove affected roots with sterilized tools to prevent further spread and promote healthy regrowth.
Look for New Growth
Examine your propagated monstera for signs of new root growth, which indicates a healthy and thriving plant ready for potting.
Inspect the roots for emerging root tips, characterized by their lighter shade and delicate texture, signifying active root development.
Check for root hairs, fine extensions that improve nutrient and water absorption, crucial for plant health.
Observe the root cap, the protective structure at the root tip aiding in penetration and growth through the medium.
Confirm the roots exhibit turgor pressure, maintaining firmness and structural integrity.
Avoid potting if roots appear limp or discolored, as these may indicate stress or disease.
Assess Root Length
Measuring root length is a critical step in evaluating the overall health and readiness of your propagated monstera for potting. Healthy roots should be long enough to support nutrient uptake and anchor the plant. Aim for roots that are at least 2-4 inches long.
Here’s what to check:
- Root Length: Measure from the base of the stem to the tip of the longest root. Roots under 2 inches may not sustain the plant.
- Root Color: Healthy roots are white or light tan. Dark or mushy roots indicate decay.
- Root Density: Look for a network of multiple roots. Sparsely rooted cuttings might struggle to establish.
Ensuring these criteria are met will enhance your monstera’s shift to soil, promoting vigorous growth and stability.
Timing and Season
You should pot a propagated Monstera during the growing season, typically spring or early summer, to promote excellent root development.
Look for root development indicators such as white root tips and strong root systems before transferring to soil.
Ideal weather conditions include moderate temperatures and high humidity, which facilitate acclimatization and growth.
Optimal Potting Season
The best time to pot a propagated Monstera is during the early spring when the plant’s growth hormones are most active, promoting strong root development. This period maximizes the plant’s photosynthetic efficiency and cellular respiration, important for healthy acclimatization.
When potting:
- Temperature Stability: Ensure ambient temperatures consistently range between 65-75°F (18-24°C), as fluctuations can stress the plant.
- Daylight Duration: Early spring provides increased daylight hours, essential for photosynthesis and energy conversion.
- Nutrient Availability: Spring’s natural nutrient cycle supports optimal mineral uptake, enhancing root and foliage growth.
Root Development Indicators
How can you determine when a propagated Monstera’s roots are sufficiently developed for potting?
You should look for several root development indicators. First, make sure the roots are at least 2-3 inches long, which suggests they can support nutrient uptake and plant stability.
Examine the root structure; it should be robust, with multiple offshoots, indicating healthy growth. Additionally, the roots should exhibit a healthy white or light tan color, free from rot or discoloration.
Timing-wise, observe the plant’s growth cycle; root development typically accelerates during the active growing season. Consistent growth indicates readiness.
Avoid potting if roots appear slimy or mushy, as these are signs of root rot. By monitoring these indicators, you’ll guarantee successful transplantation.
Ideal Weather Conditions
When potting a propagated Monstera, wait for warm, stable weather conditions, ideally during the late spring or early summer months, to promote growth and acclimatization. Optimum temperatures range between 65-85°F (18-29°C). Consistent warmth ensures strong root establishment and minimizes transplant shock.
For precise timing, follow these guidelines:
- Temperature Consistency: Guarantee nighttime temperatures remain above 60°F (16°C) to prevent root stress.
- Humidity Levels: Aim for 60-70% humidity to replicate the Monstera’s native tropical environment, facilitating photosynthesis and transpiration.
- Daylight Duration: Longer daylight hours in late spring/summer provide sufficient light for photosynthetic activity, enhancing growth.
Pot Size Considerations
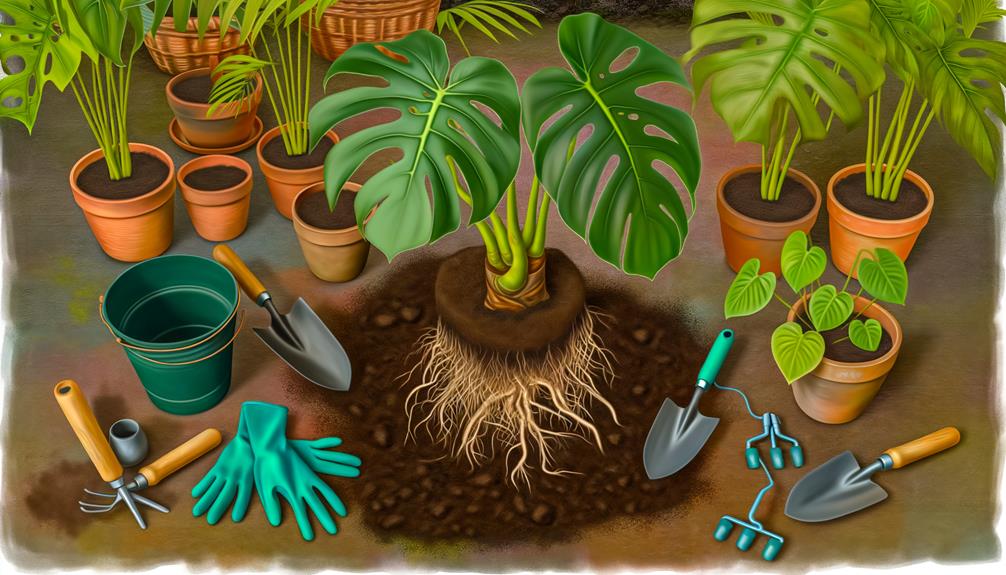
Selecting the appropriate pot size directly impacts root development and overall plant health. Using a pot that’s too large can lead to waterlogged soil, causing root rot, while a pot that’s too small restricts root expansion and nutrient uptake. As your Monstera grows, gradually increase pot size to support its development.
| Pot Diameter (inches) | Plant Height (feet) | Root Ball Size (inches) |
|---|---|---|
| 6 | 1-2 | 4-5 |
| 8 | 2-3 | 5-6 |
| 10 | 3-5 | 6-8 |
Start with a 6-inch pot for young cuttings, then move to larger pots as the plant matures. Always make sure the pot has drainage holes to prevent water accumulation, promoting healthy root aeration and growth.
Soil Requirements
For best growth, your Monstera needs well-draining soil that combines organic material with aerating components like perlite or orchid bark. This composition guarantees proper root aeration, moisture retention without waterlogging, and nutrient availability.
When preparing the soil mix, consider the following components:
- Organic Material: Use peat moss or coco coir to enhance water retention and supply essential nutrients.
- Aerating Enhancers: Integrate perlite or orchid bark to improve soil structure and promote root oxygenation.
- Nutrient-Rich Supplements: Add worm castings or compost for a consistent nutrient release and microbial activity.
Signs of Overcrowding
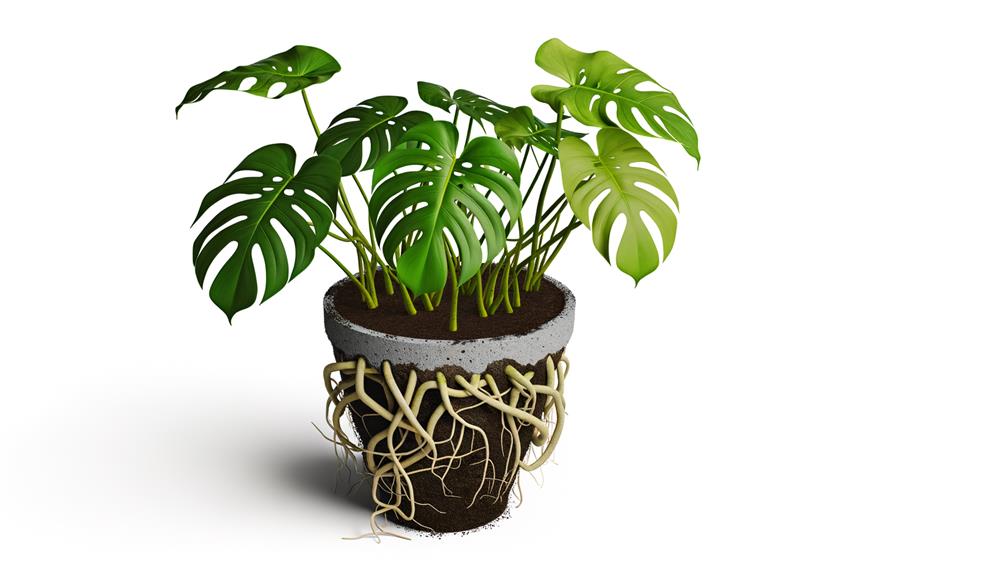
Recognizing signs of overcrowding in your Monstera’s pot is essential to promote healthy growth and prevent root issues.
Look for roots growing out of drainage holes, a telltale sign of limited space. If you notice the plant’s growth stalling despite ideal conditions, it could indicate root-bound constraints.
Another indicator is the yellowing of lower leaves due to nutrient competition. You might also find that water drains too quickly, suggesting the soil is densely packed with roots.
Gently remove the plant from its pot to inspect root health; if roots form a tight, tangled mass, it’s time to contemplate repotting.
Ensuring adequate space will facilitate better nutrient uptake and robust development, important for your Monstera’s overall health.
Watering Needs
Proper watering is crucial for your Monstera’s health, as both overwatering and underwatering can lead to root rot or dehydration, respectively.
To maintain the best hydration, follow these steps:
- Assess Soil Moisture: Use a moisture meter or insert your finger into the soil up to the second knuckle. Water only when the top 1-2 inches are dry.
- Water Quality: Utilize filtered or distilled water to avoid chlorine and fluoride, which can stress the plant’s roots.
- Drainage: Make sure your pot has sufficient drainage holes to prevent waterlogging. Excess water should freely drain to avoid anaerobic conditions harmful to the root system.
Implementing these practices will ensure your Monstera receives the precise hydration it needs for robust growth and health.
Environmental Conditions
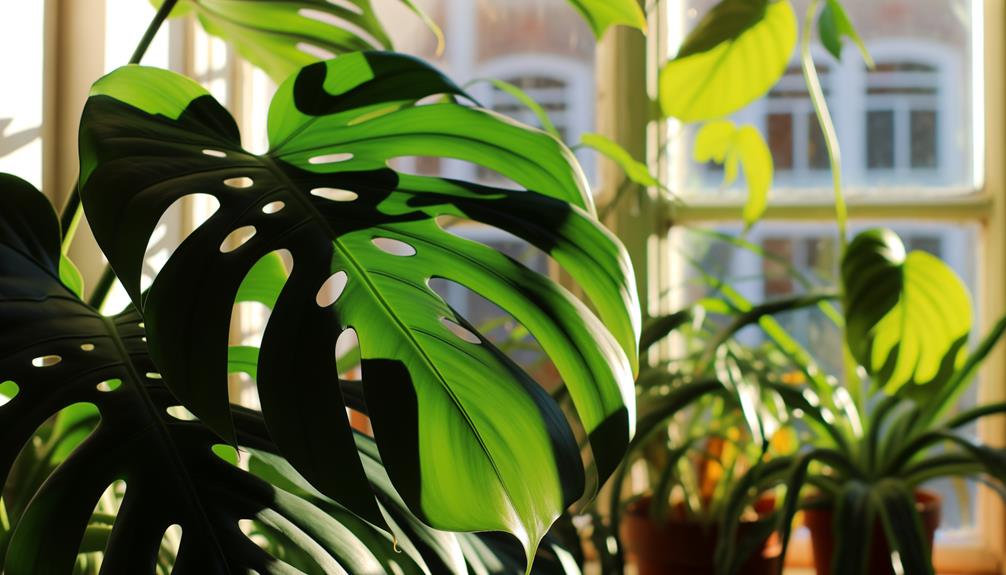
Maintaining ideal environmental conditions is necessary for the thriving growth of your propagated Monstera.
First, make sure that the ambient temperature remains between 65-85°F (18-29°C), as Monstera plants are sensitive to cold. Avoid placing them near drafts or direct air conditioning vents.
Humidity levels should be high, ideally between 60-80%. You can achieve this by using a humidifier or placing the pot on a tray filled with water and pebbles.
Adequate light is vital; provide bright, indirect sunlight. Direct sunlight can cause leaf burn, while insufficient light will impede growth.
Ensure good air circulation to prevent fungal diseases.
Lastly, use well-draining soil to avoid waterlogging, which can lead to root rot.
Following these guidelines will support healthy development.
Conclusion
To summarize, understanding when to pot your propagated Monstera involves a keen eye on root length, leaf development, and root health. Have you checked the timing and season for best growth?
Select an appropriate pot size, use well-draining soil, and monitor for signs of overcrowding.
Don’t forget, consistent watering and proper environmental conditions are essential. By following these scientific principles, you’ll guarantee a thriving Monstera that’s both healthy and robust.

